Hiking The Pacific Crest Trail: Day 22

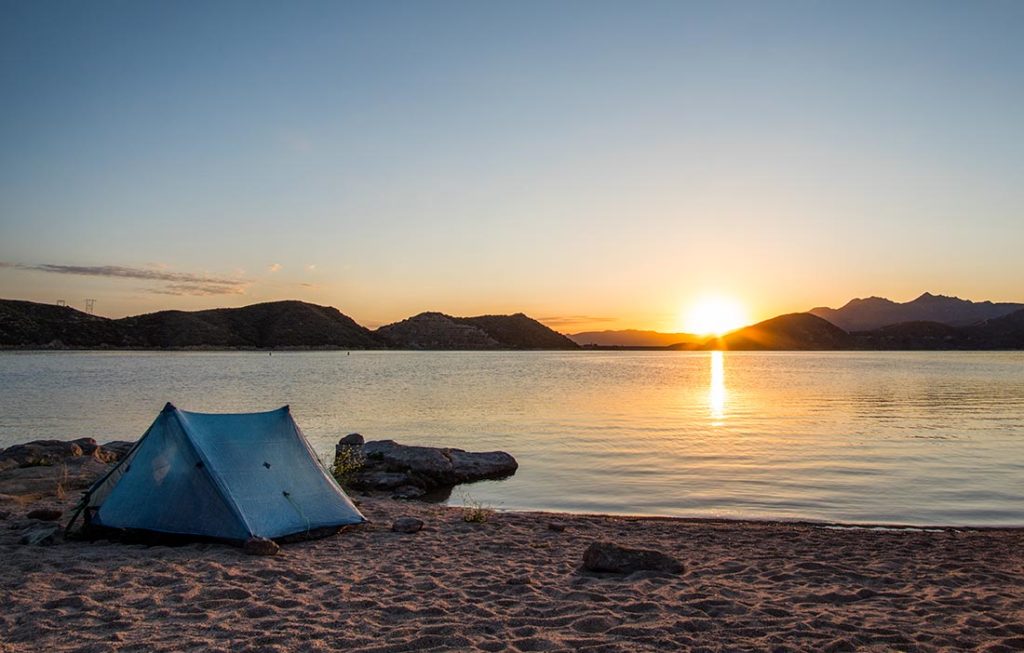
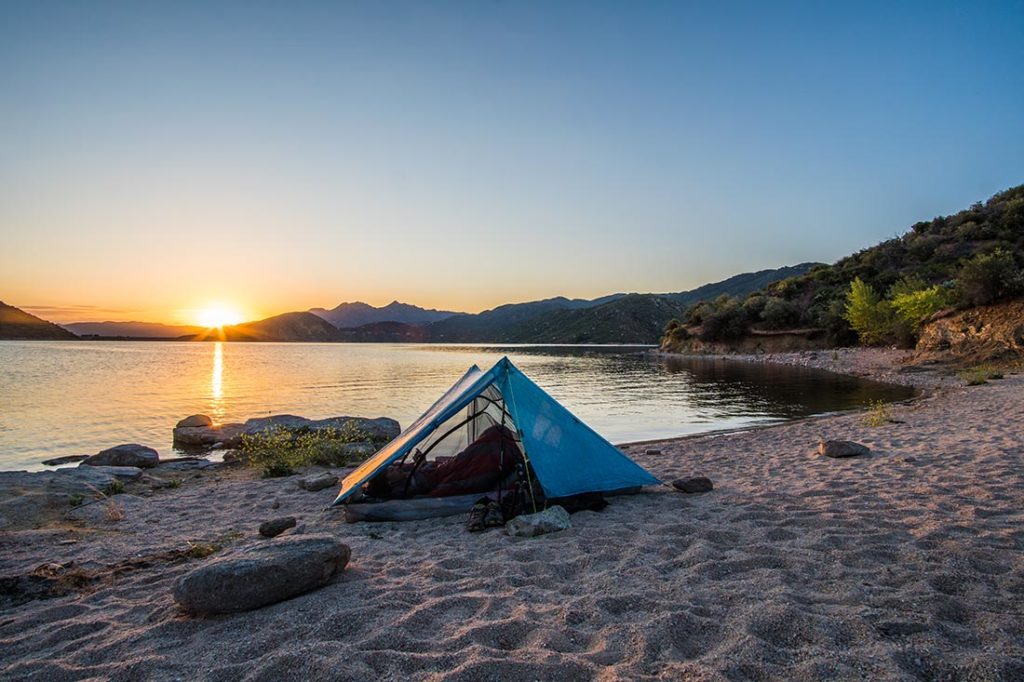
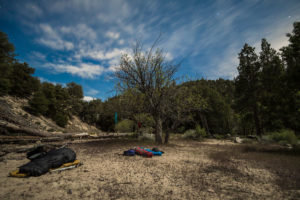
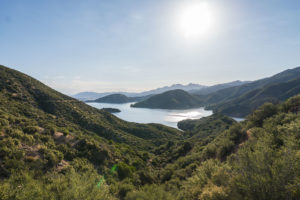
Our cozy camping spot by the Silverwood Lake

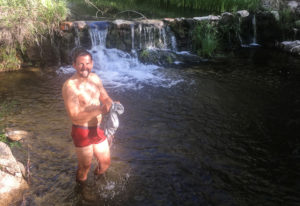
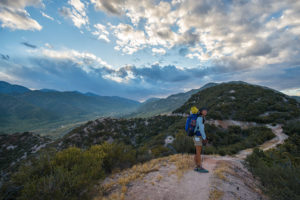
This has been so far our favorite part. Why? We got spoiled and got to S-W-I-M 3 days in a row!!! Going from carrying water purely for our survival to having such abundance of it that we can actually go for a swim has been such a treat. Our first night it was a small swim hole in a creek. We arrived to our camp about 40 minutes before sunset and without wasting any time jumped in for a swim.


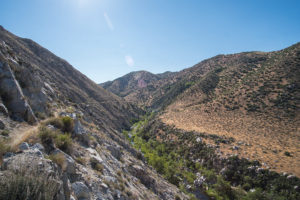
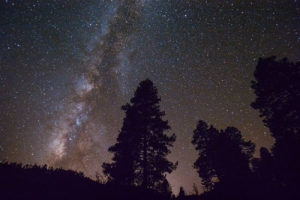
The following day was the greatest day ever. There was a natural hot spring right on the trail! Apparently not even many locals know about that place because it is pretty remote and requires some hiking to get to. It was a hot spring flowing into the a cold river. We were able to jump between the hot and cold water and create contrast temperature fluctuations which were so healing for our sore joints. Needless to say, our feet felt amazing the following day. I can also cross off my bucket list – watching the stars in hot spring all el naturál.


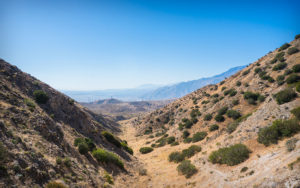
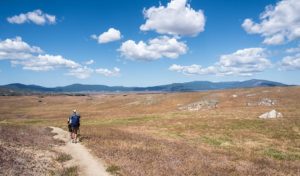
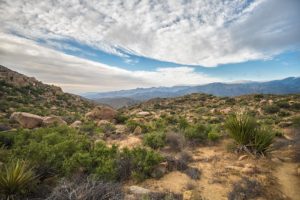
After leaving our hot sprigs paradise, we were back on trail going through South California’s beautiful terrain, exploring new places and meeting new people!


Camping by the Silverwood Lake

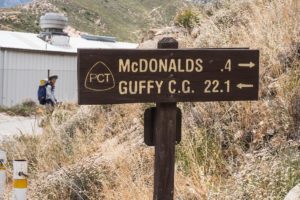
On our last swimming day we came upon a lake where we set our camp right on the beach. I woke up from sun warming up our tent and cows mooing in the distance 🙂 Today we will reach the Cajon Pass where we will pickup our resupply package and get our belly’s by eating junk-food at McDonald’s!


Hiking The Pacific Crest Trail: Day 17

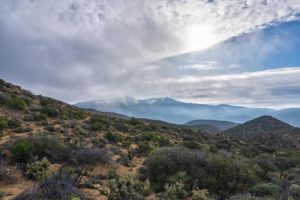
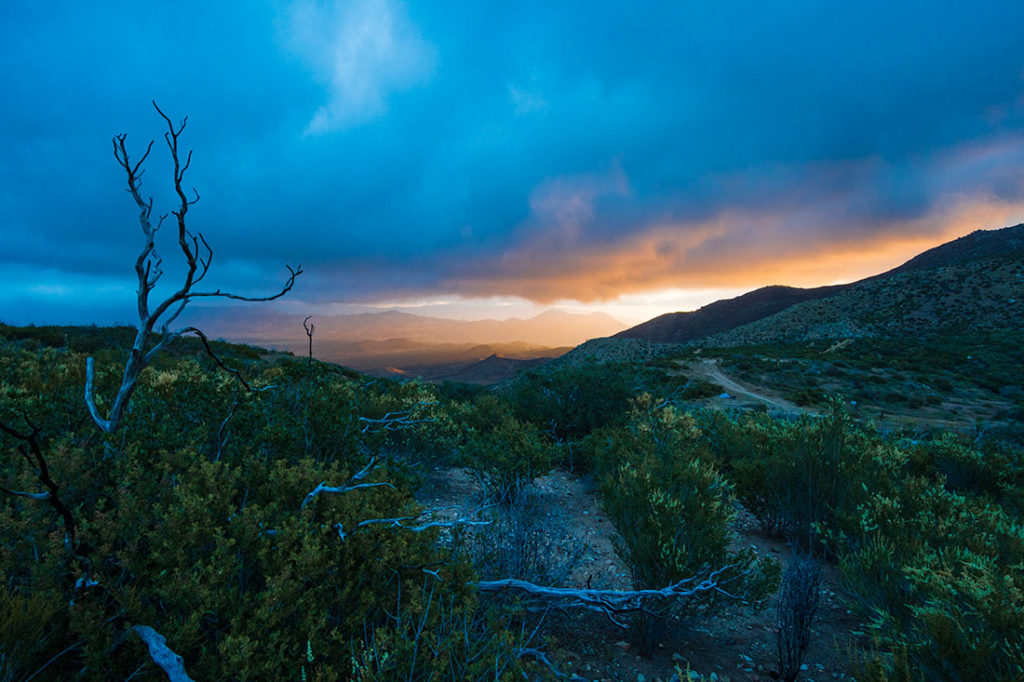
Sunset over San Jacinto

San Jacinto is the second tallest peak (10,200 ft) in Southern California which is located right off PCT. Leaving Idyllwild, Rangers told us that the peak and a portion of PCT is closed due to recent rain storm which ended up causing snow precipitation in higher elevations. We were told it was waist deep snow and rescue crews were taking people off by a helicopter. Believing the Rangers we took a detour, missing the San Jacinto peak. As we were walking the detour route we saw a hiker coming down from a path that we thought was closed. He told us that there was very little snow and there are plenty of hikers doing the peak trail. To say the least, we were pissed that Rangers lied to us.


A portion (20 out of 56 miles) of the next PCT section also happened to be closed due to a forest fire that happened back in fall. However, we met people who hiked through the fire closure going Southbound and saying that trail is actually open and there are no signs or advisories telling hikers to stay away.  Maybe it was the recent Idyllwild ranger encounter, but we felt like little rebels and decided to try hiking through the closure and find out if it was open!


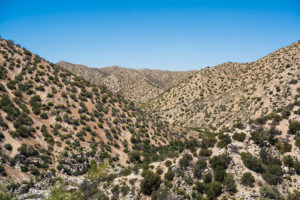
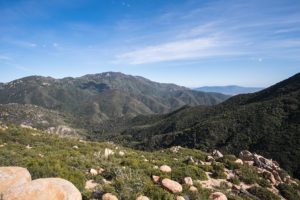
Our plan was to hike up to the closure boundary and if there were no signs that the trail is closed we would push through. To our pleasure, there were no closure signs and we were able to do the PCT miles that we would have otherwise had to skip. And let me tell, that area was beautiful!


Our next resupply town is Big Bear Lake

After additional 6 days of hiking since Idyllwild we were ready for another zero day. We have heard many good things about the Big Bear Hostel and that it was a hiker favorite place to stay. A day before hiking into town we got cell service on top of a mountain and decided to make a reservation with the hostel. The following day we arrived into town, did our grocery shopping and went to the hostel to check in. When we arrived, the owner was not there so we called his phone to inquire about our reservation. To our despair he told us that our reservation was for the night before and that he tried reaching us by phone (of course we were camping in a canyon and had no service). Reservation was marked as no show and we lost our $$.

There were no more rooms left in the hostel for that night, so we had to quickly call other hotels to make a reservation. It then hit me that maybe we could cowboy camp in the backyard of the Hostel, so I began calling the owner back. After 15th time of calling I gave up. As we were gathering our belongings from the front porch of the hostel and getting ready to walk over to the bus stop, a guy approached us and asked how can he help us. I said that we were looking for a place to stay but accidentally made a reservation for incorrect night. His eyes were all of the sudden wide open, and I realized that this is whose person’s phone I have been blowing up just 15min ago. He said he didn’t realize that we were PCT hikers over the phone and told me to immediately cancel any reservations I made with other hotels. In a few minutes he came back and was able to get a room for us.


Hiking The Pacific Crest Trail: Day 10

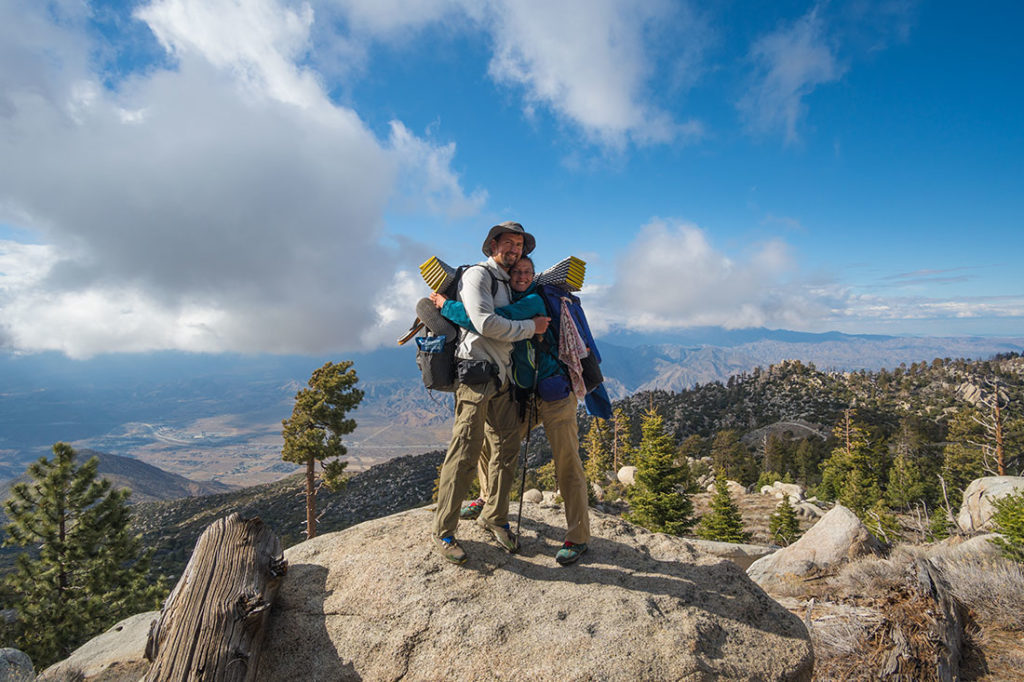
Me and Dash are slightly below San Jacinto Peak

We took a half day off at Warner Springs to shower & do our laundry. The following day as we were heading back out to the trail I involuntarily said to Serge “I’ve missed the trail”. People say you develop some sense of attachment to being out there in the wilderness. Maybe that was the first sign of it.


Trail Angel “Tom” brings 50 gallons of fresh water every day to help hikers get through dry sections of the trail”

We have encountered several over 90°F days where we had to go up hill for most of the time. Water situation on PCT is no joke and should not be taken lightly. There are often times when we have to carry additional 6 liters of water (that’s 12 pounds) on top of the gear and food that we have in our packs. That water is to drink and for cooking meals. Amount of water you have with you dictates whether you will have a full cooked meal or some peanut butter crackers. In the desert there are 20-30 mile stretches where there is no water resupply and sometimes hikers have to carry 1-2 days worth of water. Water logistics are only difficult in the dry Southern part of California and Trail Angels do their best to help us out – for example delivering up to 50 gallons of water to a dried up creek on daily basis.


Trail Magic continues to follow us and only a few days back on the trail we ran into Mike Hererra’s place. Mike is a well off fella who invented the tortilla flour grinding machine. He has a private property that is located right on the trail. Mike doesn’t live there but lets his friends maintain the place and keep providing trail magic to hikers. They host hikers every day and make food all day long for anyone who is passing by. We have heard about Mike’s place from another hiker but really had no idea what to expect. We arrived there around 7pm hoping we could find a spot to camp in the backyard (trail angels often host hikers in their backyards). But we came to fresh hand made pizza baked in a brick fire oven by Josh. There was a bunch of hikers sitting around an unlit fire pit, chatting, drinking sodas & beer and eating fresh out of the oven pizza.

Josh, used to be a chef, immediately made us a pizza and we joined the company. We then gathered wood for a bone fire and continued getting to know our new hiker family. In the morning, Josh made us fresh coffee & pancakes which we ate with our hands, slowly warming up on the rising sun and listening to Frank Sinatra and Jack Johnson music.


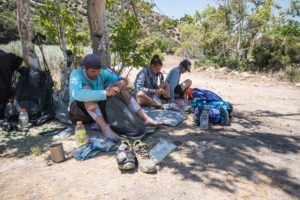
Some hikers hike faster or slower than others. Often times we pass each other, or leap frog on the trail. But at the end of the day, we all come to same campsites and get to hear about each other’s days, inspect each other’s blisters and eat boring but delicious instant mashed potatoe dinners.


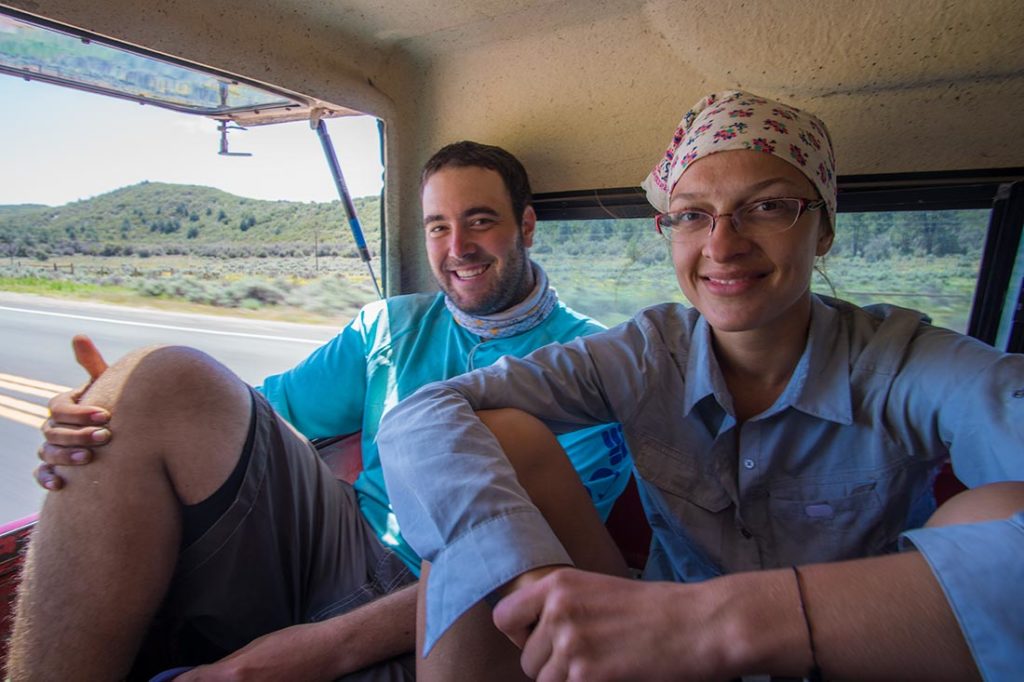
Butt-tape and Six on the back of a pick up truck heading toward Idylwild

Our next town is Idyllwild. It is a small touristy town where you can walk from one end to the next in 20 minutes. We arrived on Thursday – dollar tacos night, and immediately felt lucky. With an upcoming rain storm, we decided to take a day zero (a full day off) in town and run some errands like laundry, showers and resupplying groceries.


Hiking The Pacific Crest Trail: Day 7

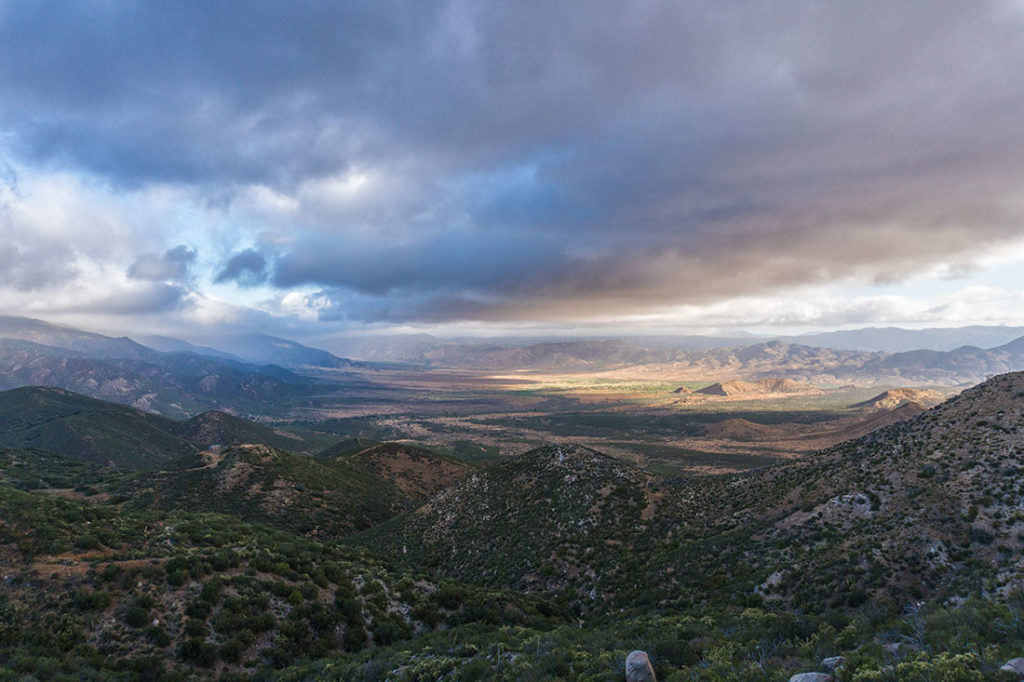
Beautiful Sunrise over Southern California

For some reason each day on PCT is becoming more and more difficult. Each day you begin walking thinking you have stronger legs or your pack is going to be lighter today but everything is hurting by noon. Right now we are hiking through Southern California high desert. We started off our hike thinking that desert will bring us many hot days, not realizing what high desert is. High desert is located in higher elevations and you get cold mornings and cold evenings. On our 3rd day on the trail, ice was falling from the sky. It could be hot one day and extremely cold the next. Out here, you are at the mercy of the weather. Despite certain difficulties, the trail is magical and it’s hard to explain it in words.


One day upon setting up camp & getting ready for bed, I saw with a corner of my eye something that looked like a huge dragon fly. It took me a few seconds to realize that it was a humming bird. I calmly said to Serge that there is a humming bird nearby and asked him not to move. In that moment the humming bird flew up to Serge who was wearing a puffy blue jacket and started flying up and down inspecting his body. It was gently poking its long nose at his jacket (probably thinking he is a flower) and you could see how her nose was bending against the firm material of his jacket. She spent a few more moments hovering around campsite and then flew off. Needless to say, Serge had goose bumps standing frozen and trying to comprehend what has just happened.


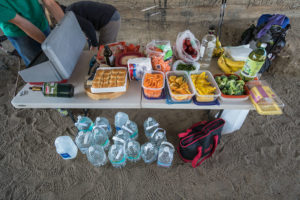
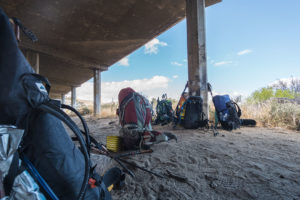
A few days later we had our first encounter with Trail Magic. Trail Angels bring Trail Magic to the trail. As we were hiking through the desert around noon and the temperatures kept rising, I noticed a guy standing next to a road crossing. It almost seemed like he was waiting for us and it made me feel uncomfortable. As we approached him, he said that there is some Trail Magic underneath a bridge which we were about to pass. When we came to the bridge there was a table set up with camp chairs and two girls were welcoming us to rest. On the table there were fresh cut up fruit, vegetables, snacks and they were about to make grilled cheese sandwiches for all hikers passing through. They also included beer, vodka and even margaritas 🙂 We set there, shaded under the bridge, eating, drinking, listening to music and socializing with other hikers for over 2 hours. It was such a wonderful break in the middle of our hot & tiring way. These people go out of their way to do something nice for us and don’t expect anything in return. Of course it is our choice to be out here hiking the PCT, and undertake any challenges that the trail might bring but what these people do for us is truly magical.


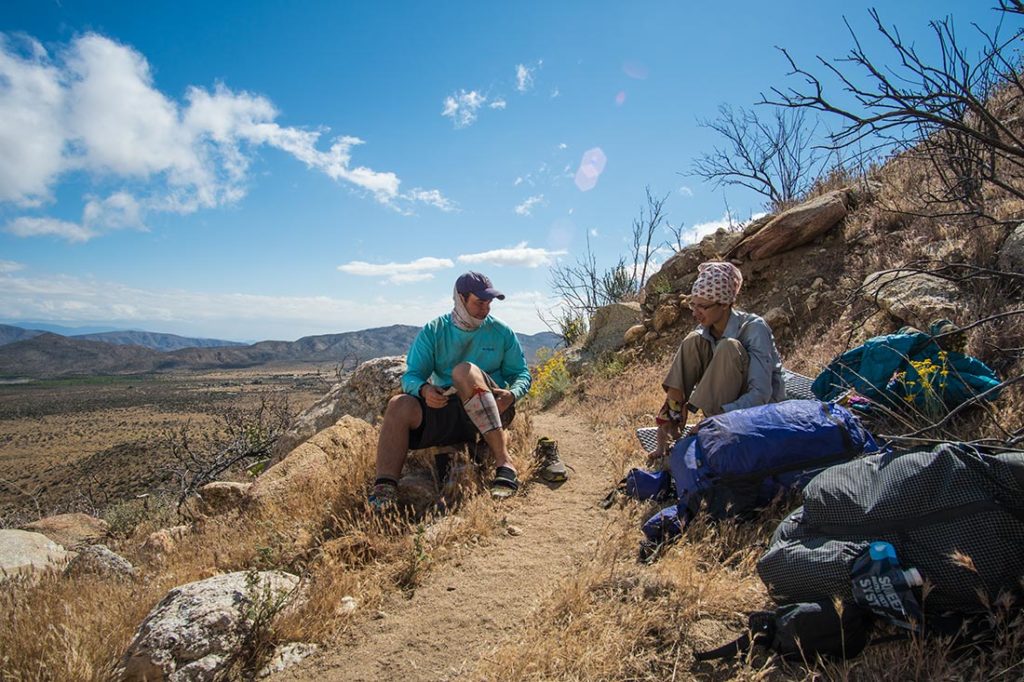
“Six” and “Butt-Tape” are most likely discussing their blister fighting strategies

On every thru-hike you get a trail name. It is kind of a nick name that has to do with something that has happened to you on the trail. Every trail name has a story behind it. It will find you and stick with you. Serge and I got our trail names within the first week of hiking. On day 2 we met our new friend Trevar who goes by trail name “6”. When he was hiking the Appalachian Trail, within the first month he had 6 horrible trail names so “6” got stuck with him.


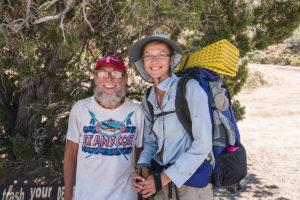
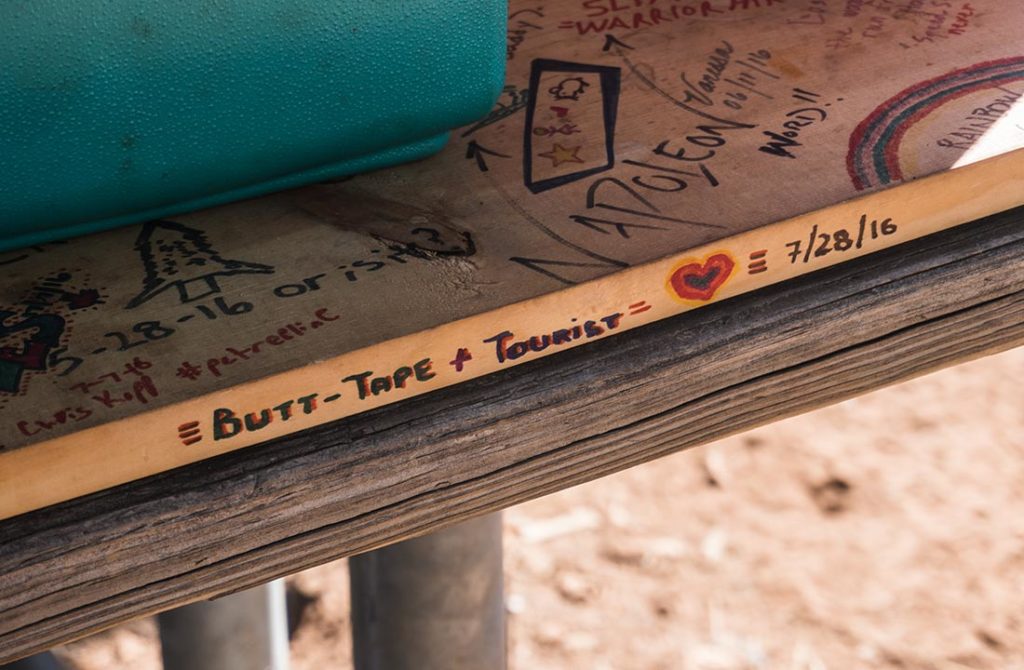
“6” has similar hiking pace to ours so we have been walking together for the past 7 days. A few days into our hike, I started to feel uncomfortable irritation on both of my butt checks due to heavy load of my pack pressing down on the skin. I have heard many times that duct tape is hiker’s best friend and you use it for everything (like taping up your blisters or fixing your ripped shoes). One afternoon we came upon a hiker box (a box full of random stuff that hikers leave behind). I looked through the box and found duct tape. I immediately pulled my pants down and asked Serge to put duct tape on my butt to stop the irritation. “6” just stood in awe and blurred out – butt tape. So that is how my trail name was born. Now every morning Serge puts tape on my butt, and “6” is laughing his ass off proudly justifying my trail name. Serge got his just a few days later – The Tourist. His big rimmed hat and the 24/7 camera hanging around his neck got him the name, not to mention amount of photos and videos he takes through out the trail.


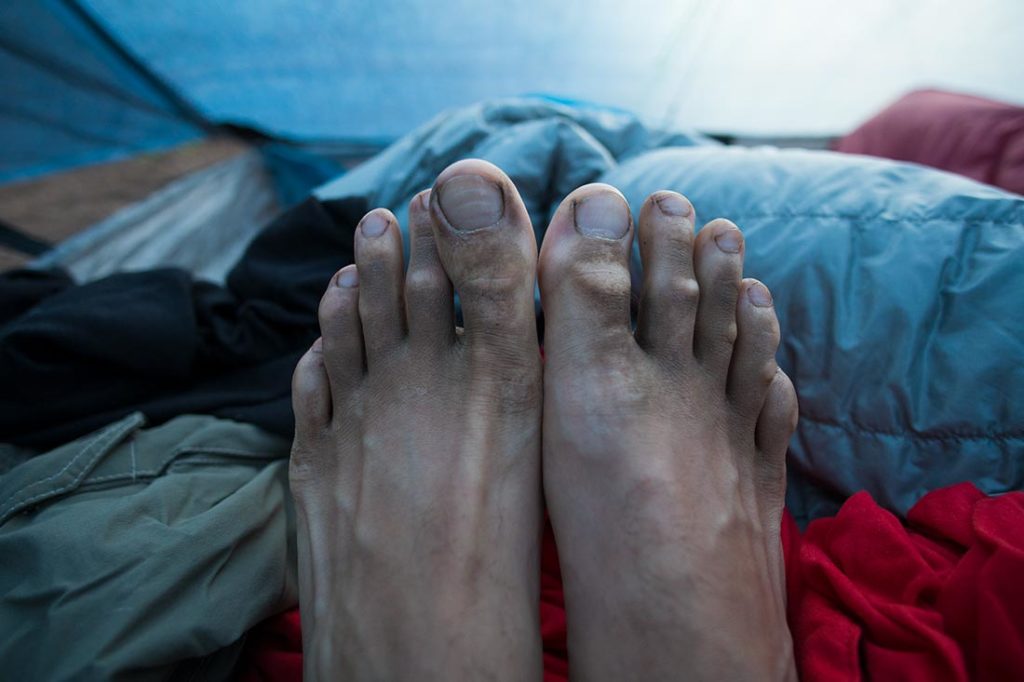
It didn’t take to long to get used to dusty, dirty feet

Warner Springs is a small hiker town that has a post office, resource center, restaurant and a large campsite area for people to camp and rest. At this point we haven’t showered or washed our clothes in 7 days. The resource center offers hikers free bucket showers & laundry. They give out buckets, detergent for laundry and soap for the showers. After not having a shower for 7 days a bucket shower felt devine. I had to wash my hair 3 times before I could get it to soap up. Later in the evening the community prepared a dinner for hikers free of charge.


Hiking The Pacific Crest Trail: Day 1

A photo of us and our trail angel “Robert Reiss” at the Southern Terminus right by Mexican Border

PCT south terminus is located just outside of small town called Campo, about 2 hours drive by car from San Diego. The monument stands 30 feet from the Mexican border – a metal wall stretching out as far as the eye can see and guarded all the way by Border Patrol vehicles. If you fly into San Diego, it could take you over a day, or sometimes several days, to get into Campo by public transportation.


This is a trail register. There are quiet a few of these along the way. Hikers write their names and often leave messages for hikers who are behind

Our first encounter with a Trail Angel was even before we have hit the trail. A Trail Angel is someone who selflessly goes out of their way to help out hikers. The help could be in form of giving a ride, bringing food & water to the trail, or anything that would help a hiker in their journey. Rob Reiss has been hosting hikers in his San Diego home since 1999. This year over a 150+ hikers will come through his house. He picked us up from San Diego airport and immediately asked if there is anything we need (like a run to the grocery store, supermarket, REI or a post office) to get before our big day the next morning. That day he hosted 5 hikers including us who will start their hikes the following morning on April 26.


Our starting PCT Crew: From left to right: Sal, Shawn, Jeff Dasha & Me!

One of the cool aspect of thru-hiking are the wide variety of people you get to meet. Jeff has just finished college and going on this adventure before committing to other things in life. Sal is from Kazakhstan, living in US, around his early 30s, was like me – able to get a leave from his job. Lastly there was Shawn Knox. Shawn is a retired fella in his 60s, who has already had 3 cancers and a heart attack last year. The daily medication that he had to bring weighted more than his food. Last year Shawn completed 800 miles of the Appalachian Trail. Needless to say he is an inspiration to all of us.


Sunrise over US/Mexico Border Wall

On April 26th at 6:00AM Rob pulled up his mini van with 5 of us to the Southern Terminus. It was a crispy cold morning in the desert with sun about to appear from the mountains.


Glacier Trekking & Boat Tour to Viedma Glacier

A large glacier floating in the lake

We typically try to avoid big tours when we travel, as we like flexibility of being on our own schedule. But for this time, we decided to go with Patagonia Adventura to experience the lake side views of the Viedma Glacier from the boat and later explore the opportunity to actually walk on the glacier. I must say, we were not disappointed!

There are 3 types of tours:


  • Boat Tour Only (Viedma Light) 3Hrs Roundtrip
  • Boat & Glacier Trekking Tour (Viedma Ice Trek) 6Hrs Roundtrip
  • Boat + Ice climbing tour (Viedma Pro) 6Hrs Rondtrip

We opted for the Boat & Glacier Trekking Tour. And let me tell you, I did not think once about the $300 that we spent on this excursion while we were out there. This is what I call getting your money’s worth.

Dash is getting ready to board the boat that will take us Glacier Trekking

Once you purchase the tickets, you will be given instructions on when to arrive to their pickup location so you could get on their shuttle bus and be taken to the Boat Terminal. It’s about 30-45 minutes ride. One you arrive at the boat terminal, it would take another 30 or so minutes to board one of the boats.

After about 45 minute ride, you will get very close to the Viedma glacier. There were few times when we heard a loud cracking noise and witnessed huge chunks of ice fall into the water. A very sad but also a very unique experience.


Dash is on top of Viedma Galcier


Hike to Paso Del Viento & Camping at Laguna Toro

Southern Patagonia Icefield

Trip Information:


  • Duration: 2 – 3 Days including one or two night camping at Laguna Toro Campground
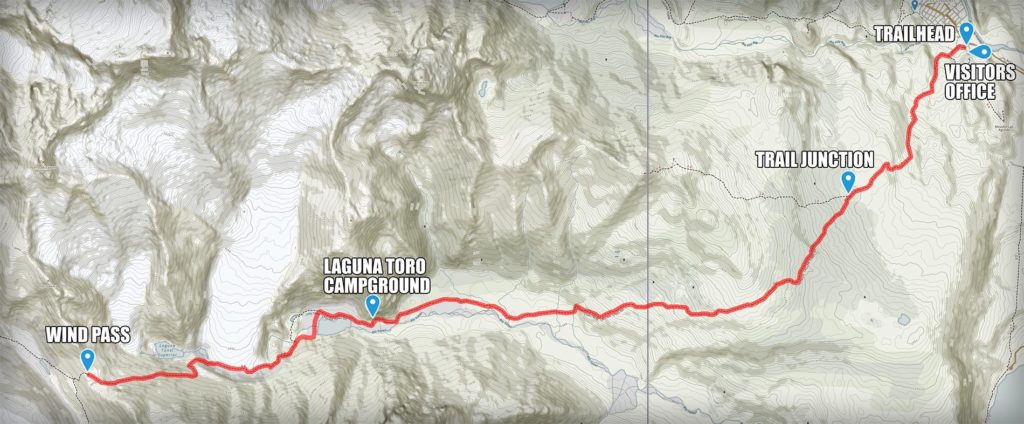
  • Reservations:  No need to reserve camping, but you should check in at the Visitors Office right by the trailhead.
  • Estimated distance to Laguna Toro: 16km (10 miles) or 5-7 hrs one way
  • Estimated distance from Laguna Toro to Wind Pass: 8km (5 miles) 3-5 hrs one way (Difficult)
  • Alltrails Map: Trek Map
  • Directions: Trailhead Parking


❖ DAY 1: Hike to Laguna Toro Campground


Weather has been rough and a snow storm was dumping. After waiting it out in a hostel for a few days, we’ve finally spotted a small window of good weather through mountain forecast and stepped out into the storm early in the afternoon knowing that it will clear up toward the end of the day, and it did.

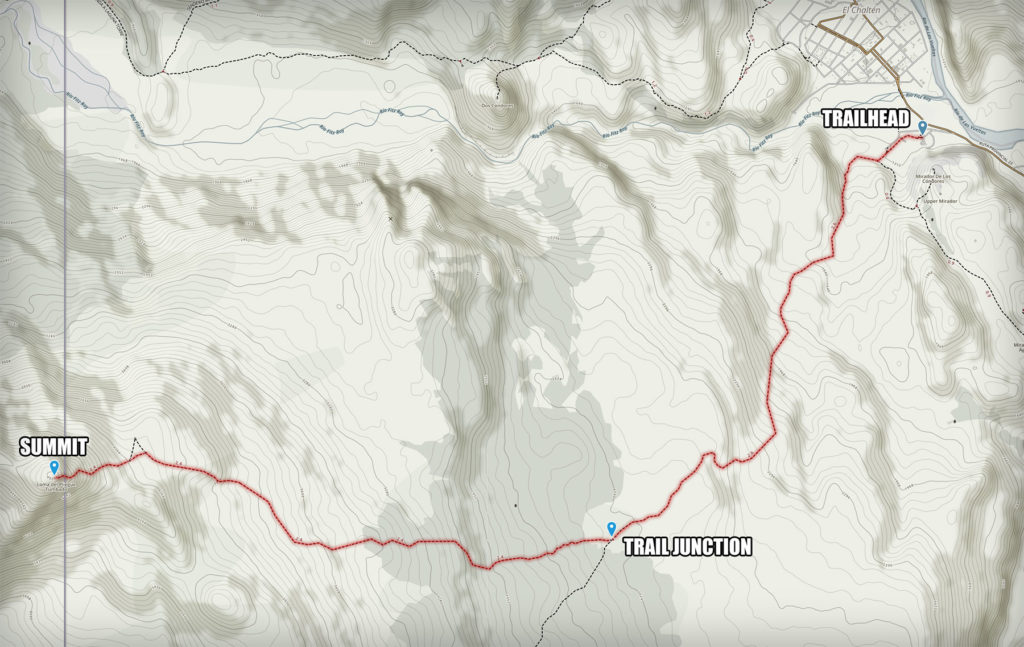
This hike’s trailhead is located on right side of the Visitors Center (marked on the map) and shares the same path with Del Pliegue Tumbado trail for the first 3 miles until you reach the trail junction and branch of to to the left toward Lagona Toro.

By afternoon, our feet and clothes were soaked from walking through constant wet snow and turning back has crossed our minds a few times. However, we pushed on with end goal of getting to camp, having a hot meal and curling up in our warm sleeping bags and hike to Wind Pass the next day.

Shortly the rain stopped and the first layer of storm clouds started to dissolve. We immediately felt the warmth of sun rays trying to fight through the remaining thin layer of clouds. It’s always a good idea to to dry your clothes and equipment with whatever remaining sun you have left for the day.

We reached the campground before sunset. We put up our ultralight Zpacks Duplex tent and walked over to Laguna Toro to enjoy the sunset. We were completely alone and it was such a calm and serene end to a day that started off as a gloomy and cold hike into uncertainty.


❖ DAY 2:Hike to Wind Pass and Back to El Chalten

The next morning we woke up to clear skies and set off on our hike to Wind Pass. We have left all the heavy gear at the Laguna Toro campground so we could be as light as possible on out feet as we planned to hike to the pass and return back to El Chalten that same day since we had the Viedma Glacier Trek booked for next day. Although, we have definitely underestimated how difficult and how much time it would take to do all of it in one day. Plan to spend at least 2 nights at Laguna Toro Campground if you are trying to hike to up to Wind Pass.

IMPORTANT: After Laguna Tunel o Tore lake, the trail splits up in two, but would later connect again. If you are experienced climber and have a harness, caribiners and a sling with you, you can stay to the right and would eventually have to use the climbing equipment to cross the river over cables. But if you have no climbing experience or proper gear with you (like us at the time) stay to the left after passing the lake and you will have to cross glacier run offs which were knee deep for us at that time. Later the trail will merge again.

The Wind Pass really does seem closer than it is when you’re looking at it from Laguna Toro. It’s a difficult hike going uphill through rocky terrain. There were times where we got off the trail and had to scramble through loose rocks just to find it again. The trail is only visible for about  50-60%% of the time, so you would have to rely on Rock Cairns, GPS Pre-loaded track or a paper maps.

At one point there was a section where we ended up walking on the end tip of the glacier. There was a trail left by a previous party, so we felt safe walking on it. Please do so at your own risk. You can also choose to try to scramble on the left side of the glacier.

Once we got to the top of the Wind Pass the views of the Southern Patagonian Icefield were breathtaking. You could see as far as the eye could see. Unfortunately due to us underestimating our time we could only spend about 30 minutes at the top before heading back. We got back to camp around 6pm quickly ate dinner to fuel up and headed back into town. As we were hiking back, it started to rain again. At 10:14pm we arrived at El Chalten. It was hell of a day with in total of 32km (20mi) hiked.

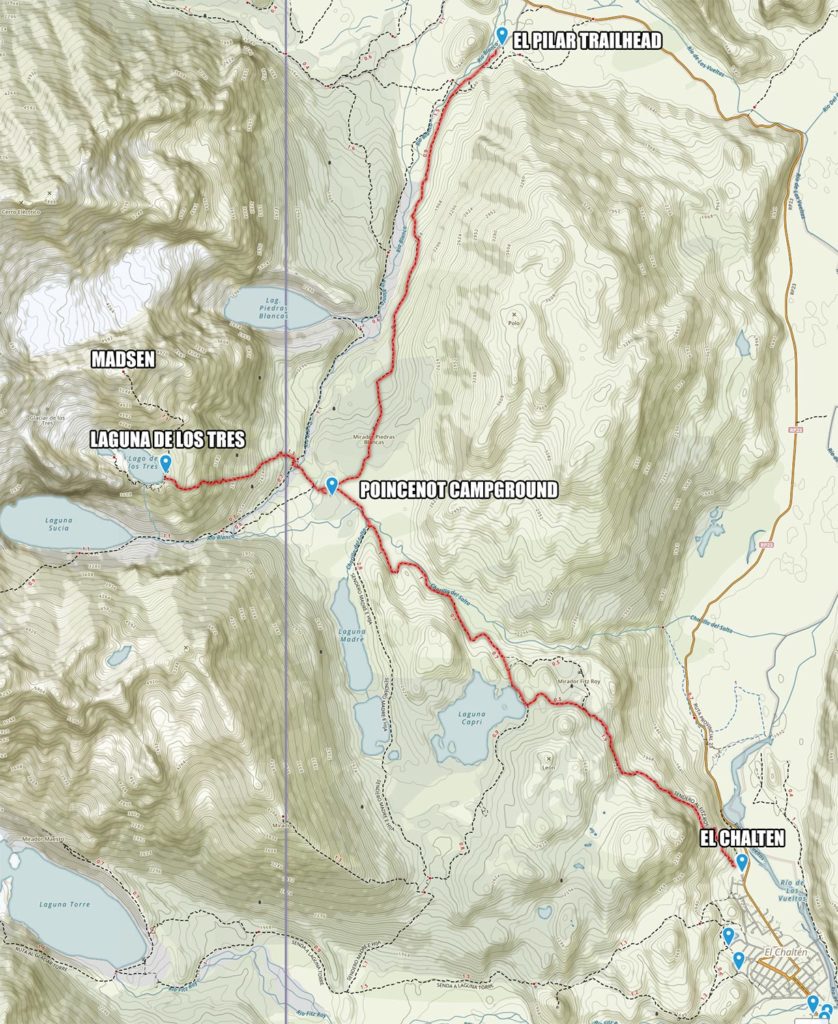
Hike to Laguna De Los Tres and Camp at Poincenot Campground

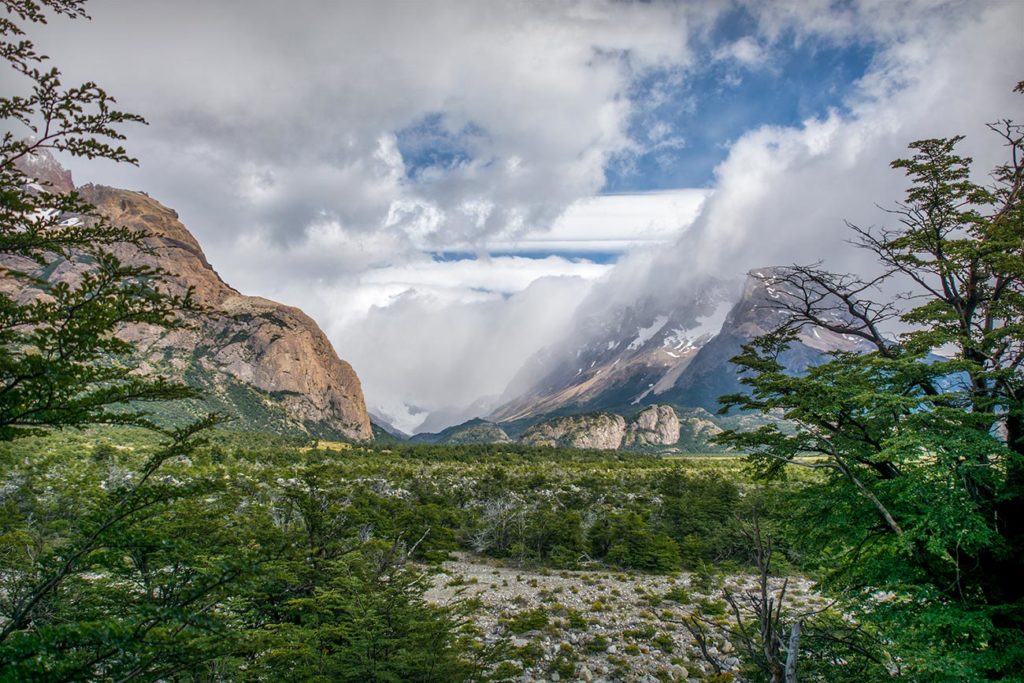
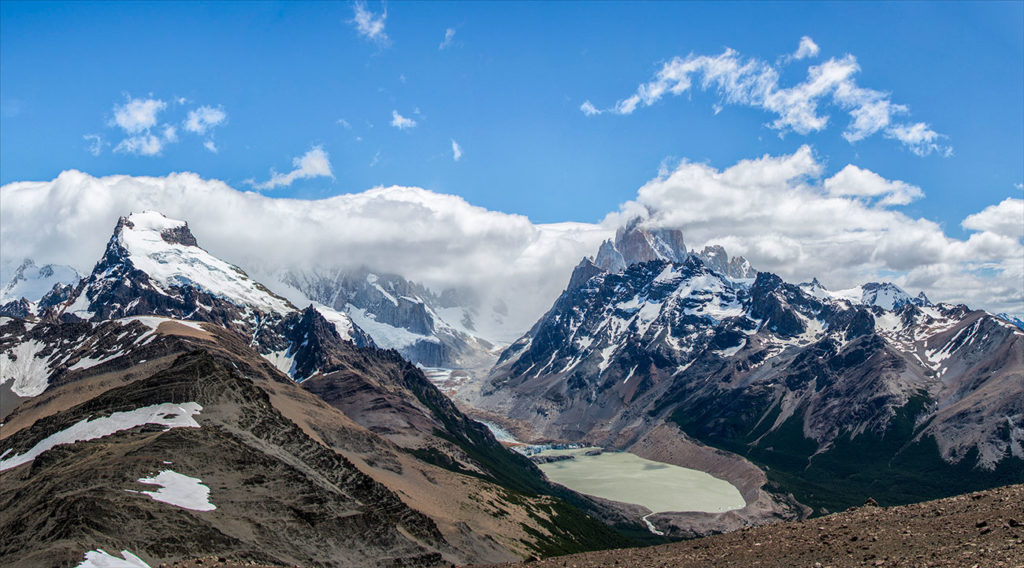
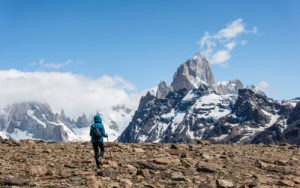
A view of mighty Fitz Roy covered in clouds

Trip Information:


  • Directions: Drive from El Chalten to El Pilar: 30min or 14.5km (9mi) one way
  • Distance: from El Pillar to Poincenot Camp: 8 km (5mi) one way
  • Distance: from Poincenot Camp to Lguna De Los Tres: 1.8 km (1.1mi) one way
  • Alltrails Map: Trek map


We were initially planning to camp for 2 nights, but our stove malfunctioned on the first night at Poincenot campground, and we had to go back into town the next morning and try to get it fixed.

To get to El Pilar trailhead, we’ve reserved a shuttle transportation with Las Lengas for  $9/person. You can try hitchhiking, but the road is not paved and we haven’t seen much traffic going that way.

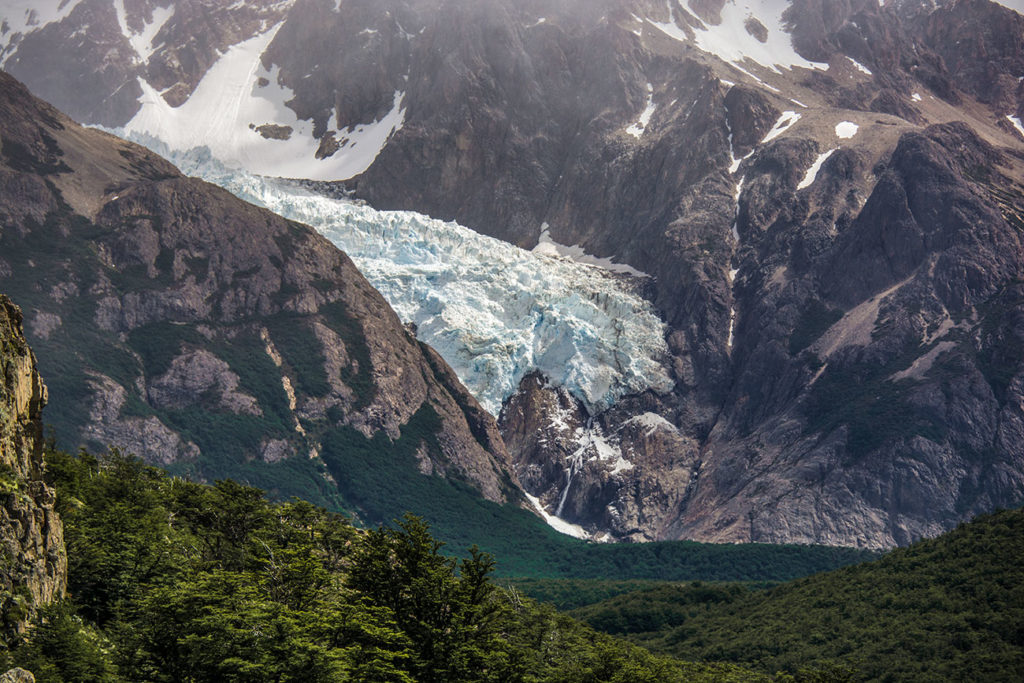
The hike to Poincenot campground is relatively easy. You will pass by some pretty views of the Rio Electrico Valley and Piedras Blancas Glacier.  Estimated (one way) completion time to campground 8km (5mi) 3 – 3 1/2 hours

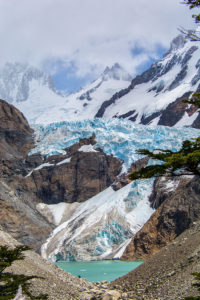
A view of Piedras Blancas Glacier


As we headed out to check out the Laguna de los Tres (one hour, one way, steep uphill hike). We’ve noticed that the weather started to change very rapidly and by the time we reached Laguna De Los Tres, it was nearly a whiteout and the wind was literally trying to blow us of our feet. I’d say that the wind speeds were reaching anywhere near 80Mph (130Kph) with gusts over 90-100Mph(145-160Kph). We weren’t able to see much, but the whole adrenaline rush experience was well worth it.

A heavy storm system moving from Pacific Ocean

Upon returning back to the campground, we approached our tent and saw that it was filled with dirt inside! We realized that it was from all the wind carrying the small volcanic dust particles. Since we had a 3 season tent that does not fully close off from the ground, dirt being blown inside was inevitable.


As I mentioned earlier, because of our stove malfunction, we had to get back to town in the morning. Let me just say that this trip is doable in one day, and most of the people who were dropped off at the El Pilar trailhead with us, had only day packs with them, meaning they were planning to come back into town through the Capri Campground trail that same day.

Our initial itinerary for the second day consisted of visiting the top of Madsen (Which is above Lago De Los Tres), visiting the lakes of Laguna Sicia, Madre, Hija, climbing to the top of Mirador and Camp at Laguna Torre.


Laguna Capri Day Hike

Trip Information:


  • Distance: 13 km (8 miles) Loop
  • Elevation Gain: 450 meters (1,400 ft)
  • Estimated Duration: 4-7 hours round trip
  • Alltrails Map: Laguna Capri

I did this hike on my own as Serge was still not feeling well and needed to take an extra day to recover. I was initially planning on hiking up to Laguna de los Tres and back to town in 1 day (totally doable!), but Serge, being an over protecting hubby that he is, talked me out of the lengthy solo hike and suggested instead to hike up to Laguna Capri and take a “shortcut” route to the trailhead junction between Laguna Torre and Poincenot Campground, which is not marked on the regular map for reasons I will describe later. (Keep in mind, this was in 2015)

He showed me the trail and the topographical map to help me visualize the area and explained me how to use a simple GPS on my fully charged iphone with “Motion-X GPX” app. A very cheap and simple app which allows you to preload hiking trail maps of any regions. The tool itself consists of a GPS location tracker showing your exact location on the map and the trail. This GPS is pretty neat as all it needs is an open sky, satellite signal (which is free and available on most of the smartphones) and a preloaded trail map, which Serge took care of before we left US. I would highly advise you to never rely on your phone and always carry a backup paper map and a compass, because phones often fail.

So he handed me his phone and ENSURED that the best way to go would be via the “short cut”. As I get to Laguna Capri, I immediately start looking for the trailhead to his mentioned shortcut. It is nowhere to be seen or marked by trail signs. I kind of knew in which direction I had to go, plus I could clearly see my self on my map on GPS. so I started walking and a bit of bushwacking on what I thought was the trail in what I thought was the correct direction where I needed to go . After walking through bushes and something that very little resembled of a foot trail, for about half an hour, I came out onto what looked like a legitimate foot trail. It didn’t take me too long to figure out that the reason why there were no signs, and the “short-cut” is not marked on the regular map is because this trail is no longer maintained or used by hikers.

Oh this was fun. The thoughts that were popping into my head and imaginary news headlines that I kept on making up in case something was to happen to me there. In all reality it was kind of nerve wracking walking on an unmaintained  trail, but it was peaceful and beautiful. I wish I could have enjoyed it more if it wasn’t for me being scared and feeling vulnerable on my own.

After about 1.5 hours I came upon a trail junction that is located between Laguna Torre and Poincenot Campground. From there everething is pretty straight forward and I was able to easily find my way towards the town.

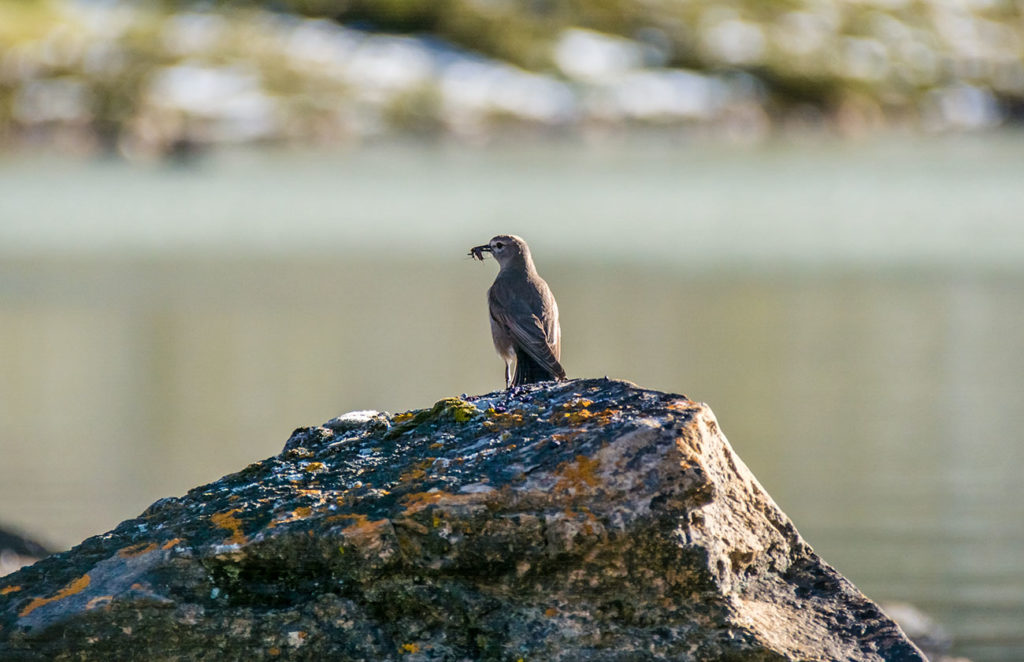
If you are into birdwatching, I highly suggest taking this route because you will spot a lot of beautiful wildlife and plants.


Day Hike To Loma Del Pliegue Tumbado

In the perfect world, you would love to see all of the beautiful sights on a sunny day, but in Patagonia that’s not always the case. So if you had to choose a hike to experience the scale and the beauty of this place, this would be it!

Hike Information:


  • Distance: 18.5 km round trip (11.5 miles)
  • Starting Elevation: 401 meters (1,315 ft)
  • Summit Elevation: 1,484 meters (4,869 ft)
  • Elevation Gain: 1,128 meters (3,705 fet)
  • Estimated Duration: 6-10 hours round trip


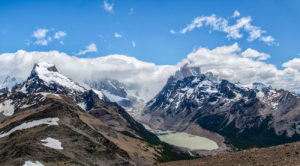
This hike provides an overview of the entire park, and you get to see all of the main peaks once you get to the summit. Start your hike early and check the weather forecast. Just because weather is nice in the morning, doesn’t mean it will stay like that all day. By the time we got up to the summit, the clouds were heavily rolling in.

This hike’s trailhead is located on right side (marked on the map) near the Visitors Center at the entrance to El Chalten. It will be marked as Laguna Toro until you reach the trail junction in approximately 3 miles indicating Loma Del Pliegue Tumbado to the right. The trail is very well maintained and well marked and it would be very difficult to get lost.

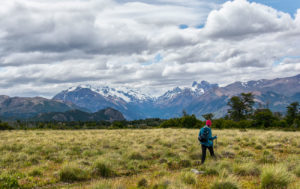
Once passed the trailhead you will gradually start picking up elevation and will provide views of Fitz Roy and Cerro Torre peaks to the west and the town of El Chalten will be visible on the north east.

For the most part, this trail is very exposed with only few patches of trees to shelter you from the sun. Make sure to bring some sun screen, proper clothing and a hat.

Once out of the forest, you will reach the trail junction that should have a sign like the image below. Always consider weather conditions, if it’s super hot/sunny or cold/windy day, it might be a good idea to have lunch or a snack around this area before continue above the treeline.

Once above the treeline, the landscape will slowly turn from grassy meadows to sand and rock surface. From this point the the elevation will start to gradually climb until you reach the summit. Having shoes with nice grip and a toe protection is always a great idea when you are in the rocky terrain.

Patagonia is a very beautiful place and it’s essential to get the most out of your trip. Prior to this trip my wife purchased and read this guidebook Lonely Planet Argentina (Travel Guide) which was a very helpful asset.


4 Day Itinerary For Hiking Zion, Bryce & Havasu Falls

Southwest Adventure – a detailed video from our trip to Utah and Arizona by Serge Pikhotskiy on Vimeo.

SUMMARY:


It was last minute, unanticipated trip. My friend and I were talking on the phone and I threw an idea of visiting Southwest and visit some places in the area. Two days later, we were on the plane flying from Philadelphia to Las Vegas. We arrived late in the evening, picked up our rental and spent a night at one of the cheaper hotels on the outskirts of Las Vegas strip.


ARRIVAL: The following morning we woke up before sunrise, grabbed quick breakfast and drove toward Zion National Park, which is about 2.5 hours away from Las Vegas. Along the way we stopped at St.George, which is a very large town that has plenty of specialized stores and large supermarkets. There we grabbed some last minute supplies and canister fuel (we brought most of our own food, including dry freeze meals from Philly).

When entering Zion National Park, you will be required to purchase a minimum 7 day pass ($20 per person or $35 per vehicle). It’s a popular location, so if you’re planing on camping in the park, make sure to reserve campgrounds in advance. There are first come first serve camping available, but there is a small chance that you might not be so lucky.


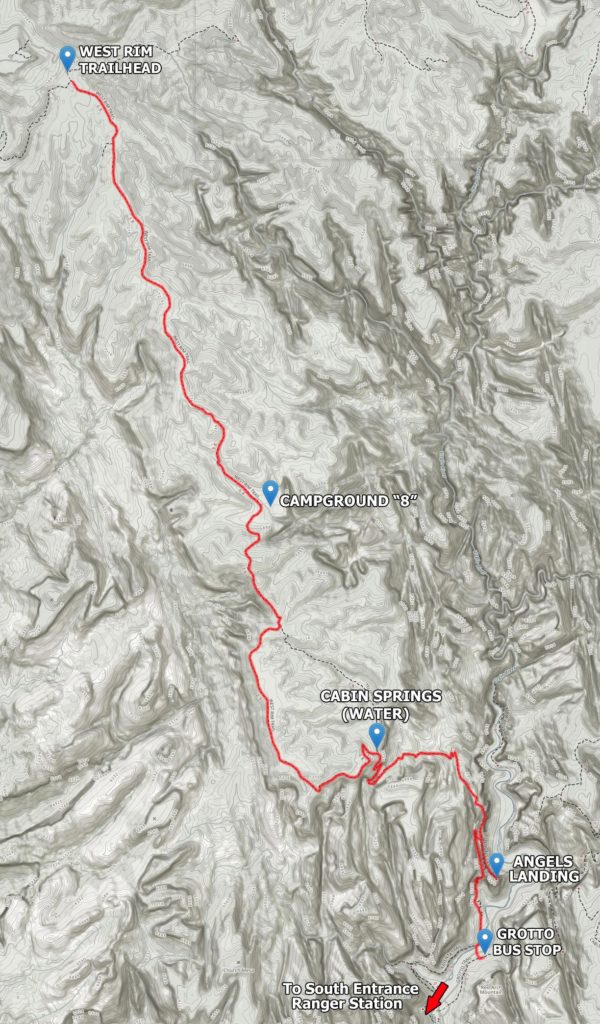
DAY 1: On our first day, the plan was to hitchhike all the way from Zion’s National Park South Entrance Ranger Station to West Rim Trailhead near Lava Point Overlook and hike to our reserved camping spot (plan ahead to reserve your campground, there are limited number of sites and they typically fill up months in advance) We were extremely fortunate to pickup someones cancelled online reservation two days prior to our arrival. Full blog for hiking the West Rim Trail


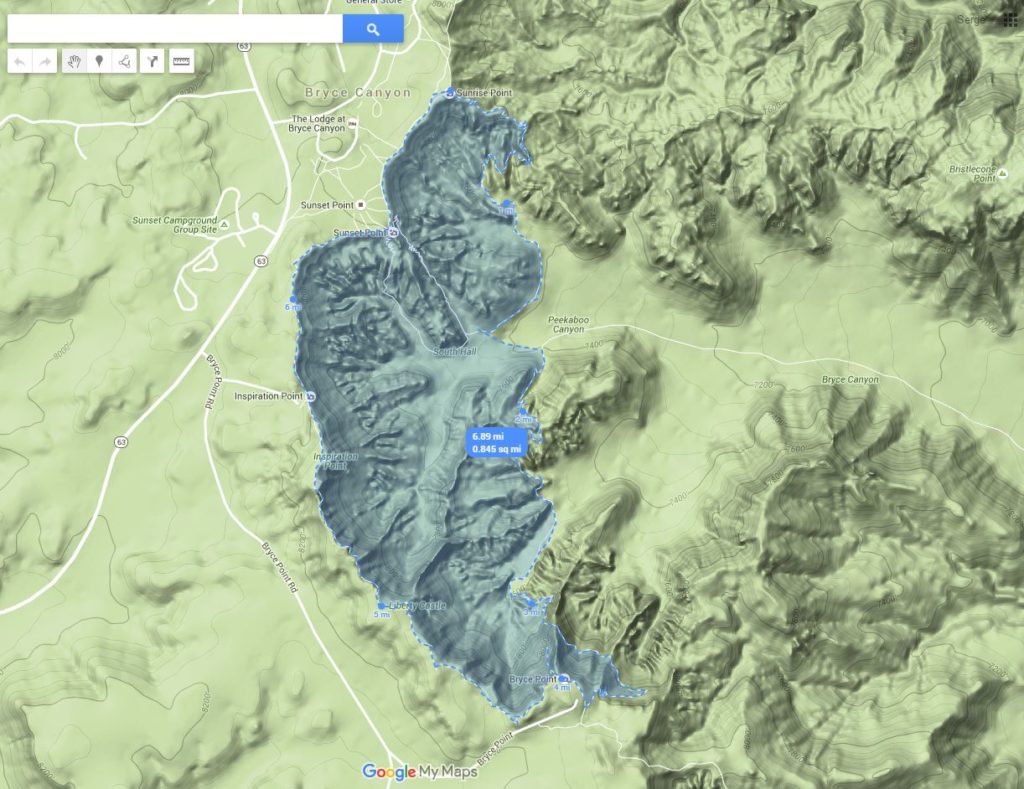
DAY 2: It was around 12PM when we got back to our car after hiking the West Rim Trail. Our plan was to drive NE for 2 hours to Bryce National Park and hike the Sunrise Point Loop of 6.8 Miles (be prepared to pay another fee of 35$ to enter the park)

TIP: If you’re visiting more then two parks, you should consider purchasing an annual pass for $80 that would cover all of the parks in the region and throughout the United States

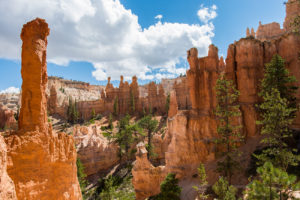
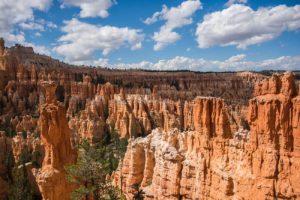
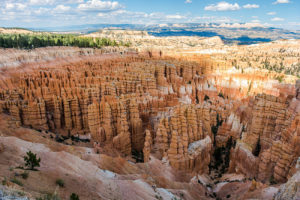
Walking among Hoodoos

Upon arrival, we parked our car near Bryce Canyon Lodge. We had plenty of daylight left, so we decided to do the full loop starting at Sunrise Point and visiting Bryce and Sunset Points along the way. It took us about 4 hours to do the loop and we returned to lodge parking lot at around 6:00PM. Full blog for Hiking the Sunrise Point Loop.


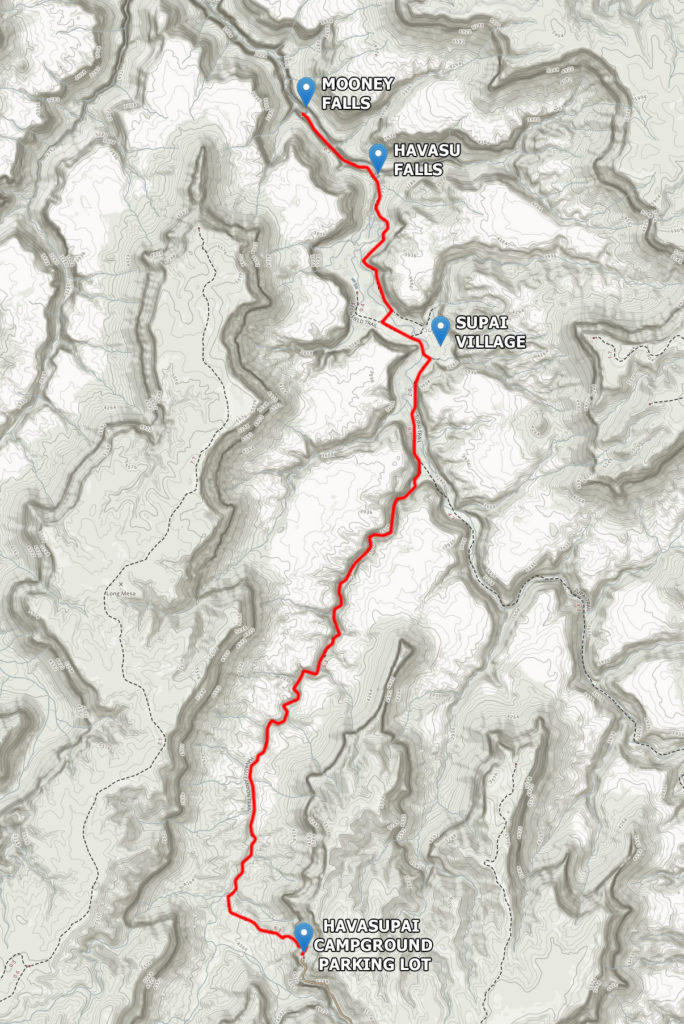
DAY 3: We arrived at Havasupai Campground Parking Lot around 2:30AM. The lot was full, but you could still park your car on the side of the road before entering the parking lot. We folded back our seats and slept for 2-3 hours before sunrise.

Havasupai Indian Reservation strictly requires permits for day hikes and overnight stay. This place is very popular and is very hard to reserve, especially two weeks prior to your trip. We were not able to make any reservation in time and decided to try our luck. Read the full blog here: Havasu Falls Day Hike

Mooney Falls

It was a long day and a pretty exhausting hike. Considering that we only slept for 2-3 hours in our car the night before, we felt a bit exhausted upon returning back Haulapai Hilltop parking lot. While we watched the sunset, the storm was rolling in on the horizon… Read the full blog here: Havasu Falls Day Hike


DAY 4: After spending a night at the hotel, we decided to take it slow for today. We visited some local historical sites & few local restaurants. We also stopped by the Hoover Dam and parts of Las Vegas before boarding our flight back to Philadelphia late in the evening.

Havasu Falls to Mooney Falls Day Hike

Cave crawling at Mooney Falls

When you hear the phrase “Havasu Falls” it is usually referred to a single waterfall. In reality, there 5 Havasupai Waterfalls that exists on this Indian Reservation. Although, I did find Mooney Falls to be the most impressive, the Havasu Falls itself, is arguable the most spectacular of all and provides natural swimming holes, shades & places to kickback and relax.

Trip Information:


Havasupai Indian Reservation discourage one day trips due to length and strenuous rating of this hike. You must make an overnight stay reservations months in advance since it’s a very popular destination with limited spots available. If you are concerned about your physical ability to do this hike? There is an option to take a helicopter ride to and from the bottom of the falls, for approximately $90/person one way (4-5min flight).

The view from the top of the trailhead

We were not able to make any reservations in time, because we planned our trip last minute and had no idea that even a day hike required reservations. We started on the trail around 5:30AM in order to beat the heat and the morning crowds. ]

Some of the scenery before you get to the town in the canyon

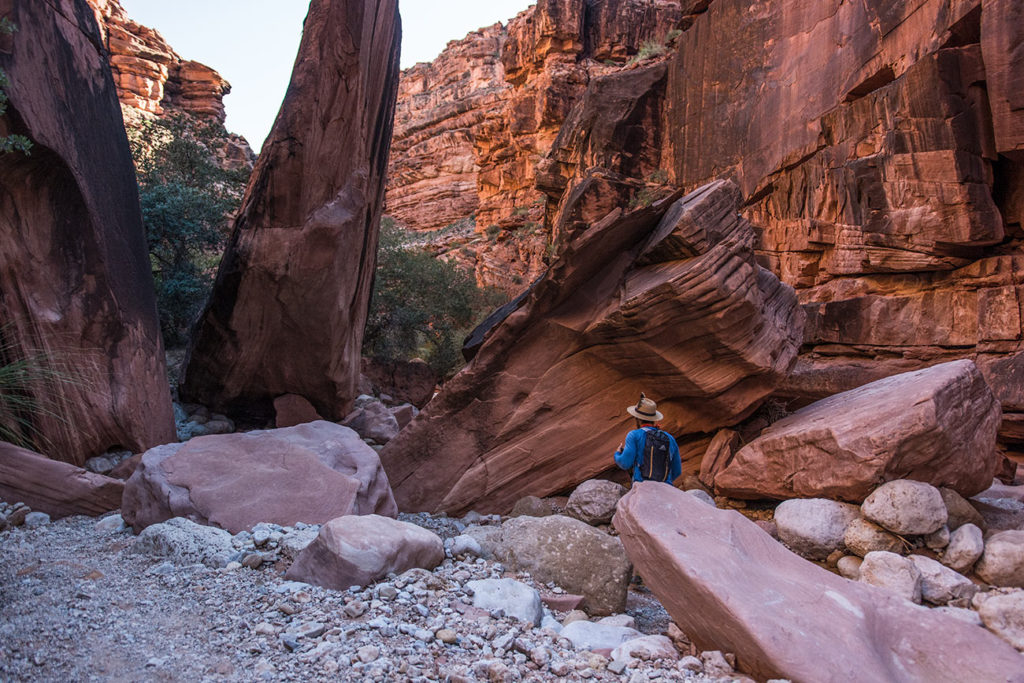
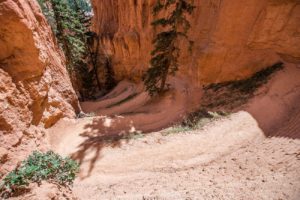
It’s a beautiful descend with an open 180 degree views. You will go through a series of switchbacks before you reach the bottom. Depending on time of year, Hualapai Hilltop Side is typically covered in shade up until 10-11AM. It’s a good idea to hike in or hike out during early in the morning.

As we were entering town, the first thing we saw, a tiny visitors center and an employee sitting outside. He asked us to show him our reservations. We played dumb and said that we’re only here for a day hike. He acted like he wasn’t very happy about it, but gladly collected $28/person for a daily pass! Good thing I brought some cash.

It’s a stray dog paradise. It felt like every visitor was feeding dogs

While passing through the village, we noticed a small grocery store, which is located pretty close to a helipad. After passing through the village, you will come upon two of the smaller waterfalls (Fifty foot falls & Navajo falls) until reaching the most famous Havasu Falls. You have an option to swim in the natural pool right under Havasu Falls or continue down to Mooney Falls, which we found to be much more interesting.

In order to get to the bottom of the falls, you will have to squeeze through a narrow one way tunnel that can only fit one person at a time. This place was packed with visitors, so I’d say allow 30+ minutes to get up or down

It’s a steep, slippery climb. You will see planty of folks moving extremely slow and pile up a huge traffic behind them. If you continue to follow along the Havasu Creek, you will reach a few other smaller waterfalls. It started to downpour and we weren’t able to take any photos of it. ]

Some light rain was visible far in the distance

It was getting late and the storm clouds kept looming on the horizon. We still had 11 miles and a steep climb ahead of us. We left the falls and hit the trail at full speed. We’ve reached the parking lot around 8PM and drove south for over an hour to the nearest hotel to get our much needed sleep!

Sunrise Point to Bryce Point Loop Hike

Sunrise Point Trailhead

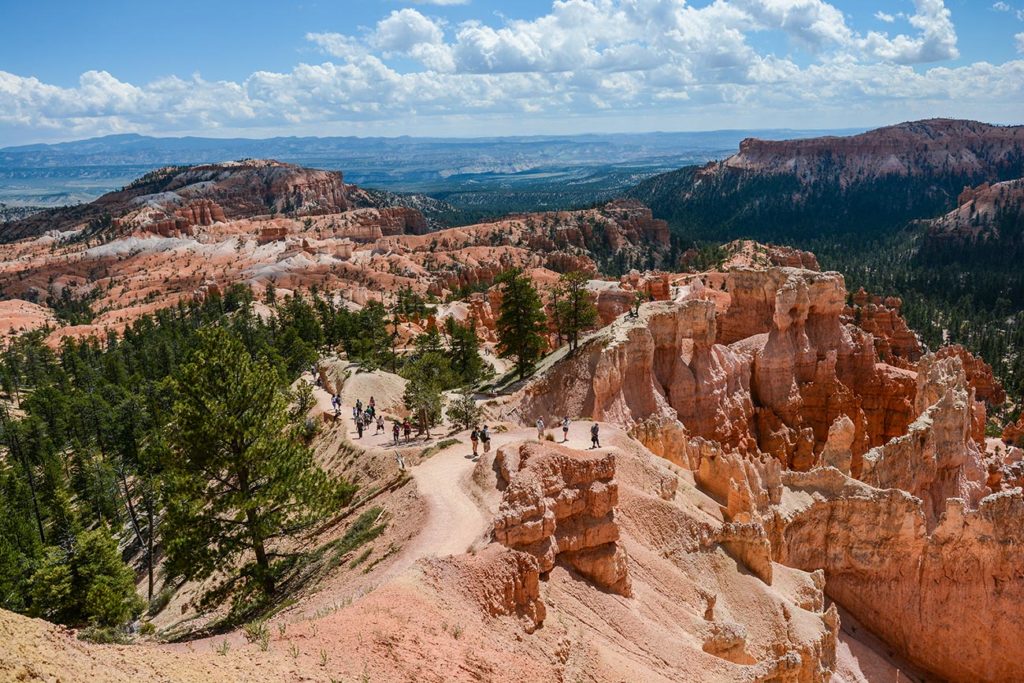
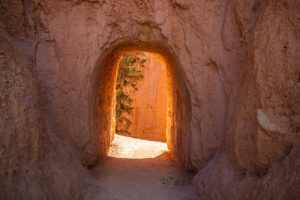
We started the hike at Sunrise Point and followed it down along Queen’s Garden Loop. The trail at the beginning felt a bit crowded with visitors, but as we continued deeper into the canyon, we only saw a handful of people.

Trip Information:


The hike itself is pretty easy, without any strenuous and difficult elevation gains. Trails are very well maintained and marked at the intersections. It would be very hard to get lost. Most of the time, you can look up at the west wall and see the Bryce, Sunset, and Sunrise points for access/exit locations.

You have a choice to do the half loop and come back to Sunrise Point, or continue to Peekaboo Connector Trail, which will take you to the top of Bryce Observation Point

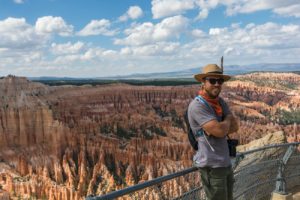
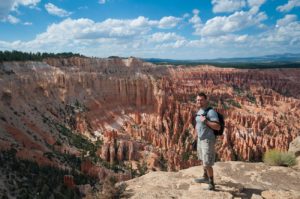
Serge is standing on the ridge surrounded by Hoodoos in the distance

After reaching the Bryce Point, we hiked along the Rim Trail for another hour and half to where our car was parked near Sunrise Point. We’ve reached the parking lot around 6PM. ]


Southwest Adventure – a detailed video from our trip to Utah and Arizona by Serge Pikhotskiy on Vimeo.

Hiking West Rim Trail in Zion National Park

You can definitely hike West Rim Trail in 1 day, but it’s definitely much more enjoyable at a slower pace.

Our plan was to hitchhike from South Entrance Ranger Station to West Rim Trailhead (near Lava Point Overlook) and hike to our reserved camping site (8) along West Rim Trail. (plan ahead to reserve your campground, there are limited number of sites and they typically fill up months in advance. We were extremely fortunate to pickup someones cancelled online reservation two days prior to our arrival)

You can also try to chart a shuttle to drop you off at the north end of the trail. It’s departs Springdale around 6:15AM and costs about 40$ per person.

Trip Information:


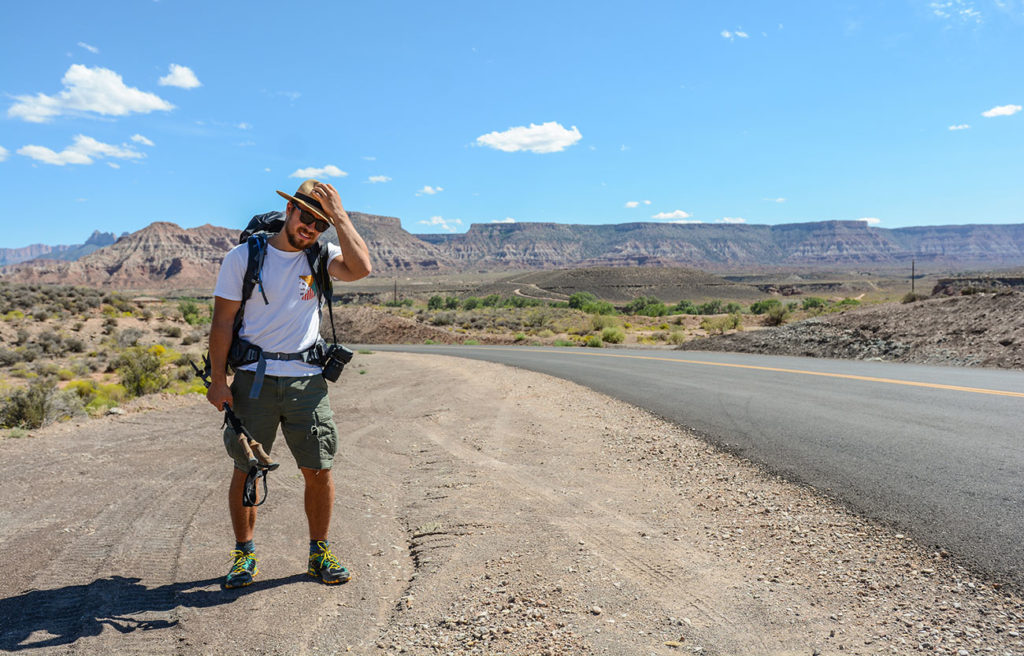
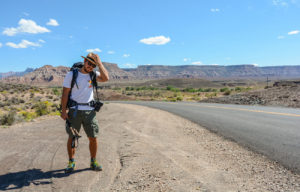
We left our car along the road before South Entrance Ranger Station and walked over to Zion’s Canyon Village Shuttle Stop. It’s a free shuttle that takes you down to Majestic View Lodge (Click here for Shuttle Map). From there, we stuck our thumbs out hitched a ride. One of the locals picked us up and drove us for 10 miles to RT9 & Kolob Terrace Rd intersection.

At the intersection, we had no luck hitching another ride, so we decided to walk along the Kolob Terrace Road for almost an hour, until a passing by ranger kindly offered us a ride for the next 18 miles. We got off near Lava Point, which is less then a mile away from the West Rim trailhead. Soon after, we started our hike! ]

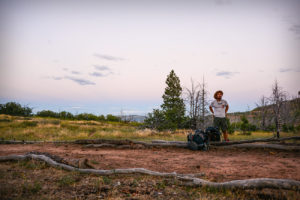
After about two hours of hiking on a well maintained trail, we’ve reached our reserved campsite #8. There is a seasonal creek nearby, but it was dry. Make sure to bring extra water as there are only a few water sources along the trail (check for water status with permit office at the Visitor’s Center before heading out). The first water source that was available for us was near campsite #1. (Refer to Map)

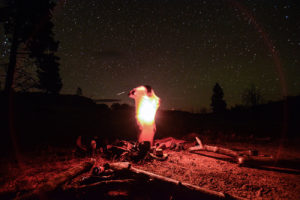
It got pretty chilly in the evening, so bring some extra layers if your sleeping is not warm enough. It was a beautiful night, full of wild animal and alien encounters, who were skeptically wondering around us all night…

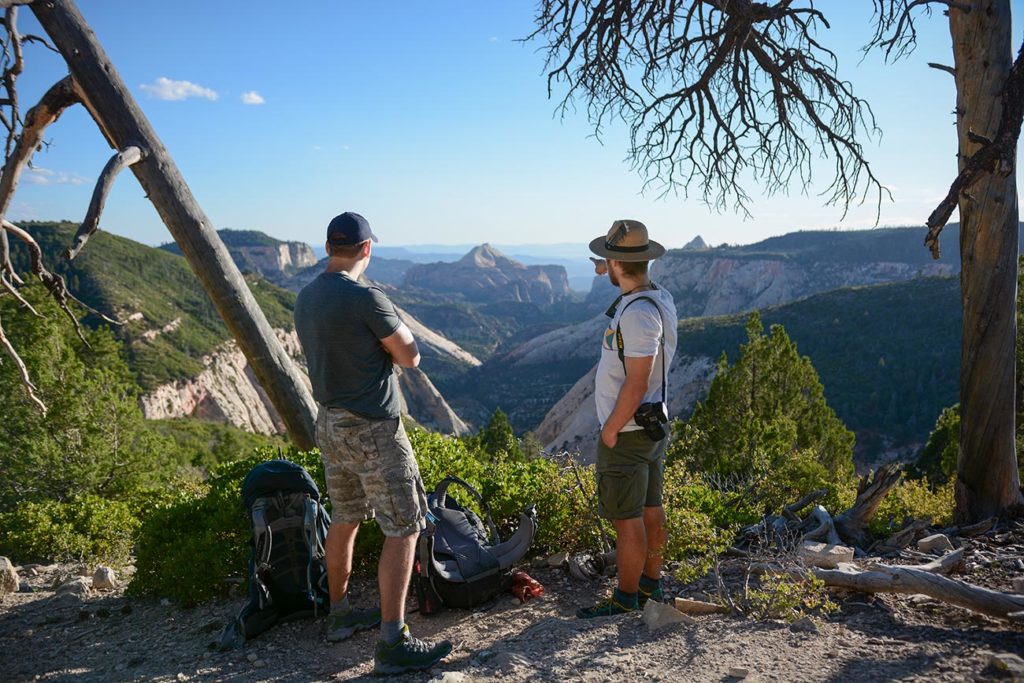
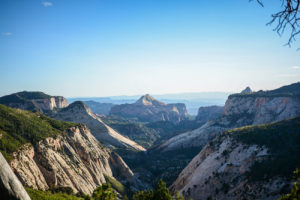
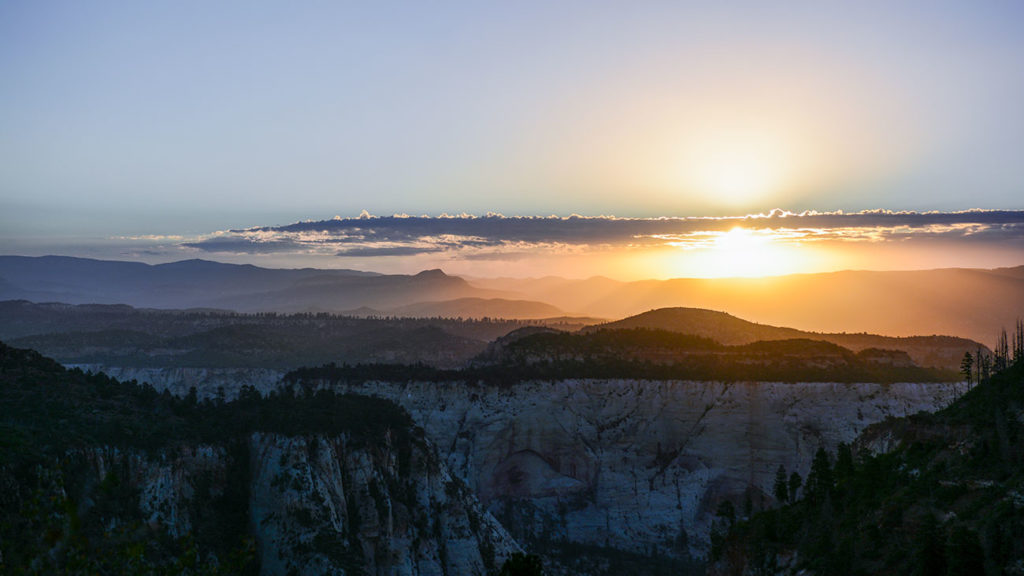
We woke up an hour before sunrise, packed up our stuff and continued on the trail. Our plan was to get to the top of the ridge to capture the morning’s first sunlight. Soon enough, we found a perfect spot to take some photos and eat our breakfast. The air was full of morning mist, and the sun filled the valley with magic colors.

Sunrise over the valley

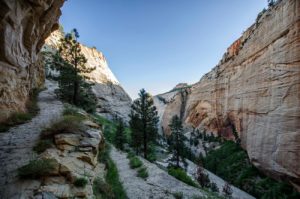
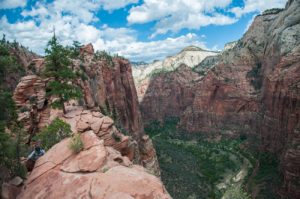
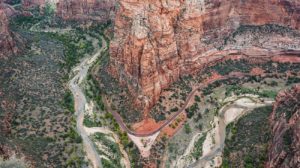
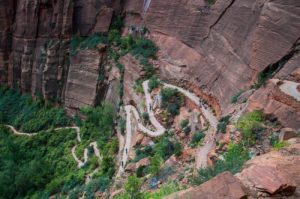
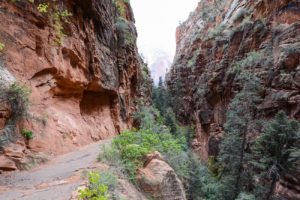
Once you pass Cabin Springs Water Source (Map), the trail takes a sharp turn into a downhill canyon, with lots of switchbacks on a side of stone wall down to the bottom of a narrow canyon. After moderate 30-45 minutes incline, we’ve reached the beginning of a very popular hike “Angels Landing”.


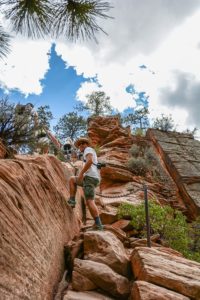
You have a choice to skip Angels Landing short hike, but I highly recommend doing it. It should take no more then an hour. It will be great test for anyone who has a fear of heights. The only downside of this hike, is that it gets extremely overcrowded.


After returning from Angel’s Landing, we continued on our hike down to the bottom of the canyon up until the Grotto Shuttle Bus stop. Ten minutes later, the bus arrived and drove us back to the park entrance, where we previously left our car parked along the road.

Southwest Adventure – a detailed video from our trip to Utah and Arizona by Serge Pikhotskiy on Vimeo.

Two Day Adirondacks Itinerary From ADK Loj To Algonquin Peak And Mt.Marcy

If you never hiked in the Adirondacks and are looking to experience the most scenic route? The hike through Avalanche lake and up to Algonquin & Mt.Marcy Peaks would be the most spectacular introduction.

Important Information:


  • Bear Canistersare required from April 1 to November 30. You can buy one from REI or rent it from ADK Loj conviniently located right by the trailhead parking lot. The rental prices are: 1-2Day = $8.00 | 3-4Day = $16 | 7Day = $32
  • Camping Information
    ☑ Campers are encouraged to use designated tent sites.
    ☑ Lean-tos and campsites are all available on first-come, first-served basis (Tents are not allowed inside of lean-tos). Lean-tos should be shared by multiple parties until the capacity reaches maximum of 8 people.
    ☑ Generally, you can camp anywhere on the Forest Preserve Lands, but must be atleast 150 feet from trails, roads or any water body.
    ☑ Please share your tent site if another camper arrives when it’s dark, raining or it’s very cold outside.
    ☑ You should never feed wildlife and store all of the food in bear canisters or bear lockers

Hike Information:


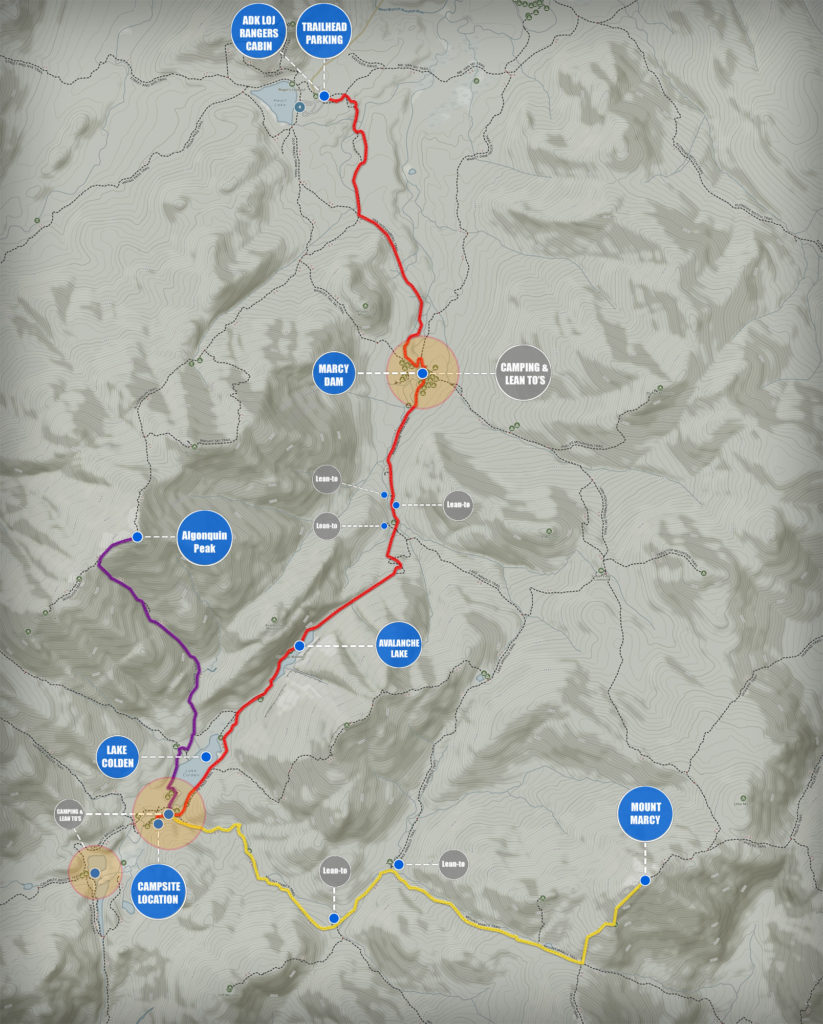
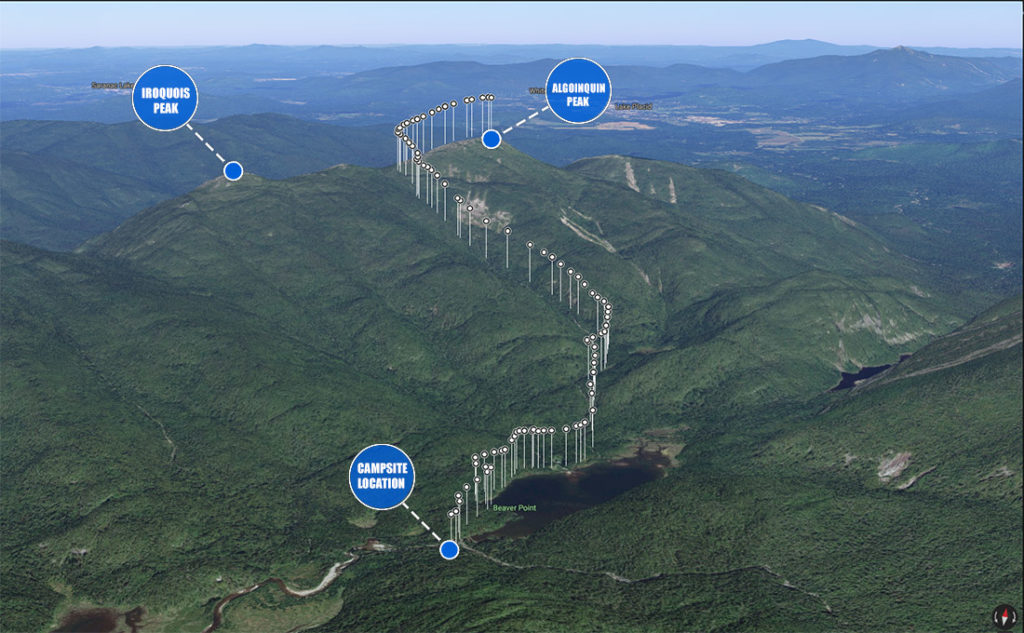
❖ DAY 1: Hike From ADK Loj To Lake Colden Campground | 6mi (10km)


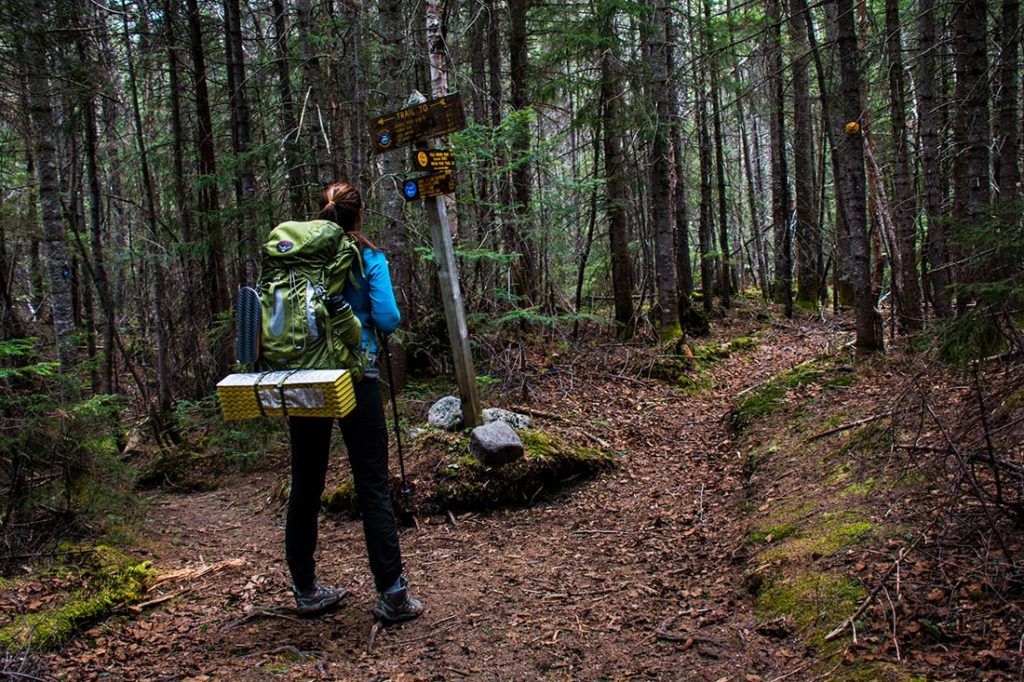
The trail starts at the parking lot, right by the Rangers Station. When you step on trail and walk into the forest, on your right side you’ll notice a small booth that will have a trail register. Make sure you sign-in, so that if something happens to you, rescuers would know where to look for you. Follow the directions toward Marcy dam. Once you cross to the other side, stay to the right and hike toward Avalanche Pass, eventually reaching Avalanche Lake.


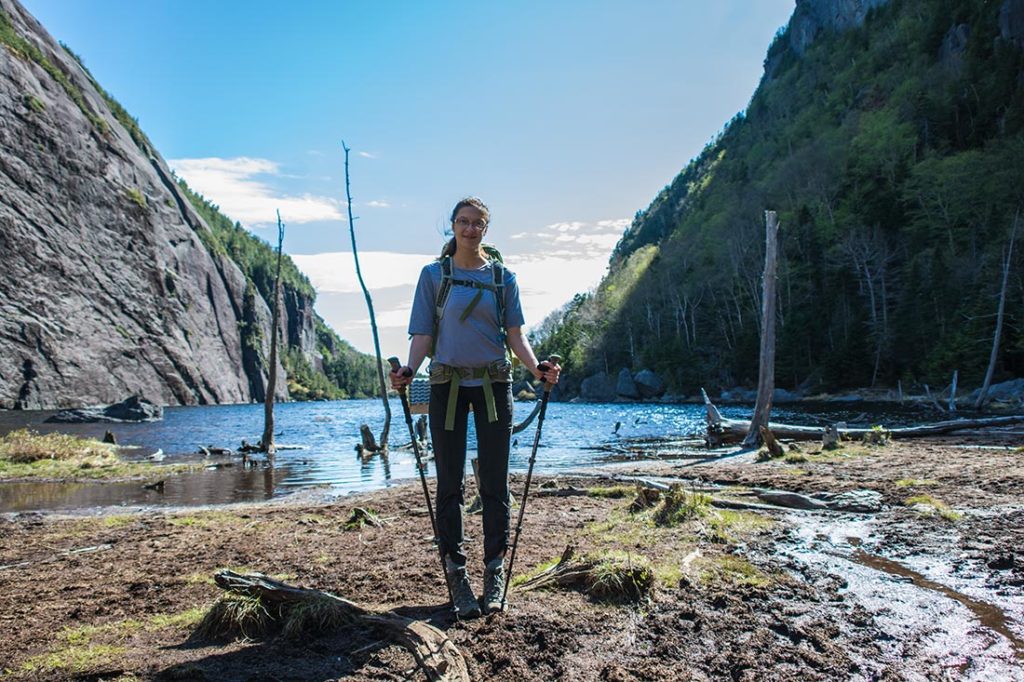
During winter you could have easily crossed the avalanche lake right in the middle of it on a thick layer of ice, but now, the only way to get around is on the right side of the lake. There will be few obstacles where you would have climb over some ladders and squeeze through few fairly tight spots. Once through, you will eventually get to Lake Colden, where you will have to hike along left side of the lake until your reach the campsite location specified on the map.


❖ DAY 2: Hiking to Algoinquin Peak and Iroquois Peak | 6mi (10km)


Today we just wanted to take it as slow as possible and enjoy our day without trying to make a lot of miles. We left our campground and hiked toward Algonquin Peak where we spent few hours relaxing and enjoying the view. In the afternoon, on our way back, we checked out the Iroquois Peak which offered very similar views. We got back to our camp site around 4 PM, hanged around, read some books and went to sleep early so we could get to Mt.Marcy before sunrise. ]


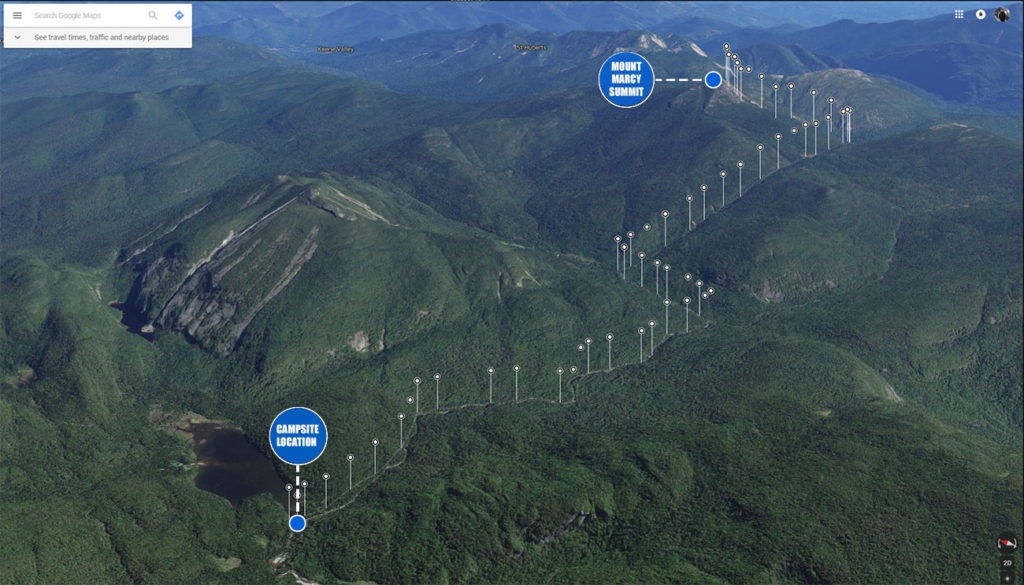
❖ DAY 3: Hiking to Mt.Marcy And Returning Back to ADK Loj | 10.5mi (17km)


We woke up around 3:30AM and were out on the trail by 4AM. The first two hours we hiked in pitch black conditions collecting spiderweb with our faces that was weaved overnight. Around 6AM we got above the treeline and started climbing Mt.Marcy. Unfortunately, it was a complete overcast conditions and we did not see a beautiful sunrise we expected. But it’s ok, we were still happy to enjoy this beautiful mountain all to ourselves! After spending some time at the top, we decided to head back to our camp and later hike out to the parking where we started.


Winter Guide To Hiking Mount Marcy And Camping In A Snow Cave

I must say that this was not an ordinary trip. Ilya and I had never camped in extreme winter conditions, nor had any previous mountaineering experience. During this trip, we’ve made a lot of mistakes, but most importantly, we’ve turned our crazy idea into a reality! After all, we live to make memories, and if we don’t? Well, the life is just not as fun! 🙂

Important:


  • CottonNever wear cotton while hiking in winter
  • Water Filtration: I swear by Sawyer Squeeze as one of the best filters. But in cold winter temperatures, it could simply freeze or get clogged. SteriPEN would be the system of choice. You can also melt snow and boil water when there are no streams that are accessible.
  • Snowshoes: When hiking in ADK in winter, snowshoes or skis are required.
  • Maps & Navigation: If you’re used to using your iPhone for navigating in the back-country, there is a big chance that your phone might not work in very cold temperatures. Make sure to bring paper maps with a compass, and most importantly, know how to use it!
  • Snow Cave: When building a snow cave, make sure that you make enough holes to ventilate it. Tight spaces like that can accumulate enough CO2 to suffocate a person. A good trick is to light up a candle. If it fades out? It means that there is not enough air circulation. Besides that, having a burning candle provides light and gives an impression of small fire.

Hike Information:


I remember taking a free REI class that talked about winter hiking. Alex Wildman, an experienced mountaineer who was our class instructor, showed us a photo of him walking through snow-covered Avalanche Lake. After seeing that picture, I immediately knew that I had to go there and explore this beautiful winter wonderland.

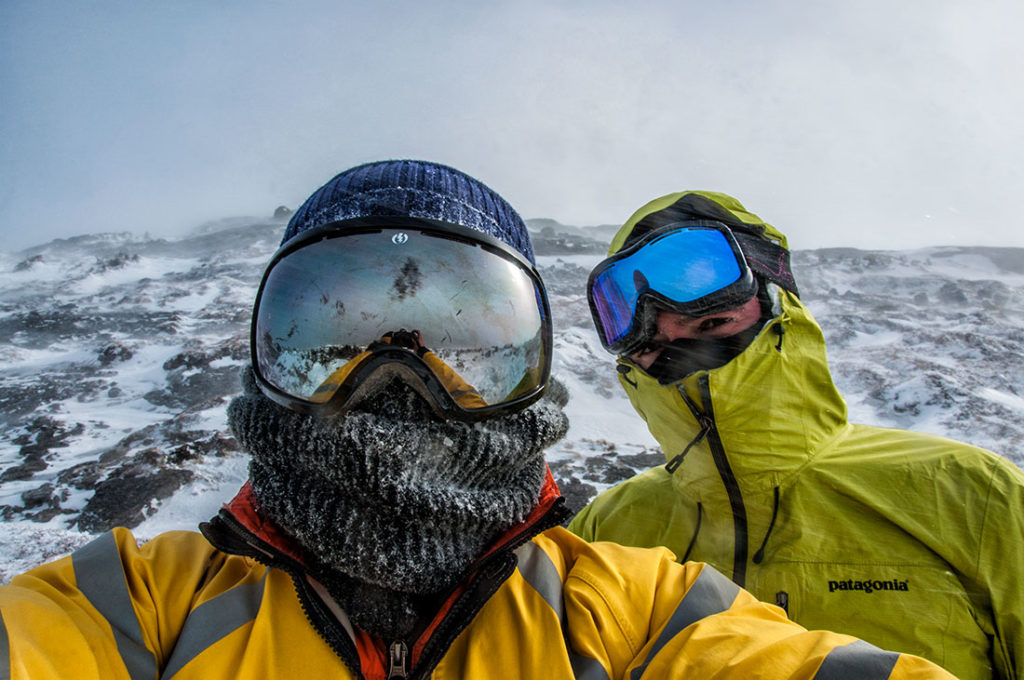
After the class, I felt overwhelmed. I knew I wanted to do it, but I didn’t know where to begin. I had no gear or experience, nor knew anyone who would want to join me on a crazy trip like that. So I started researching more about clothing, navigation and different survival techniques. I was also lucky to grab Alex’s e-mail and he was extremely helpful to review and suggest some of the gear that I later purchased. Around the same time I’ve met a friend who happened to be interested in the idea of doing a winter hike like that. The little did we know, one month later, two of us would be standing on top of Mt.Marcy, with minimal visibility and an 70Mph an hour winds would nearly blow us of our feet. The negative wind-chill temperatures were reaching -30F which could instantly freeze any exposed skin on our faces…


❖ DAY 1: Hike From ADK Loj To Lake Colden & Building A Snow Cave | 6mi (10km)


Because we were driving from two different locations and had to share some of the gear, it took us some time to repack our bags when we arrived. When you’re doing it outside in -10F temperatures? You will wish that you did that prior to your departure 🙂

The trail starts at the parking lot, right by the Rangers Station. When you step on trail and walk into the forest, on your right side you’ll notice a small booth that will have a trail register. Make sure you sign-in, so that if something happens to you, rescuers would know where to look for you. There was no recent snowfall in the past couple of days, so the trail was well visible. You must follow the signs to Marcy Dam.


When you reach Marcy Dam, you have to cross to the other side. Make a left and hike north until you come to a swinging bridge where you can cross the stream. It has been extremely cold for quiet some time and the lake before the dam completely frozen over. We were able to cross it on foot without no problems. Once on the other side, stay to the right and follow Avalanche Pass Trail. You will pass Avalanche Lake, eventually reaching Lake Colden. TIP: in case of emergency, there is a ranger on duty all year round on the Western Side of this lake.

Once we reached the end side of the Lake, we started scouting the location where to build a snow cave. Lucky for us, we found a half collapsed snow cave that we were able to dug out and restore. The reason we decided to build a snow cave is because we we didn’t have a 4 season tent nor a very warm sleeping bags. It takes time to accumulate all the necessary equipment. Good gear cost a lot of money. Plus when the hell else in your life you would get to spend a night in a totally awesome snow cave! 🙂


By the time we finished setting up our night shelter, we had about an hour of day light left. We decided to go for a short hike to the Flowed Lands Lake, which was completely frozen over. When we returned to our camp, the temperature started to drop very quickly and we rushed to make dinner before sliding into our retreat. I believe we spent about 20 minutes melting snow and boiling water. It got so cold so quick, that we literally had to take turns running around the camp every five minutes while cooking food. Our legs and our hands were simply freezing if you stood still for more then 4-5 minutes. Once we were done, we got inside our snowy house (where it was so much warmer) and enjoyed our dinner.


❖ DAY 2: Hiking to Mt.Marcy And Returning Back to ADK Loj | 10.5mi (17km)
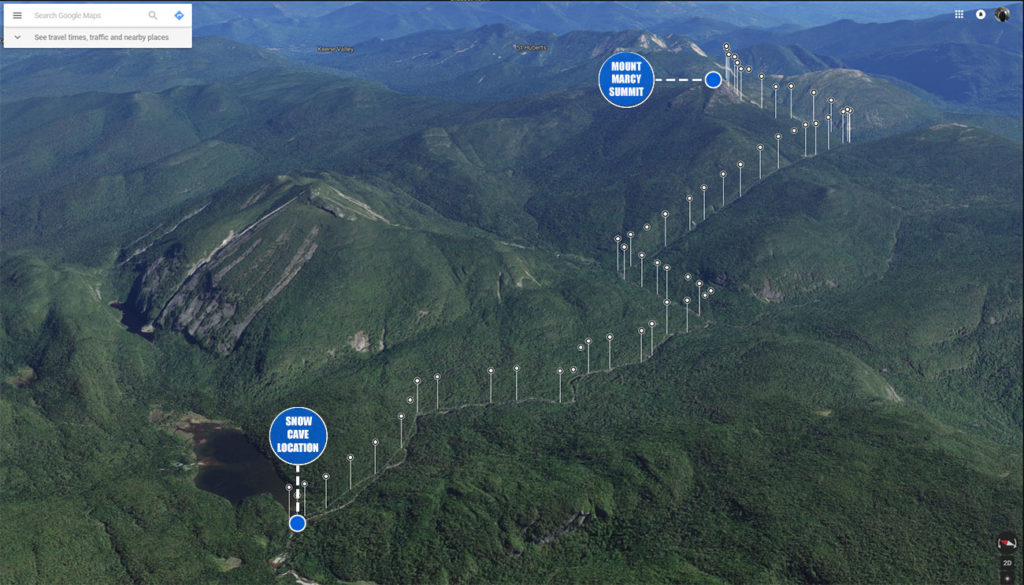

We were well aware of the storm system moving in around noon. So the next morning we woke up at 4:00AM, ate breakfast and headed South West on Mount Marcy Trail. It’s about 4.5mi (7km) from snow cave to the summit. First half of the hike is gradual ascend which gets steeper and will stay this way pretty much until you reach the summit. Make sure to bring enough water, as there is a chance that most of the stream would be frozen and inaccessible.
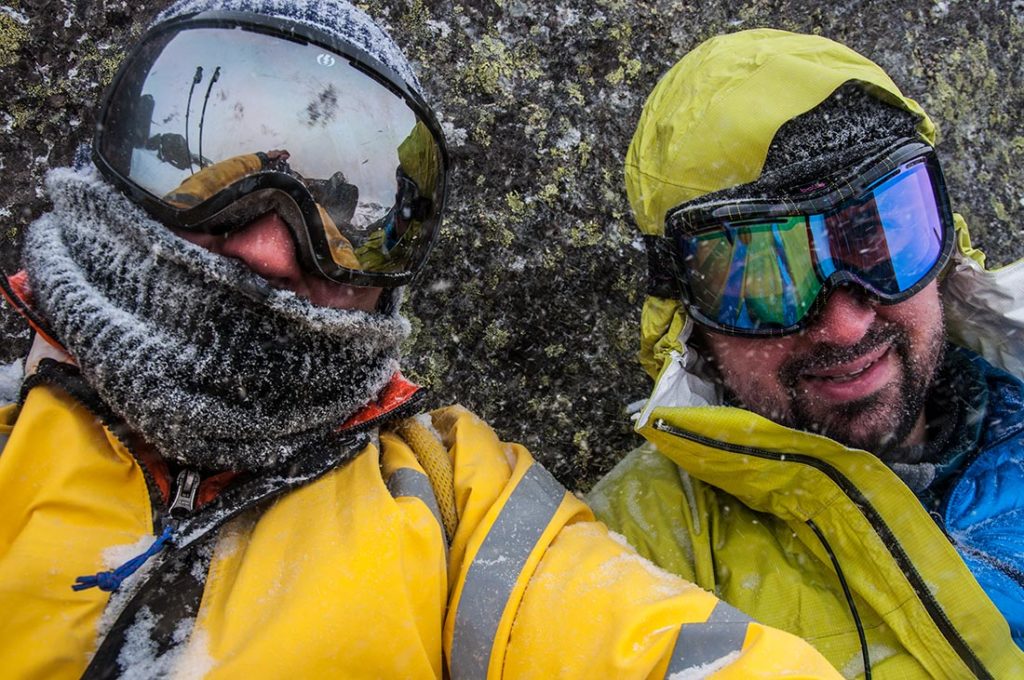

Once above the tree line, we noticed a storm system arriving few hours earlier then predicted. We couldn’t waste no time and rushed toward the summit. About 700ft away from summit, we were met with an instant, powerful force of wind that nearly knocked us of our feet. Feeling a little disoriented, we hid behind a rock to catch our breath. We knew that at this point the weather will get worse and the visibility will become minimal. So we rushed toward the summit. Once at the top, it was so windy and cold that all of our cameras stopped functioning and we were only able to snap two shots.


Not wasting any time, we started our descend back down into the valley. Once back at our camp, we packed up our packs and started heading back to our car. Before hiking out from the forest onto the Lake Colden, out of the sudden, we heard a helicopter land on the other side of the lake near ranger’s cabin. 30 seconds later, it went airborne again and disappeared into the clouds. Later we would find out out that that there was a climber who fell down and broke his ribs. He was in critical condition and needs an airlift asap.
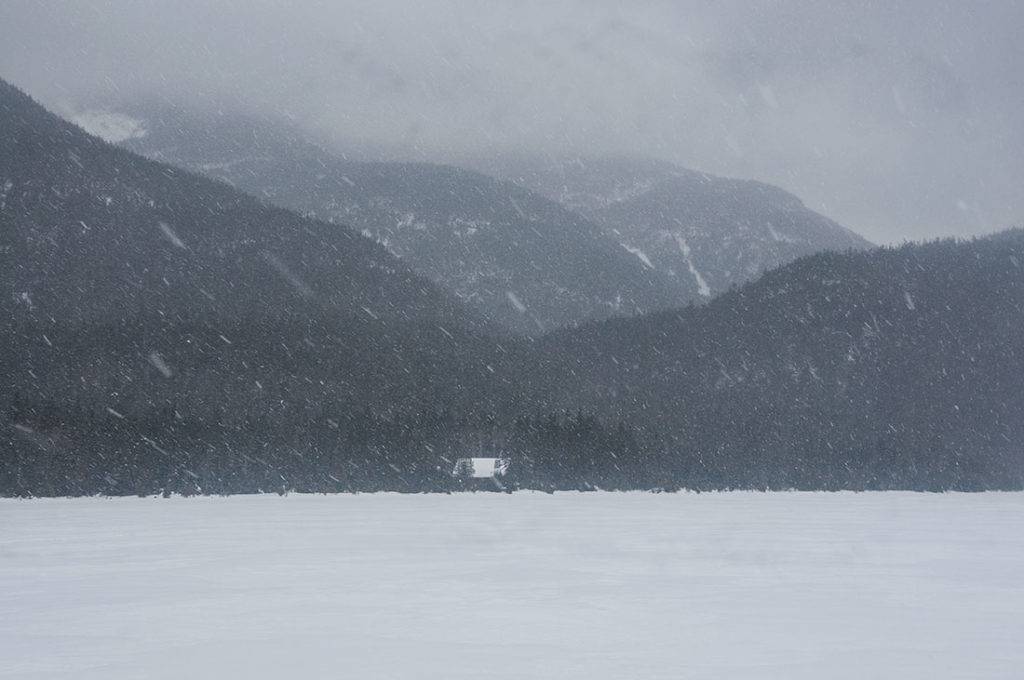
About 30 minutes later as we were passing through an Avalanche Pass, we saw a park ranger stuck in the snow in his snowmobile. After giving him a hand and pulling his snowmobile out of the ditch, he thanked us and continued down the trail. After about another 45 minutes, we caught up to the same ranger, but we could not see his snowmobile. Basically he had to jump off as he lost control of the machine that flew down the side of the trail. We offered our help to try to get it back up, but he told us that he already radioed for help and that they are bringing the right equipment to try to pull it out.
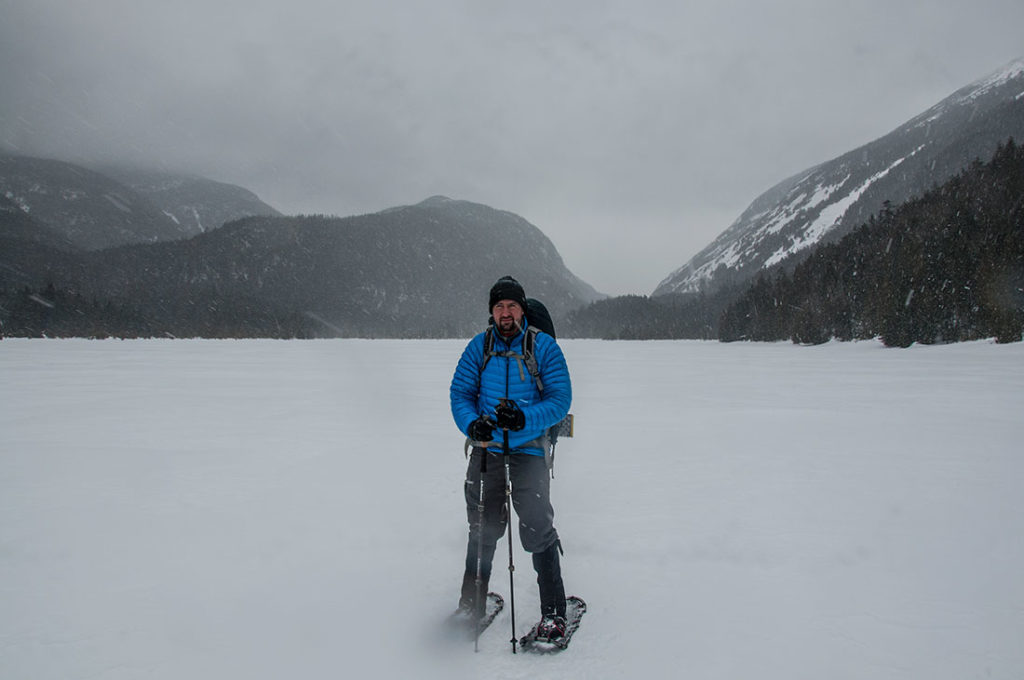
By the time we reached Marcy Dam, the snow has greatly intensified and visibility started to decrease. Luckily, there were luminescent trail markers on trees and you could still see the trail, which made navigating through the woods much easier and we felt very comfortable finding our way back to the car.