The Ultimate Two Week Road Trip & Outdoor Adventure In California

Cloudy Morning Over Golden Gates Bridge

A one of a kind two-week itinerary for anyone wishing to get the most out of their California Experience. Drive up the famous RT1 aka Pacific Coast Highway. Explore parks and camping opportunities along the way. Visit San Francisco and local wineries. Hike North of SanFran, visit Yosemite National Parks, Kings Canyon National Parks and Death Valley National Parks.

Trip Information:


  • Miles Driven2,000 km (1,200 mi) roundtrip
  • Trip Duration14 Days
  • Google Maps RouteNeeds to be updated

Trip Summary:


    • California has been on our bucket list since the time when we first visited the Canadian Rockies. We always wondered, what would the parks such as Big Sur, Yosemite, Kings Canyon or Sequoia be like? How does it feel to ride on the Highway 1 from Los Angeles to San Francisco on a sporty convertible with the top down and camp along the coastal mountains. How large does the Golden Gates Bridge feels in person or how hot it does it get in Death Valley? These are one of many questions that we are going to find the answers to as we take you on our two week journey through the beautiful sunshine state of California. Below are some of the photos from our two-week adventure

❖ DAY 1: Arriving to Los Angeles And Getting To Our Campground Along hwy 1

“AUDREY HEPBURN” – FREE HUMANITY

We arrived at Los Angeles International Airport (LAX) at noon. Picked up our rental and went to visit a friend that lived in downtown. After grabbing some amazing food around Audrey Hepburn Wall Mural, at 4PM we were on our way to Washburn Campground which is about 4 hours drive north from Los Angeles. Since we were slightly behind our schedule, we skipped some of the food places along the way that we really wanted to try. A popular Neptune Net Restaurant with 10$ Seafood plates, Santa Barbara Shellfish Company and famous McConnell’s Fine Ice Creams. Please visit our Custom Interactive Map to see these places along our route.

When we got to our campground, it was already dark. We quickly set up our tent, ate some super delicious Backpackers Pantry and watched moon rise over the horizon.


❖ DAY 2: Hike Rocky Ridge Trail Loop & Watch Elephant Seals Gathering
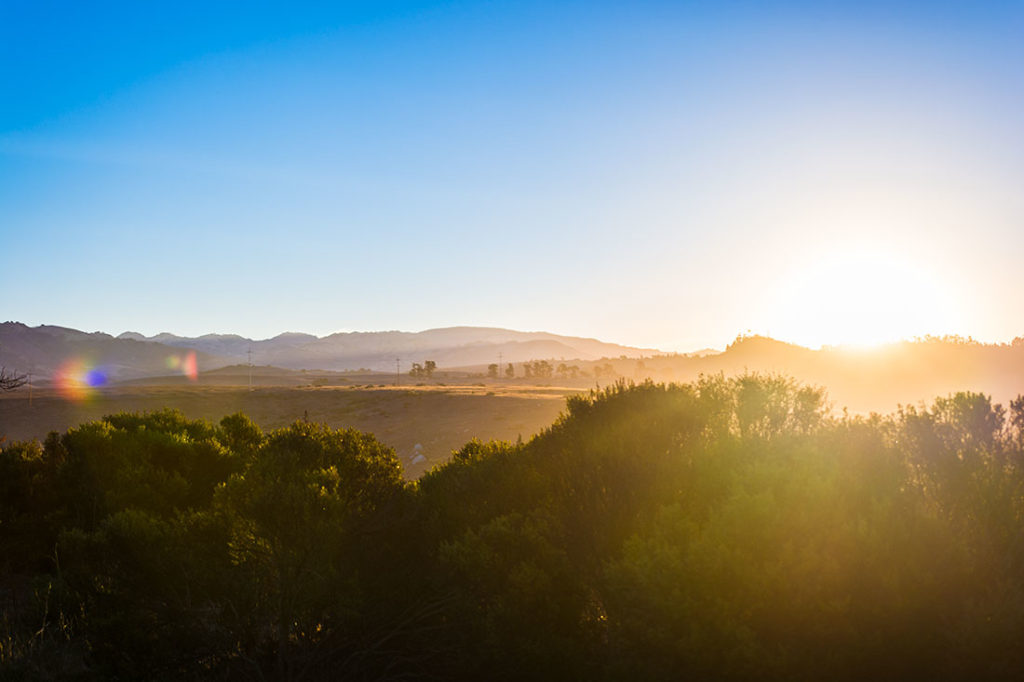
The next morning we woke up to a beautiful Sunrise. It’s the middle of October and it gets pretty chilly, especially in the morning. Consider bringing a puffy with you. Once we made the breakfast, we were on our way to Garrapata State Park to Hike the Rocky Ridge Trail loop. It’s a moderate 5-mile loop hike to the top of the mountains, overlooking a large area of coastal region. A very detailed information about the hike can be found here: Link

Right before Garrapata State Park, there is a popular location (marked on our interactive map) where you can spot the biggest gathering of Elephant Seals within the area. There were literally hundreds of them. More detailed information, including the best time to see the seals can be found here: Link

Once we got back to our car, we started heading toward Butano State Park Campground located about two hours north from Garrapata State Park, which was our final stop for the day.


❖ DAY 3: Wine Tasting and Arriving To San Francisco’s Treasure Island

After spending a night at an awesome campground in Butano State Park we were on our way to Thomas Fogarty Winery to do some classic California wine tasting with beautiful views overlooking the bay.

Once our tour was completed, we started moving toward Treasure Island to our Airbnb. We were planning on going out that night, but we were also a little tired from two days of camping and an East Coast jet leg. We ordered some pizza and beer and called it a night!


❖ DAY 4: Exploring San Francisco, Breakfast at Mama’s and Cable Car Rides!
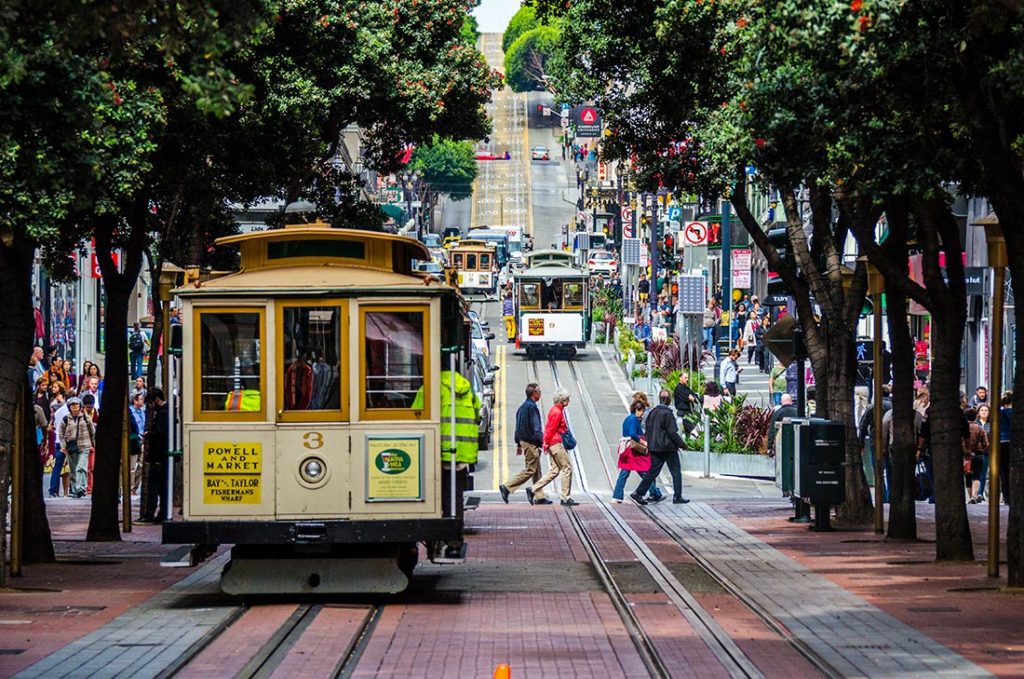
Our morning started at Mama’s! If you were in San Franscisco and haven’t tried breakfast at this place, you have definitely missed out on some amazing food! We ate it so quick that we forgot to take pictures of what we ordered 🙂 About 20 minute walk from Mama’s, there is a San Francisco Maritime National Historical Park and a Hyde Street Pier. Both places provide have clear views of the Golden Gates Bridge & The Alcatraz. ]

It is also the starting point for Powell-Hyde Line, the San Francisco’s Famous Cable Car  which can take you all around town and are super fun to ride. You can hope on and off all day long. You can visit the official website to get the latest information regarding prices and schedules or download a phone app. Later that day we also visited the area of downtown, which was completed abandoned because of the weekend. We also visited Chinatown and the waterfront near Ferry Marketplace. In the evening we grabbed some food and went to explore the area around Battery East and try to take some photos of Golden Gates bridge during sunset.


❖ DAY 5: Morning Sunrise at Golden Gates Bridge and Hiking Mt. Tamalpais
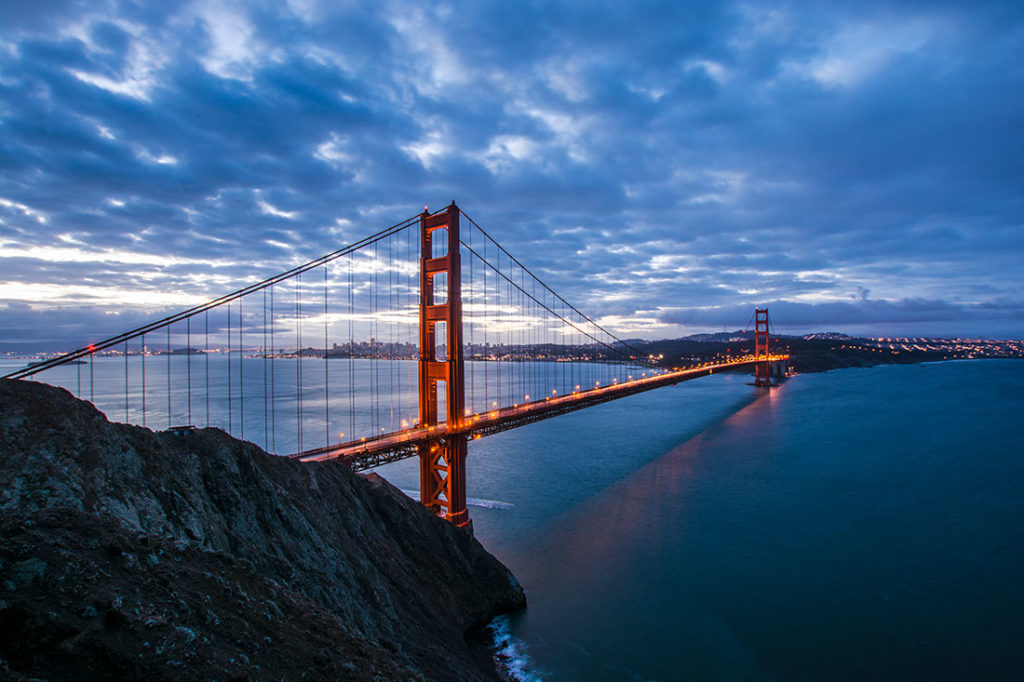
Today we woke up an hour before dawn in order to catch sunrise at Golden Gates North Viewpoint. It’s been extremely cloudy in the past few days and today’s weather conditions were not much of the improvement.

For our Mt.Tam hike we’ve used a paper map that is unfortunately long gone, so I am not able to recall the exact route, but I would love to suggest some of similar hikes in the area. If you’re in for something simple that overlooks the bay, Plank Walk Trail to Mt. Tamalpais East Peak is a good choice. If you prefer more of the coastal scenary, The Miwok and Coastal Trail Loop Hike would be your best option. If you’re in for a full day of hiking, I would recommend Stinson Beach to Mount Tamalpais Trail. Keep in mind, this is a 15 mile hike, so you would need to start early.

Once we finished hiking, we immediately hit the road. It’s a 4 1/2 hour drive from San Francisco to Yosemite Valley. We will spend this night an hour away from the Park entrance at a cheaper roadside hotels. Accommodation within the valley can be pretty limited and fairly expensive.


❖ Day 6: Arriving to Yosemite, Hiking at Mariposa Grove Along Giant Sequioa Trees

Yosemite Valley

Before entering Yosemite, there are quiet a few good options to get breakfast. I would highly recommend visiting Priest Station Cafe which is owned by Conrad Anker’s Family. Best food all around and great people!

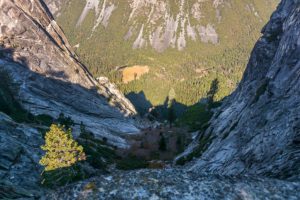
When approaching the valley, the first things that you will see is the El Capitan and Half Dome towering high far in the distance. We could not believe the sheer scale of these massive rocks. It’s a truly unforgettable experience!

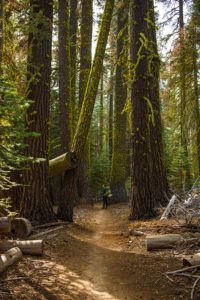
The first thing on our agenda was to visit the Mariposa Grove, which is home to Giant Sequoias Trees. I highly recommend spending at-least half of your day here, this place is truly unique and beautiful!

You have few options exploring this area. If you’re short on time, you can take Big Trees Trail (Easy 0.3mi) and explore different kind of trees and read lots of historical facts. You can also choose a Grand Tour which is an eight hour guided tour that will take you from Yosemite Valley, to Mariposa Groove and Glacier Point. Or you can also choose to hike the Mariposa Grove. Please see hikes below:

  • Big Trees Loop Trail (easy): 0.3 mile (0.5 km) toop from trailhead, 30 to 45 minutes (wheelchair accessible).
    Begin at Mariposa Grove Arrival Area. Winding through a forest with many giant sequoias, this trail features the Fallen Monarch and interpretive panels on the life and ecology of giant sequoias. This loop is relatively flat and is wheelchair accessible.
  • Grizzly Giant Loop Trail (moderate): 2 miles (3.2 km) loop from trailhead, 1.5 to 2 hours.
    Begin at Mariposa Grove Arrival Area. Start along the Mariposa Grove Trail at the Big Trees Loop and hike past notable trees such as the Bachelor and Three Graces, the Grizzly Giant, and California Tunnel Tree. Allow two hours to enjoy the full loop that winds along the edge of the grove and includes 300 feet (91 m) of elevation gain. Visitors with a valid disabled placard can drive as far as the Grizzly Giant parking area and enjoy this area of the grove via a section of trail that is wheelchair accessible.
  • Guardians Loop Trail (strenuous) 6.5 miles (10.5 km) round trip from trailhead, 4 to 6 hours.
    Begin at Mariposa Grove Arrival Area. After hiking to the tranquil upper portion of the grove, a 1.5-mile (2.4 km) loop takes hikers past many famous features including the fallen Wawona Tunnel Tree, the Telescope Tree, and the Mariposa Grove Cabin
  • Mariposa Grove Trail (strenuous) 7 miles (11.3 km) round trip from trailhead to Wawona Point, 4 to 6 hours.
    Begin at Mariposa Grove Arrival Area. This wide and relatively smooth trail follows a route that people have used to access the grove for generations. See famous sequoias such as the Bachelor and Three Graces, the Faithful Couple, and the Clothespin Tree along this somewhat strenuous route to the upper reaches of the grove. Continue to historic Wawona Point, an overlook with panoramic views. Total elevation gain is 1,200 feet (366 m). A number of alternative trails may be used to access the upper portion of the grove. These trails are generally steeper and more primitive than the Mariposa Grove Trail.

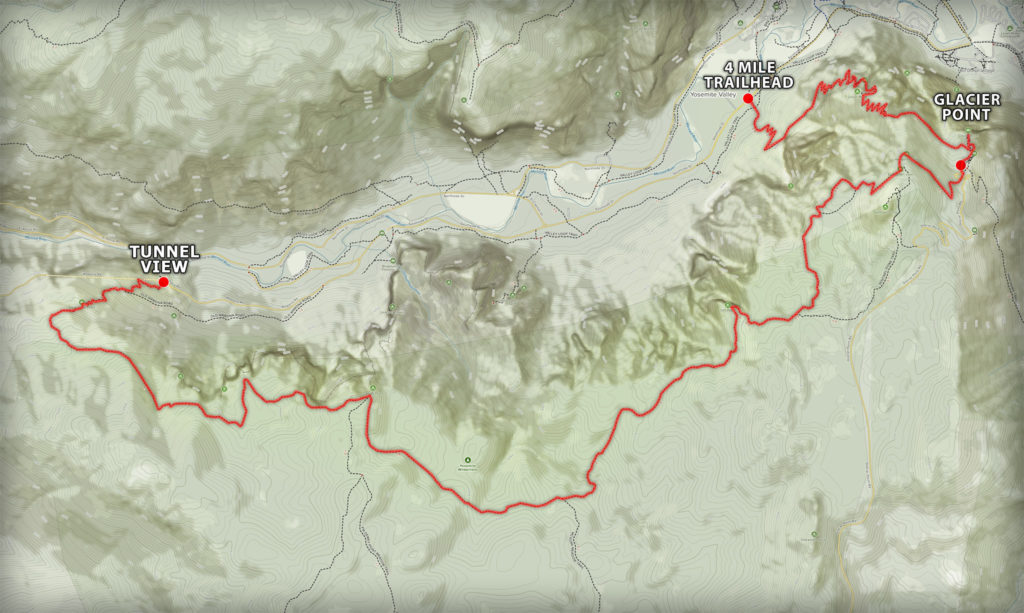
❖ Day 7 – 8: Overnight Hike from 4 Mile Trailhead, up to Glacier Point and down to Yosemite Tunnel View
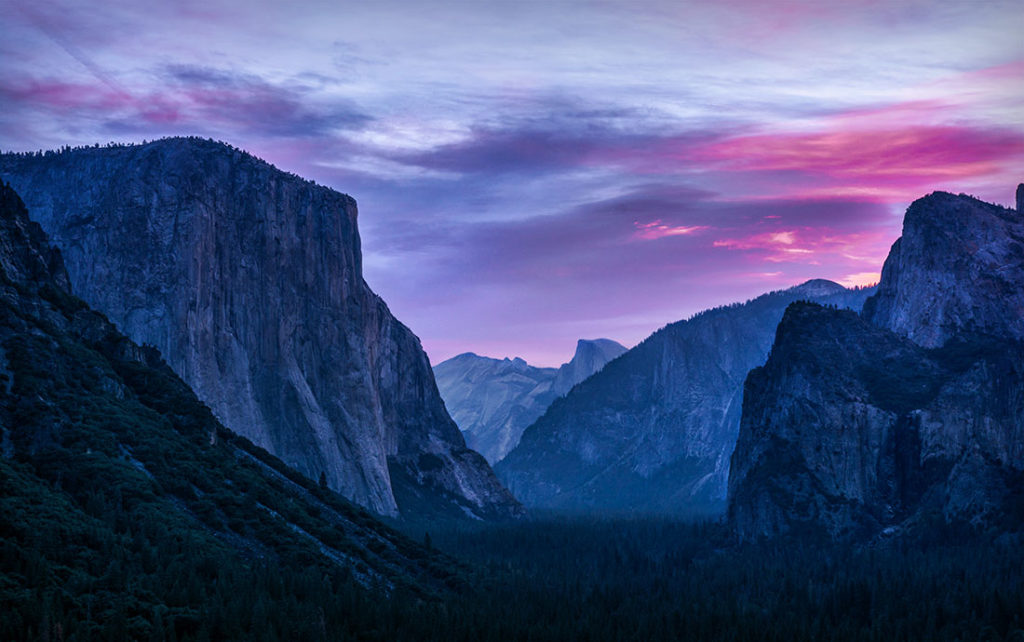
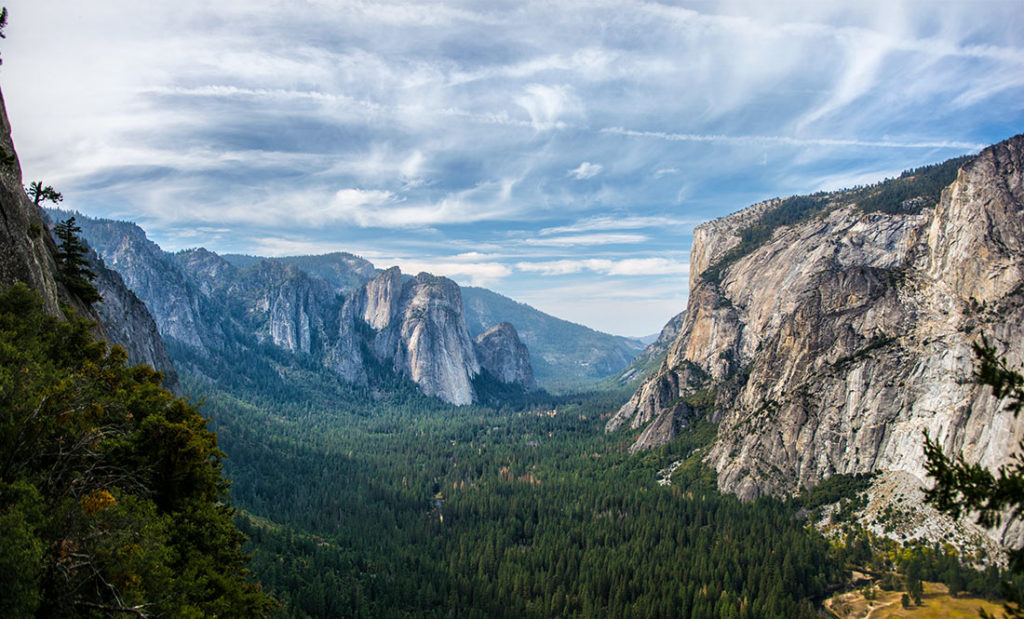
After Spending A Night at Backpackers Campground we were up before dawn in order to get to Tunnel View to photograph the valley during sunrise and begin our hike at 4 Mile Trailhead. All of the details for this hike can be found in a separate blog by clicking on this Link


❖ Day 9: Cathedral Lake Hike And Head Down Sequoia National Park
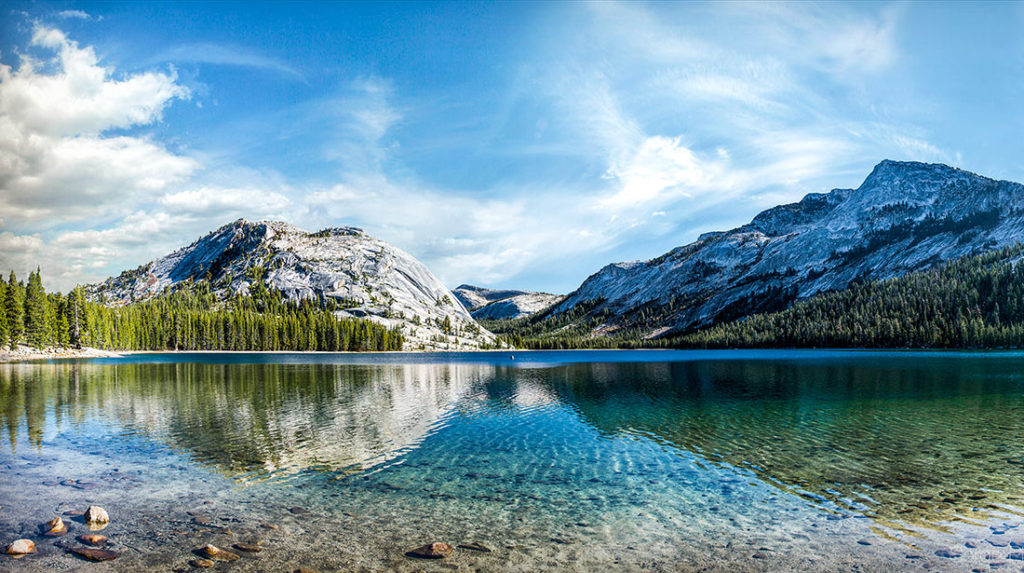
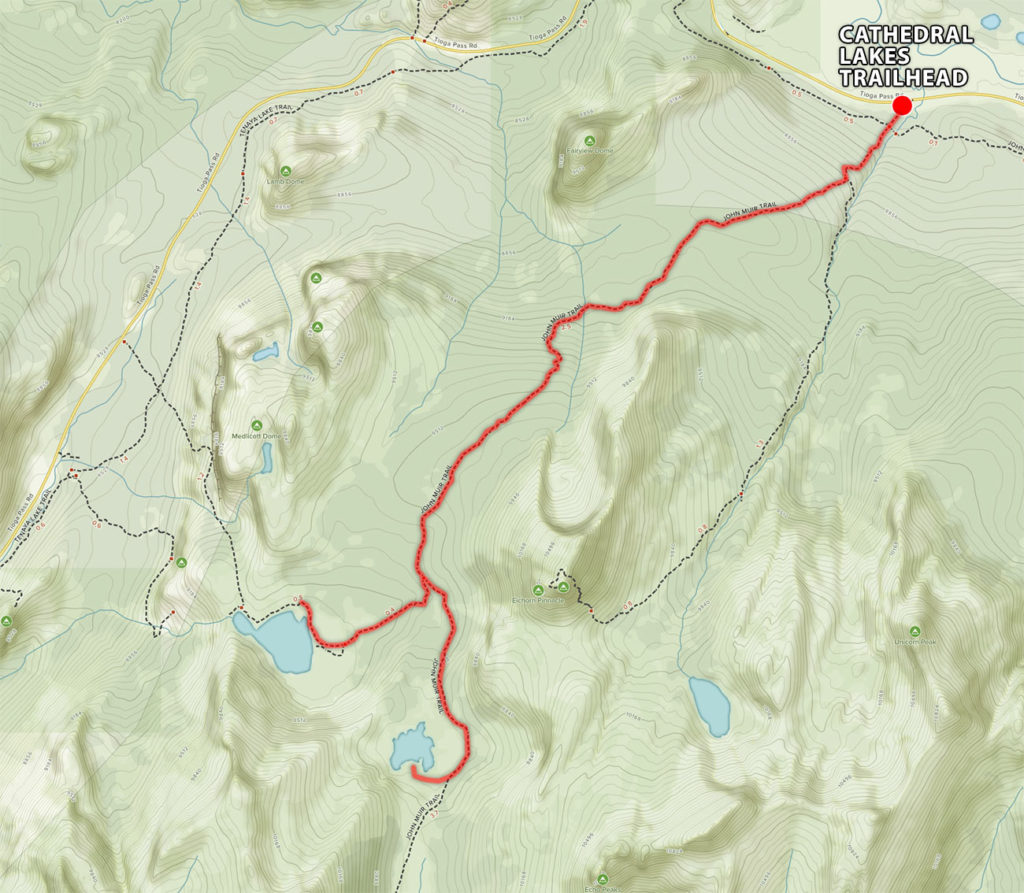
Today we are leaving Yosemite Valley and heading toward Tuolumne Meadows to hike on John Muir Trail (JMT) down to Cathedral Lakes. Along the way, we stopped by Olmsted Point and beautiful Tenaya Lake with it’s crystal clear waters. Cathedral Lakes Trailhead is conveniently located along Tioga Rd near Tuolumne Meadows. Detailed information about the hike can be found in our seperate blog by following this LinkWe finished with our hike around 5:30PM and started to head down to our hotel near the town of Fresno, located west of  Sequoia National Park. Directions from Cathedral Lakes Trailhead


❖ Day 10: The General Grant Tree, Kings Canyon National Park & Sunset At Moro Rock.
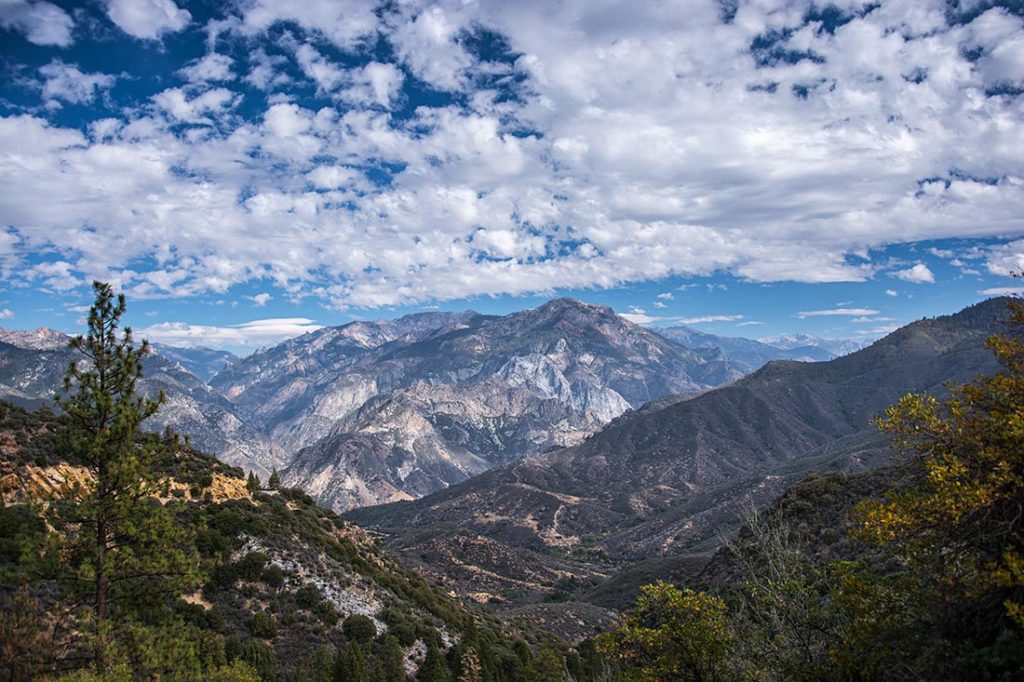
After spending a night at Fresno, we were on our way to Kings Canyon National Park. Our first stop was by General Grant Tree that was conveniently located along road 180. It’s definitely worth spending at-least an hour of your time here.

After spending some time between Sequoia Giants, we slowly continued driving inside The Kings Canyon Valley. The scenery was beautiful and unique! We were stopping every 5 minutes to take photos! On our agenda, we planned to do some hikes at Copper Creek Trailhead. But while doing the initial research, I’ve made a novice mistake and didn’t realize that Road 180 does not cross Kings Canyon to the other side… And because of that blunder, we didn’t get to do much hiking that day and had to drive for almost 7 hours in order to get to Kearsarge Pass, where we planned to do an overnight hike next day. Our last stop for the day was at Sequoia Park to watch Sunset at Moro Rock. Three is also a Hanging Rock right next to it if it gets crowded.


❖ Day 11-12: Hiking Kearsarge Pass in Kings Canyon National Park
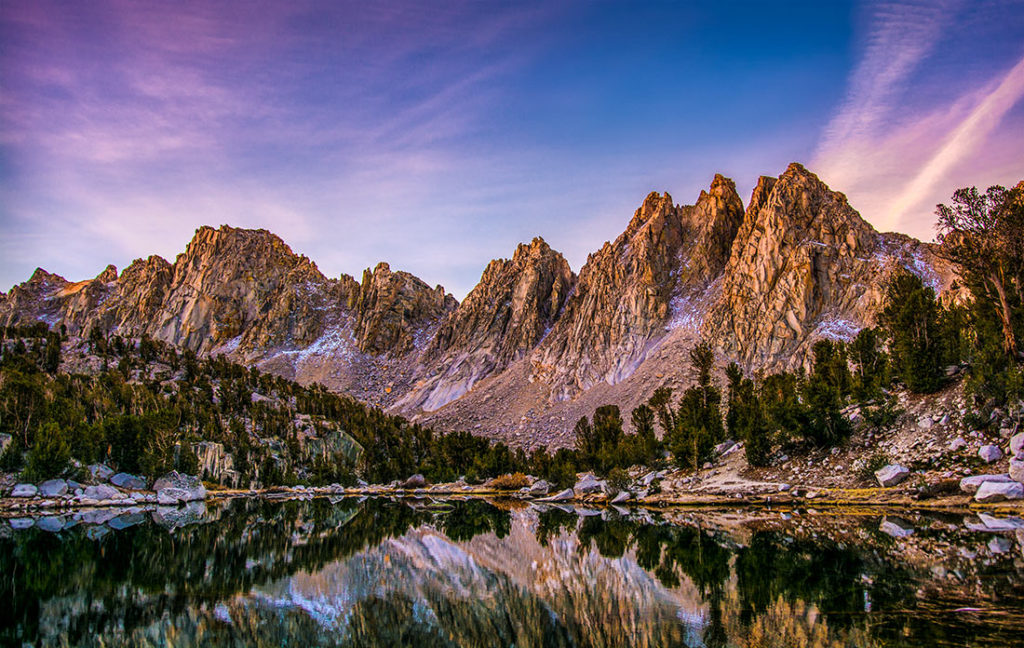
I must admit, just the drive itself, from the town of Independence to Kearsarge Pass was simply mind blowing! We would stop every few minutes just to simply inhale the constantly changing view! We’ve arrived to trailhead parking lot around noon time. After packing our bags, we were off on our short, two day adventure! Detailed blog for hike can be found by clicking this LinkWe got back to our car around 6PM the next day after hiking to Bullfrog Lake. The next thing on our agenda was to visit Death Valley National Park. That same evening we drove for nearly 3 hours toward our campground at Furnace Creek. It was a drastic change, going from 12,000 feet down to -100 feet in a matter of few hours. We had fears of our heads exploding on the way down! Luckily that didn’t happen! 🙂


❖ Day 13: Death Valley National Park
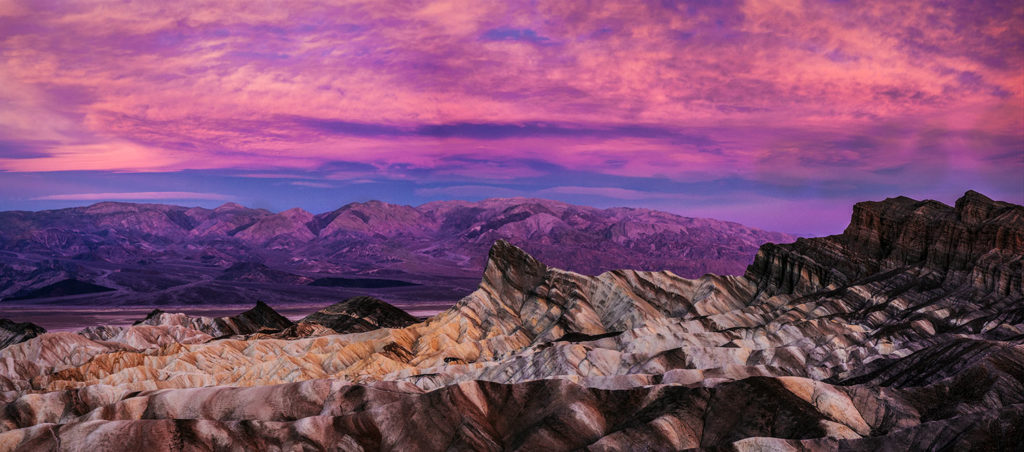
We spent the night at Furnace Creek Campground and let me tell you, what a contrast it was! Going from negative temperatures the night before, to nearly 85F (+30C) degrees at night. It almost felt like we were on another planet. In the morning, we woke up before dawn and drove to Zabriskie Point to watch sunrise over this magical landscape.


Once the sun was above the horizon, we decided to visit Dantes View, which is a large observation area located on top of the mountain at the elevation of 5,500 feet (1,669m). The place is truly incredible and provides amazing views of the surrounding landscapes. On a clear day, If you look to the west toward Sierras, you might be able to spot Mt.Whitney 14,505′ (4,420m), if not, Telescope Peak standing tall at 11,043′(3,360m) should be fairly visible for most of the time. And yes, watch out for those tarantulas 🙂


Another incredible place that we got to visit was an Artists Pallete. It’s an impressive 9 mile drive that takes you through canyons and mountains that are covered in many pigments. These colors are caused by the oxidation of different metals (iron compounds produce red, pink and yellow, decomposition of tuff-derived mica produces green, and manganese produces purple). About 5 miles down the road, there will be a parking lot that provides an opportunity for a short hike.


A really cool place to visit was a Badwater Basin. It’s the lowest point in North America, with a depth of 282 ft below the sea level. It’s very ironic, because Mt.Whitney, is the highest point in the contiguous 48 States and is only located 85 miles from the basin. It’s a short walk and highly recommend stopping by this place.


❖ Day 14: Death Valley National Park

After spending a night at Stovepipe Wells Campground the first thing we wanted to check out, was the Mesquite Flat Sand Dunes. These dunes are the best known and easiest to visit in the national park. Easily accessible from Hwy. 190 or from the unpaved Sand Dunes Road. Keep in mind, there are no trails because of the continuously shifting desert sands. Find a point to the highest dune, and go directly toward it. Also, hydrate really well before you go and bring lots of water!

After checking out the dunes, our vacation was coming to an end and we had to drive back to Los Angeles to catch our overnight flight to Philly.


Onion Valley To Bullfrog Lake Overnight Hike

A must do hike in Kings Canyon for anyone trying to find a less traveled route and gorgeous scenery. The views along this hike are definitely one the best The Kings Canyon has to offer. The highest point of this hike is the Kearsarge Pass, standing tall at 11,760 feet(3584m) above the seal level.

Permits & Bear Canisters


  • At the trail-head, you must fill out a self-serving permit in order to camp in the wild. You must also have a bear canister where you can store all your food. There are park rangers that will stop you and check for your bear canister and permit.

Hike Information:


This hike starts at Kearsarge Pass Trailhead Parking Lot. The trail steeply climbs through a series of switchbacks for approximately 4 miles, passing by 4 different lakes until you reach the Kearsarge Pass at 11,760 feet(3584m). If you’re not used to hiking in high elevation terrain, please make sure to drink a lot of water! It is also helpful to bring things like salt tablets, gummy warms or any powder mixes that has electrolytes in them!


Once over the pass, on the right hand side, you will see The Kearsarge Lakes and few possible camping location. Please keep in mind, it gets extremely cold at night. Since it was our first time camping so high up, we didn’t know that for every 1,000 feet that you gain, you also loose between 3-5 degrees Fahrenheit. Luckily, our warm 15F (-10C) Sleeping bags kept us warm all night. It was also difficult to sleep because of headaches. We didn’t think that altitude would effect us so much! And because we forgot to bring pain relievers such as advil or tylenol, we had a tough night with not much sleep.


In the morning, we woke up to our tent being completely frozen and having a layer of ice all over it. Our water bottles were completely frozen. This was our first experience camping outside in low negative temperatures. If it wasn’t for our warm sleeping bags, we would have had to get up in the middle of the night and hike back down to our car in order to make it through the night. What can we say, you live and you learn! It was an awesome experience, we learned a lot and we wouldn’t change a thing!


We packed up our camp and got back on the main trail to hike further toward the Bullfrog Lake. The views over the lake were breathtaking. We also met a small group of hikers that were climbing out from the valley and heading toward Kearsarge Pass. We started a conversation with them, and it happens that they were actually thru-hiking the Pacific Crest Trail. We’ve known about Appalachian Trail on the East Coast, but never heard of PCT. They were very encouraging and highly recommending to do it! We were excited to find out about this trail! But the little did we know, two years down the road, my wife and I will embark on the greatest journey of our lives and hike the entire Pacific Crest Trail! Who know, maybe if we never met these hikers, we wouldn’t hike the PCT. Our Pacific Crest Trail Blog can be found here: Link

Hiking The Cathedral Lakes

A classic Yosemite Hike, located at around 9,000 feet that takes you through a beautiful forest and up to an open meadows of Cathedral Lakes. This hike also joins a famous John Muir Trail, which is the beginning point of 210 mi (338km) journey that ends at the top of Mt.Whitney located in Sequoia National Park.

Hike Information:


Responsive image


The hike starts along Tioga Rd and steeply rises up in elevation through a dense forest surrounded by sharp granite peaks. We saw a lot of individual burned up trees that were stuck by lighting as well as some cases of spiral trees. About 3 miles into the hike, you will reach the meadows and will be immediately surrounded by beautiful landscape. ]

At the trailhead between two lakes, we choose first to go to the right and visit the lower lake which has many good option to sit down and eat some snacks and enjoy the view. After taking a little brake from a steep hike, we felt rested and went to visit the higher Cathedral Lake. A lot of these lakes are being fed by melting snow, so in October you could see that this lake has lost a lot of it’s water mass. After spending another hour exploring the area, we decided to turn around and head back.


Overnight Hike From 4 Mile Trail To Pohono Trail

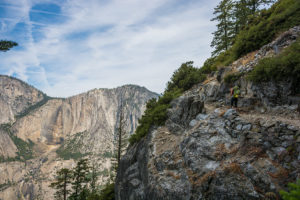
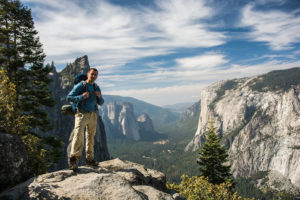
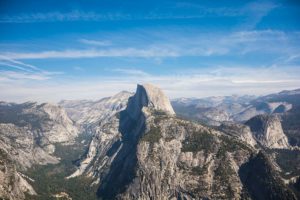
This is a must do hike for anyone trying to explore the valley and get the best views of Yosemite National Park. We highly suggest taking at least two days in order to fully enjoy this experience. From wide open views of Half Dome to El Capitan, this hike is best way to experience the scale and the beauty of this unique valley.

Permits & Bear Canisters


Hike Information:


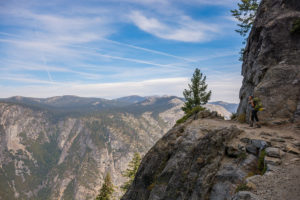
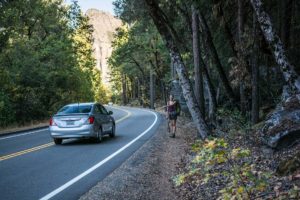
The trailhead for this hike is conveniently located along south side drive that also offers free parking along the road. The first 7 miles of this hike, climbs continuously through the serious of switchbacks for over 3,000 feet. Once you reach the top, there will be a large parking lot and a lot of tourists exploring views from Glacier Point. I highly recommend checking out this area as well. Besides the views, there are public restrooms, snack stand, souvenir store and ice cream!


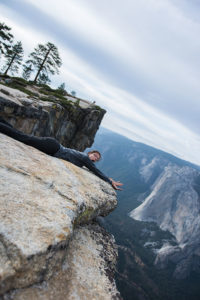
Once you get tired fighting for a spot to take pictures of Half Dome and El Capitan, you can move on toward Sentinel Dome on Pohono Trail. Once you reach the Sentinel Dome trailhead, you have an option to hike to the top of the Sentinel Dome and explore some awesome 360 views. We felt to tired and decided to continue on trail toward Taft Point. Taft Point is popular place to spot people practicing highlining. I won’t explain the process, but you can see for yourself on the photos. It takes some balls to do this. Dean Potter used to do this without any safety equipment.


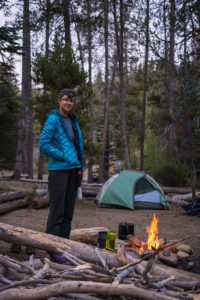
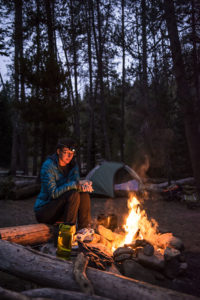
As the sun was getting low, we finally reached our campground after crossing Bridalveil Creek. To our surprise, there was not a single person camping at this location. It is the middle of October and considered as an off-season. It does get pretty cold at night around this time of year. Please note that you are required to carry a Bear Canister and obtain a permit in order to stay overnight at this backpackers campground.


The next morning we woke to warm and beautiful sunny weather. The rest of the hike would take you through a dense, lush green forest with occasional views of the valley once you get closer to the edge. Dewey Point is a perfect spot to take a brake and enjoy amazing views of El Capitan. Eventually you will descend down to a Tunnel View where we hitched a ride back to our car.


7 days in Costa Rica on a Budget

Beautiful Costa Rica

Trip Summary:


7 day trip to Costa Rica with mom and my friend Alison. I am very laid back and I try to stay on a budget. I am not afraid to take a local bus, or drive our rental car in a country that I was not familiar with. The only reason why we got a rental is because we wanted to see so much. If you are planning to stay in one part of the country for the duration of your entire visit, then perhaps a car rental is not necessary. Public transportation is super cheap! One thing about CR that I did not find cheap, was food prices. Be prepared to pay for food pretty much what you pay in US. To cut on cost of eating out, we ensured that our AirBnB stays had kitchenettes, so we made our own meals with groceries bought from local markets. I felt safe eating all the food there, even if we ate from locals. I did not have any stomach problems. But just to be safe, bring some CIPRO with you, and the basic medical kit. And bug repellent. Depending on when you go, they have their hot & rainy seasons. So make sure to be prepared for the temperatures. It is always, always, always humid there.

We rented a car and drove all over CR, hitting up some key spots. I think in a country like CR, renting a car is the most optimal way to move around on your own schedule and get to places that are difficult to reach. Costa Rica lives on tourism, visitors are highly welcomed and we felt very safe traveling around. Traveling with mom, I ensured that we had a light itinerary and most importantly gave ourselves time at each visited place. Costa Rica is one of my favorite countries with incredible biodiversity and so much to see, so it is easy to get an ambitious schedule and miss out on being in the moment.

Arrival Day: We flew into San Jose around 11pm, picked up our rental and were off to find our AirBnB. I had preloaded the map of Costa Rica on my Google Maps (How to Use Google Maps with no WIFI) and thought that I was all ready to go. Unfortunately, little did I realize that there are practically no house numbers in Costa Rica, and although our AirBnB was 30min drive from the airport it took us over an hour to find the place. Our AirBnB directions consisted of some photos on what street or at what corner to turn, and what the gates of the house would look like. Needless to say we were lost as could be at 12am driving around a neighborhood where not a single house had its light on. Thankfully there was a car (probably the first car that we saw in the past hour) that was passing us and I was able to wave them to stop. I asked them for help to phone our AirBnB host, who then kindly came in his own vehicle to escort us back to his house.


Day 1 – The next morning, our lovely host Olger, fed us traditional Costa Rican breakfast (here is a LINK to Olger’s wonderful AirBnB ). Once we’d hit the road, our first stop was to see the Poas Volcano – Poas Volcano National Park Blog, which was only a 10min drive from our AirBnB stay.

After Poas Volcano, we headed out towards Arenal Volcano, per GPS it is 2hr 30min drive, and it took us about 3 – 3.5hr due to some unforeseen road closures and construction work. Upon arrival to the town of La Fortuna, we checked into our AirBnB and immediately set out to book any tours that we wanted to do in the next several days of our stay in the area. In the evening, we embarked on an adventurous journey to find a secret local hot spring – Hot Springs in Arenal Blog.


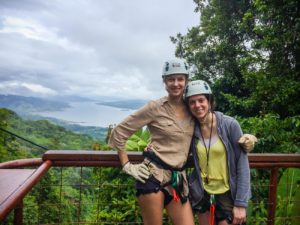
Day 2 – Today we had a zip lining tour on our agenda. Zip lining is perfect for any type of weather day. This particular day was very cloudy with some potential for rain. In the afternoon, we drove to the hanging bridges park – Mistical Arenal Hanging Bridges Park Blog, which is only a 30min drive from La Fortuna. We spent the rest of our day wandering around the jungles of a rainforest with shaky knees and adrenaline from all the heights of the bridges. We also went to the free hot springs again this night!


Day 3 – This was a full day trip to Cano Negro Wildlife Refuge – Cano Negro Wildlife Refuge Blog Post. Cano Negro is a wonderful option to see Costa Rica’s rich biodiversity and I highly recommend this trip. In the evening we wanted to explore other hot springs options in the area. There are many resorts situated near the geothermal activity, where you can pay a daily admission fee and enjoy their pools – Hot Springs in Arenal Blog.


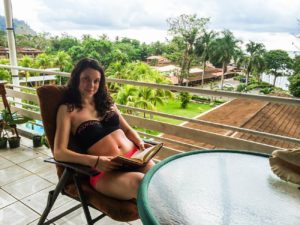
Day 4 – Drive from La Fortuna to Jaco. This was about a 4 hour drive. Jaco was our final destination and this is where we dropped off our rental car, as we knew we were not going to be making any more trips that would require a car. As a side note, I ensured to rent our car from a company that has other drop-off locations which made it covenient for our travel plans. Jaco is a popular surf beach. The town is very small and you can walk from one end to another under one hour. We stayed at the end of the town in an AirBnB which was situated just a short walk from the shore.


Day 5 – After having past couple of days of packed agenda, our plans were to enjoy the beach over the next few days. Today was a beach day! Down the shore you can take surf lessons if you want.


Day 6 – Day trip to Manuel Antonio – Manuel Antonio National Park Blog Post. Manuel Antonio is located 1 hour away from Jaco, so if you are not interested in checking out all the stuff I have mentioned above, you can split your stay between Jaco and Manuel Antonio. Jaco beaches are nice, but Manuel Antonio definitely has better ones. Our AirBnB host provided us with a bus schedule, and we effortlessly took a public bus over to Manuel Antonio. Again, we had no issues with taking public transportation and what’s a better way to explore local culture.

Day 7 – Our last beach day.


Departure Day – Took a local bus back to the airport. They have buses that go straight from the airport to Jaco and vice versa. Bus ride from Jaco to San Jose airport was about 1hour 30min. Alison and I had to make a trip to the bus station a few days in advance to check out the schedule and buy our tickets ahead of time (we didn’t want to take a chance on tickets being sold out on the day of our departure). Always give yourself extra time, you never know how the road conditions there may be. The bus dropped us off right at the airport.


Trip Expenses

Transportation

  • Roundtrip Airfare – $351
  • Car Rental – $260
  • Car Rental Gas – $73

Accommodations

  • Alajuela 1 night stay – $67
  • Arenal Volcano 3 night stay – $218
  • Jaco 4 night stay – $190

Tours per person

  • Baldi Hot Springs – $33
  • Hanging Bridges – $26
  • Zip Lining Tour – $81
  • Cano Negro Wildlife Refuge Tour – $100
  • Manuel Antonio National park – $16

Food

  • Groceries & Eating out – $200 (roughly)

Total Travel Expense Per Person: $1,100


Jaco to Manuel Antonio National Park by Bus

A lot of White Face Capuchins there

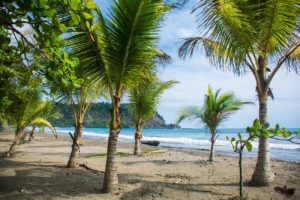
Manuel Antonio National Park is internationally recognized as being one of the most biodiverse parks on the planet. In addition, this park has one of the top beautiful white sand beaches in Costa Rica, which is nice if you’re only visiting this part of the country and don’t have time to explore Guanacaste region that is famous for its beautiful beaches.

Park entrance fee was $10. There are plenty of tours you can book within the park, but we decided to explore on our own. We took long walks along the shore line and encountered different animals and birds. We found a nice private spot and spent the entire day just enjoying the beach. We took the same local bus to get back into Jaco.


Getting to Manuel Antonio National Park:

Manuel Antonio is about 1hr 20min drive from Jaco. However, if you’re taking public transportation it will take you about 2 hours one way. For this trip you will have to take 2 busses. One from Jaco to town of Quepos, which is a small town situated right before Manuel Antonio. Second bus is from Quepos to entrance gates of Manuel Antonio. Our AirBnB host was nice enough to give us a bus schedule and tell us which bus to take to Quepos. If you don’t have such a resource, you can always just make a trip to the bus station to confirm the schedule. For both of the buses you do not have to buy tickets ahead of time, and you pay in colones as you board the bus. Jaco to Quepos bus will drop you off right at a bus station from which you will catch your next bust to Manuel Antonio. Just remember to find out when the last bus leaves from Manuel Antonio to Quepos and form Quepos to Jaco so that you can make your way back to Jaco and not have to be stuck for an overnight stay.


Cano Negro Wild Life Refuge

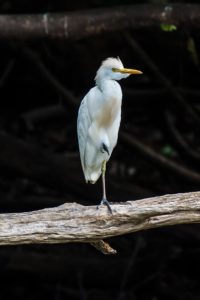
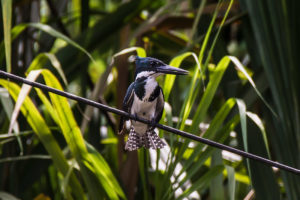
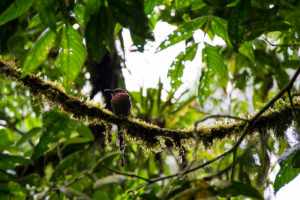
King Fisher

Cano Negro Wild Life Refuge is located about 2 hours north from Arenal Volcano area. While accessible by car, most of the visits happen via a booked tour from La Fortuna, Arenal Volcano area. We got picked up from our AirBnB and were transported over to the refuge, which was approximately a 2-hour trip one way. On the way, we stopped at a restaurant for a welcome snack which included coffee and arepas (friend pancakes) with fruit.


Once we got to the refuge, we hopped on a small boat which took us through a small river flowing through Cano Negro called Rio Frio. We saw many birds and animals along the way. The tour guides were great at pointing out wildlife and answering questions. I highly recommend bringing a pair of binoculars or a telephoto lens. If you want to see Costa Rica’s rich biodiversity, this is a way to do so without having to do any strenuous physical activity, which was perfect when going with elderly parents. There are no official hiking trails within the refuge. Our tour concluded with an authentic buffet lunch meal at the refuge centre.


Poas Volcano National Park

Poas Volcano

If you do your research, you know that the best time to come to this volcano is first thing in the morning when the park opens and there is a bigger chance of not having any clouds. When we have arrived in the morning, unfortunately we could not see anything as a heavy cloud was hanging over us, so it looked like we were standing in fog. Again, because we were on our own schedule, we decided to take a short hike over to the Botos Lake, which takes about 1 hour round trip of leisurely walking.

When we returned to the crater, we were so pleased to see the clouds had cleared and the beautiful turquoise lake could be seen at the bottom with a stream of smoke coming out of it (a sign of an active volcano!). We were so glad that we gave the weather some time. We spent about 30 minutes taking photos, and clouds just kept on rolling in and out. We witnessed many tour buses, which were on a tight schedule, pull up right at the time of when a cloud was covering the crater, allowing for 15min of foggy picture time and then ushering disappointed tourists back on the bus.

Hot Springs in Arenal, Costa Rica

Rio Chollin Hot Springs

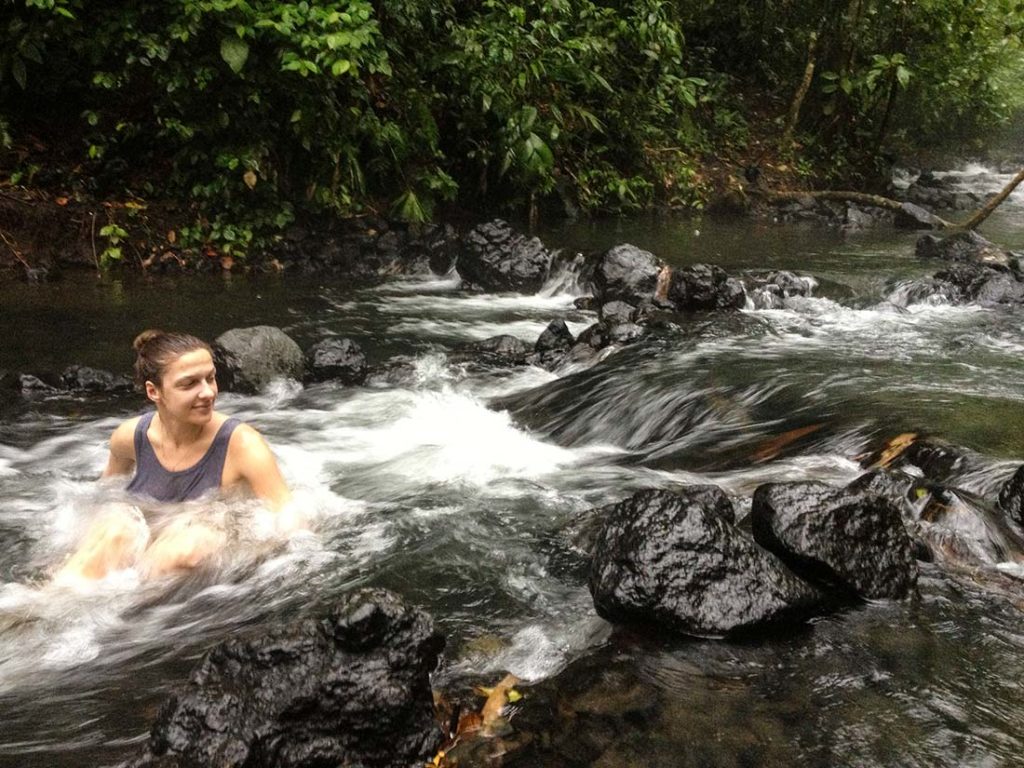
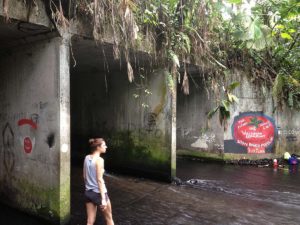
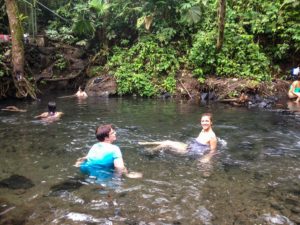
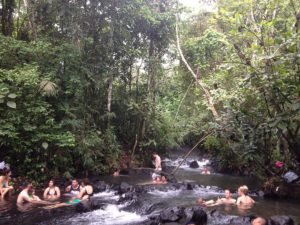
I was dying to go to hot springs – one of unique features of staying in a volcanic area! We did our research, and found a hot spring that apparently locals enjoy themselves too called Rio Chollin (use link for more details). It was exciting as we wanted to get to experience local culture. We went in the evening as it is quite hot during the day. To find this secret spring, we had to use our cell phones as flashlights, and the way lead us through walking under a bridge and some bush whacking. A few times I have reconsidered whether this was a clever idea, but the three of us – fearless (or stupid) women, braved it through and found the desired natural springs in safety. Natural hot spring was a warm river with mild enough fords where one could sit or lay and enjoy themselves. When we came, the area was lit by candlelight and a mix of locals and visitors were enjoying the atmosphere. Again, we felt safe the entire time, but please go at your own risk especially if you decide to go when its dark. We did come back here during the day and there were way more locals with families. This is definitely a hangout spot for them where they come with their own coolers and stay there for several hours of the day.


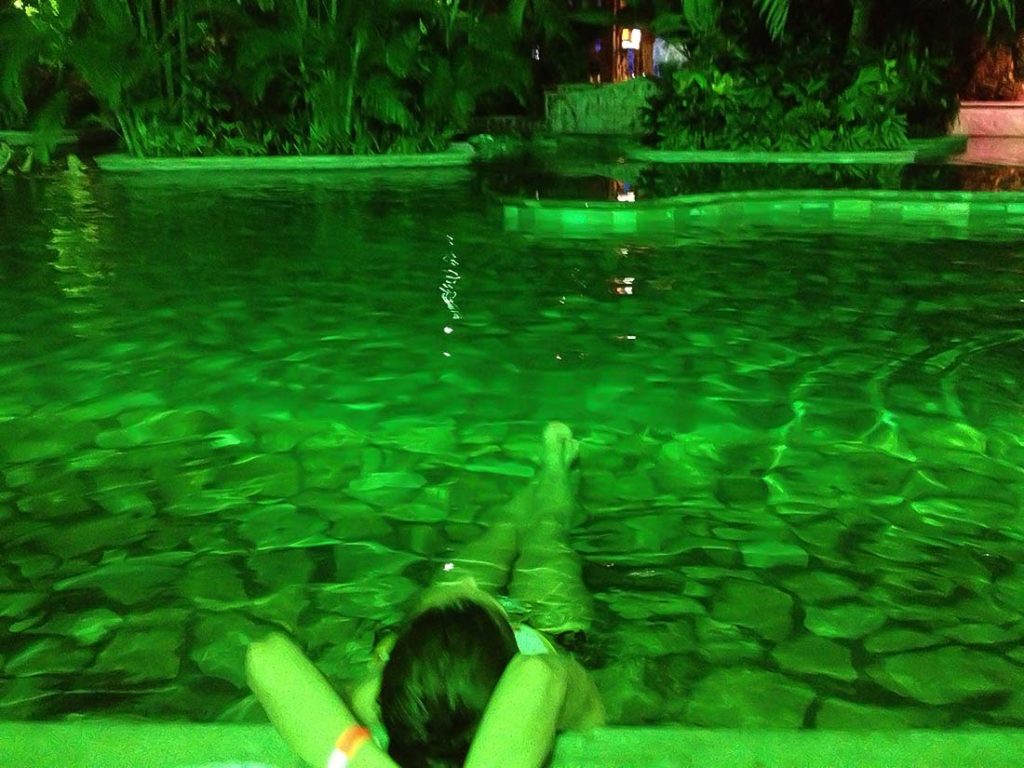
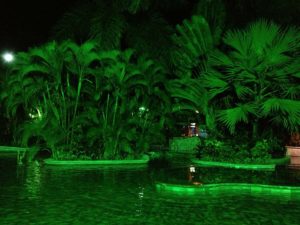
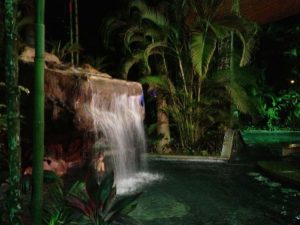
There are many resorts situated near the source of geothermal activity, where you can pay a daily admission fee and enjoy their pools. We opted for an evening session at Baldi Hot Springs. We booked our tickets from another hotel and $38 per person admission included all day at the hot springs and a buffet style dinner. The resort reminded me of a mini aquapark that had numerous pools and artificial waterfalls with ranging water temperature.

Baldi Hot Springs


Mistico Arenal Hanging Bridges Park

Hanging Bridges

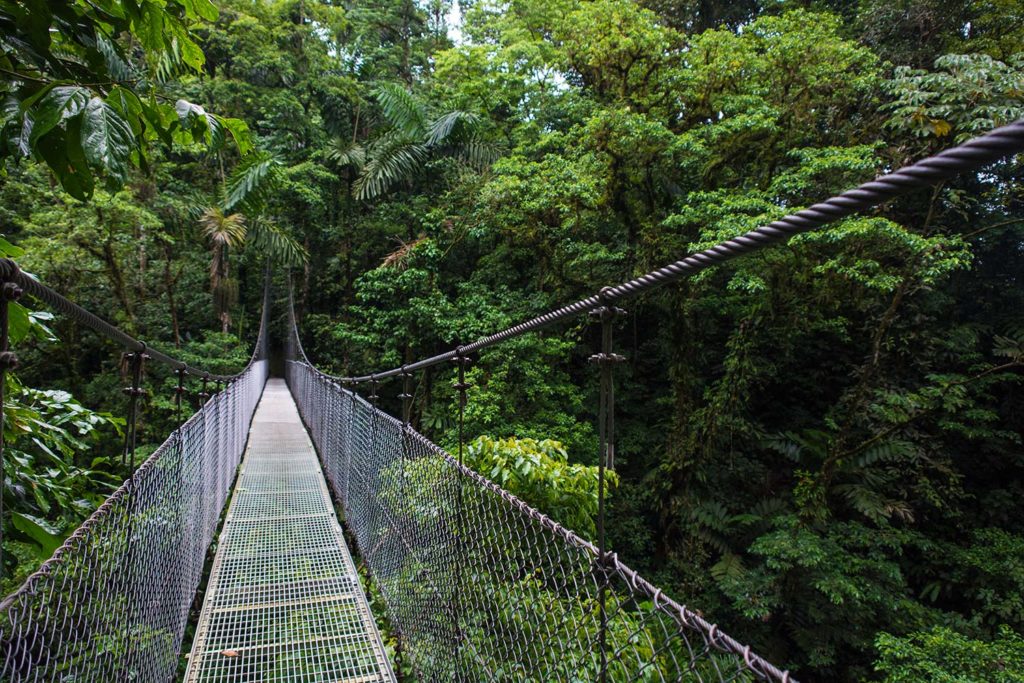
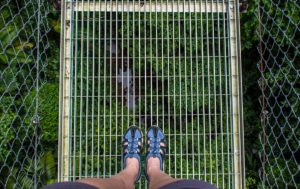
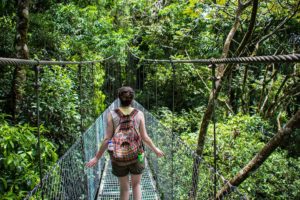
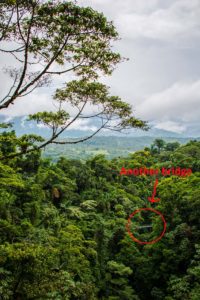
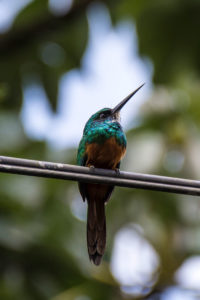
This is a really fun and easy way to spend few hours of your day. Especially if you don’t have anything on the agenda, or can’t think of what to do in the afternoon. Mystical Arenal hanging Bridges Park is only a 30min drive from La Fortuna. You have to make a reservation on their website, and pay an admission fee upon entrance. We easily spent several hours walking around what seemed like a mini rainforest. And a great bonus is that we walked on the bridges which brought our elevation to the top of the trees to see many birds. I highly recommend bringing a pair of binoculars with you if you’re a nature enthusiast. Some of the bridges were as high as 30 meters, but it was incredibly safe to walk on them.


Thailand: Detailed Two Week Itinerary From North to South

Our 3 Minute Short-film Showing Our Detailed Experience in Thailand

A day-by-day detailed itinerary that will take you through the heart of Thailand. From tallest mountains of Chiang Mai down to the wildest and untouched beaches of Ko Lanta. On this adventure you will get to enjoy it all, at your own schedule and at your own pace.

Detailed Itinerary:


  • Sat, Nov 16th: Evening Arrival to Bangkok, Hotel Check-in and Delicious Dinner From Street Vendors
  • Sun, Nov 17th: Private 1hr long boat tour through rivers and canals of Bangkok. Visit Temple of Reclining Buddha (Wat Pho). Evening Lantern Festival (Loy Krathong & Yi Peng) and releasing floating crown on Chao Phraya River
  • Mon, Nov 18th: Morning Flight to Chiang Mai, Hotel Check-in and exploring the city for the rest of the day
  • Tue, Nov 19th: Full Day Trekking to Longneck Village, Elephant Village, Hike to Waterfall and Soak up in Secret Swimming Hole. Finish the day by rafting on a Bamboo Raft down the Mae River.
  • Tue, Nov 20th: Rent a 150cc Scooter, Explore Doi Suthep Temple, Doi Suthep National Park (Wat Phrathat), Visit Scenic Viewpoints Overlooking Chiang Mai
  • Wed, Nov 21st: Drive To the Tallest Mountain in Thailand (Doi Ithanon), Visit Spectacular Mae Klang & Wachirathan Waterfalls, Follow a Dirt road into the Countryside and Get Lost for 4 Hours. Eat a Dinner at an Old Woman’s House and Finally Drive Back to Chiang Mai.
  • Thur, Nov 22nd: Five Hour Bus Drive From Chiang Mai to Sukhotai, Check-in to One of the Most Unique and Spectacular Hotels in Sukhotai.
  • Fri, Nov 23rd: Spend the Whole Day Visiting UNESCO World Heritage Historical Park
  • Sat, Nov 24th: Catch a flight from Sukhotai to Phuket, Arrive at Patong Beach, Check-in to Hotel and explore the town
  • Sun, Nov 25th: Complete change of plans: Today We are Hopping on a Direct Speedboat from Phuket’s Rassada Pier to Ko Lanta’s Sladan Pier, Rent Another 150cc Scooter, Check-in to the hotel, Start Exploring Some of the Wonderful Lagoon Beaches of Ko Lanta
  • Mon, Nov 26th: Continue Exploring Beaches and Lagoons of Ko Lanta, Visit My Ko Lanta Natinal Park, Hike a Short Trail In the Jungles, Get Eaten By Mosquitoes, Then Watch a Beautiful Sunset on the beach. Finish the day by getting a dinner at the restaurant.
  • Tue, Nov 27th: Explore the Eastern Side of Ko Lanta Island, Check Out Koh Lanta Old Town Pier, Grab a food With an Amazing View From View Point Restaurant, Snorkel Along the Western Shores of the island.
  • Wed, Nov 28th: Leave Ko Lanta and Arrive at Ko Phi Phi island. Kayak to the Monkey Island and Catch an Afternoon Ferry to Puket and later Check-in to the hotel.
  • Thur, Nov 29th: Early morning flight to Bangkok, Check-In to The Hotel, Explore the City and the Protests, Visit Famous Chatuchak Weekend Market.
  • Fri, Nov 30th: Furthermore Explore the City, Take a Water Taxi to Ferry Terminal, Explore Grand Palace and get denied access to the Rooftop Bar because I did not have proper dress shoes (Give me a brake)
  • Sat, Dec 1st: Fly out back to JFK will conclude this trip

❖ DAY 1: Evening Arrival to Bangkok, Hotel Check-in and Delicious Dinner From Local Street Vendors


Place might not look like a “Five Star Restaurant” but lots of locals were eating here, so it’s a good sign! The food was delicious!

The flight to Thailand took us 19Hrs in total, including 1hr 25min connection in Beijing that we’ve almost missed. We’ve landed in Bangkok around 11:30PM, took a cab to our Centra Central Station Hotel Bangkok, which was fair priced and somewhat conveniently located near main city attractions. Upon arrival to our hotel, my wife realized that she had left her brand new iPhone in the Taxi. Long story short, thanks to our hotel clerk perseverance, we were able to get it back an hour later. We grabbed a quick dinner and were off to get some sleep. TIP: When you take Taxi from the airport, make sure it’s a reputable company, otherwise it would have been bye-bye iPhone. Snapping a quick photo of the licence plate of Tuk-Tuk or  Cab is  a good idea. ]


❖ DAY 2: Private Long Boat Tour Through Rivers and Canals of Bangkok. Visit Temple of Reclining Buddha (Wat Pho) and Emerald Buddha (Wat Phra). Evening Lantern Festival (Loy Krathong & Yi Peng) with release of floating crown on Chao Phraya River


We were lucky to be in Thailand during the holidays of Loy Krathong and Yee Peng (The lantern festival)

With Jetlag of twelve hours we didn’t get much sleep and were up by 8:00AM. It was nice to step outside, the air was heavy, but everything felt so new and interesting. Instead of taking a taxi or Tuk-Tuk, we decided to walk for about 40 minutes toward Temple of Reclining Buddha (Wat Pho). There were a lot of places to eat along the way. We found an alley full of street vendors and restaurants, so we stopped by and grabbed “breakfast”.After getting our bellies full, we carried on toward Wat Pho. On our way we met a young Thai gentlemen, who was very friendly and spoke perfect English. At one point during the conversation he suggested that we should do a longboat canal tour and told us about this great company that he knows. As we later found out, we paid 4x the price of what an hour long private boat tour was supposed to be. So live and learn 🙂 I suggest taking only guided English Speaking Boat Tours from legit places: LINK
Later that day we visited beautiful Wat Pho and Wat Phra. Both of these places are marvelous historical and architectural masterpieces. Wat Pho is one of the oldest and biggest temples in Bangkok. It’s actually few temples within one complex with Reclining Buddha in it. Wat Phra is the temple of Emerald Buddha, made out of Jasper stone and actually quiet small in size. You are not allowed to photograph it, but we found it very enjoying to sit amongst devoured Buddhist paying their respect to a devout deity. TIP: It is customary to wear long pants or dresses that does not expose any “attractive” body parts. You should also take off your shoes when required before entering specific temples.At one point during the day, the jetlag really started to creep in and we had to go back to our hotel to get few hours of sleep. In the evening we went to explore the Lantern Festival (or whatever was left of it because we slightly overslept) performed by the Statue of King Rama I. We also bought a floating crown to release on Chao Phraya River. It was funny to watch as 30 seconds later a young boy jumped into water and picked up our crown that we paid for 8$ and disappeared into the crowd. Hey! Go figure 🙂


❖ DAY 3: Morning Flight to Chiang Mai, Hotel Check-in, Explore City, Temples and Warorot & Ton Lam Markets


We arrived at Chiang Mai airport around 9:00AM. After picking up our bags, we hitched a taxi and went directly to our hotel. After check-in, we left our packs and ventured off exploring the city. Most of the popular temples are located near the heart of the city, surrounded by a man-made canal. There are almost 300 temples in the city, so if you plan on exploring all of them, you may need to spend couple weeks here 🙂 We didn’t have any specific temples that we wanted to visit, so we just spent our day walking around old city and exploring different temples we liked. Later in the afternoon we went to check out the Warorot and Ton Lam Yai Markets. A very detailed information on which temples to visit along with interactive maps can be found here: 10 Must-See Temples in Chiang Mai


❖ DAY 4: Full Day Trekking to Longneck Village, Elephant Village, Hike to Waterfall and Soak up in Secret Swimming Hole. Finish the day by rafting on a Bamboo Raft down the Mae River.


It’s a full day trek. We were picked up from our hotel early in the morning and drove north for a little over an hour in a open truck-bed-booth. After reaching our first destination, we were taken to visit the Long Neck Village Tribe. After spending approximately an hour here, we moved on toward the Elephant Village. Part of the tour included riding the elephants. After realizing that these elephants are very tired and are seriously abused, we decided not do it. I highly encourage you to do the same. Soon after, we were taken on a short hike through the jungle road and down to a waterfall with a swimming hole that I actually got to swim in! The next and final activity on was a white water rafting on a bamboo raft. We finished around 6:00PM and drove back to Chiang Mai.

I wasn’t able to find reference for the Trekking Tour Company that we’ve used, but I found similar ones with great reviews: Outdoor Activities in Chiang Mai. It’s amazing how much you can modify and adjust the search preferences on the left hand side of the screen in “Outdoor Activities” section. In 2013 there were hardly any information available online, so this trek was arranged by the tour operator located next to our hotel.


❖ DAY 5: Rent a Scooter, Explore Doi Suthep Temple, Doi Suthep National Park (Wat Phrathat), Visit Scenic Viewpoints Overlooking Chiang Mai


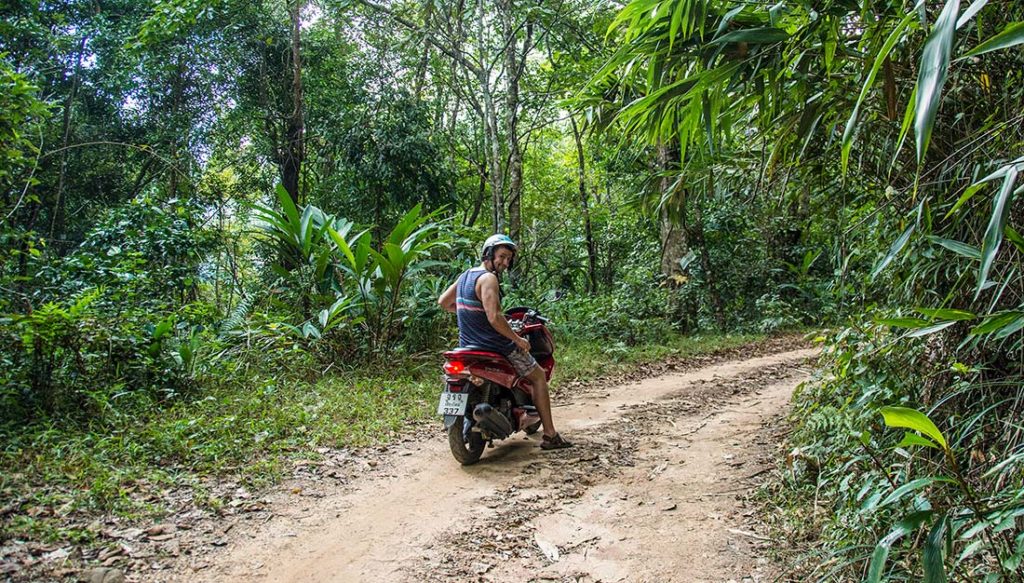
Visiting Doi Suthep in Chiang Mai is an absolute must! After finally getting 10 hours of sleep, we were up late. Our hotel manager suggested a nice place to rent a bike and even arranged having it transported to our hotel. It was a brand new Honda PCX 190 (150-190cc) The last time I rode a scooter/bike, I was 12 years old and I had a Carpathian Moped (50cc) back when I was growing up in Ukraine. I bought the bike when I was 11 and completely rebuilt the engine myself, a story for another time ;)I was a little concerned, because not only I haven’t rode a bike for more then 12 years, I also had to drive on the opposite side of the road. Luckily, it wasn’t as difficult as I have imagined. Once you get on the road, take it slow and you should be fine! If you are a good driver, I think you will be ok. If scooter is not an option for you, you can either book a private taxi (Tripadvisor Information Link) or just use a shared Red Songthaew Taxi that goes along this route: Link. We spent the rest of the day driving around Doi Suthep National Park, stopping by different villages, scenic viewpoints and Wat Phrathat Temple: Our Day Route Link


❖ DAY 6: Drive To the Tallest Mountain in Thailand (Doi Ithanon), Visit Spectacular Mae Klang & Wachirathan Waterfalls, Follow a Dirt road into the Countryside and Get Lost for 4 Hours. Eat a Dinner at an Old Woman’s House and Finally Drive Back to Chiang Mai


At first, my wife thought it was a crazy idea. Driving from Chiang Mai to Doi Itahanon is 105km (65mi) one way. But as we would later find out, it was one of the best things we did around the area of Chiang Mai. Our day turned out to be one of the great adventures in Northen Thailand: You can read out detailed blog here: Self Guided Tour to The Tallest Mountain In Thailand – Doi Ithanon


❖ DAY 7: Five Hour Bus Drive From Chiang Mai to Sukhotai, Check-in to One of the Most Unique and Spectacular Hotels in the Area


Our wonderful hotel manager Ms.Varada knew that we were leaving, and she wanted to give us a ride to the Bus Terminal. Even thought we planned on taking a taxi, she was extremely persistent. After giving us a lift, Dasha tried to give her some money for getting us to the bus terminal. I was watching in awe and laughing out-loud as she smacked Dasha’s butt for trying to pay for the ride! We left Chiang Mai with a very warm and pleasant feeling.

It took us about 5 hours to get to Sukhotai. There is a bus that runs from Chiang Mai to Sukhotai few times a day. I would suggest asking your Hotel Concierge to call them and find out about the schedule. We bought tickets at the bus terminal when we arrived. It was about 260BHT per ticket. Upon arrival to Sukhotai Bus Terminal, we called the Ruean Thai Hotel and they sent a free shuttle to pick us up.


❖ DAY 8: Spend the Whole Day Visiting UNESCO World Heritage Historical Park


We woke up to a beautiful sunny morning! After eating a delicious breakfast at Ruean Thai Hotel, we couldn’t pass by the opportunity to swim in their amazing pool before checking out. Although the hotel is located in the city, once you are in it, you will feel like you are somewhere in remote temple. The front desk concierge recommended that we could either take a taxi or a local shuttle that would take us to Sukhothai Historical Park. When you arrive at the gate of Sukhotai Historical Park, you must pay 100BHT admission fee. You also have a chance to get an Audio Tour and rent a bicycle that you can ride throughout the park. I don’t believe there were any places to get food, so if you’re planning on spending more then 4-5 hours exploring the park, plan to bring some snacks with you. After spending about 5 hours in the park, we hoped on tuk-tuk and went back to our hotel.


❖ DAY 9: Catch a flight from Sukhotai to Phuket, Arrive at Patong Beach, Check-in to Hotel and explore the town


Our direct flight to Phuket was scheduled to depart early in the morning from the Sukhotai Airport, which located only 45min from the Old Sukhotai. I must say, this airport is one of the coolest and strangest places in the world! Situated in short walk between a Zoo and temples, it also shares a common area with few of the temples.

When we arrived to Phuket

Self Guided Tour to The Tallest Mountain In Thailand – Doi Ithanon

Drive To the Tallest Mountain in Thailand (Doi Ithanon), Visit Spectacular Mae Klang & Wachirathan Waterfalls, Follow a Dirt road into the Countryside and Get Lost for 4 Hours. Eat a Dinner Made by an 80 Years Old Woman at her Noodle House and Finally Drive Back to Chiang Mai

Trip Information:


  • Miles Driven240 km (150 mi) roundtrip
  • Trip DurationFull Day
  • TransportationScooter or Dirt-bike is required
  • Google Maps RouteLINK (Please see below)


This has been by far the most memorable experience from Northern Thailand. After getting a good grip on riding a scooter from the day before, we decided that instead taking a private tour, we can give it a shot and adventure to Doi Ithanon at our own pace. I found that driving in Chiang Mai was very stress free and people are very friendly, polite and respectful. The passing car drivers would often hank their horns to let you know their behind and are about to pass you. I almost felt that the feeling of road-rage was just not existent here, which was simply amazing.

Mae Klong Waterfall

The first place we visited along the way to Doi Ithanon was  Mae Klang and Wachirathan Waterfalls that are conveniently located along the main road. It was so awesome because both of these waterfalls didn’t have anyone else around and we were able to capture some clean shots.


After the waterfalls we came upon a dirt road that lead into the forest. During my initial research, I saw a road on a map and had a feeling that we should be able to drive through a countryside and come further up the main road. Which we did, but only 3 1/2 hours later! And every minute of the journey was well worth it! I’ve marked two entry points on the map, so I suggest taking a second one, unless you want to drag your 130kg (300lb) scooter across the stream and mud holes on the forest trail 🙂

With the help of occasional locals, who were starring at us like how the hell in the world did we get here? The sign language with finger direction pointing, finally got us out back on the asphalt road! We only did 13mi (21km) in 3 1/2 hours, but it was awesome! There was no google earth images of this region in 2013, so we were kind of just wondering on our own. I feel like adventures like that are the best type, because you never what you’re going to find and experience! Soon enough we were able to get to the top of Doi Ithanon and snap a quick shot before the cloud engulfed the top of the mountain. Keep in mind, it was very very cold because of high elevation, so bring some extra clothing! It was getting dark very quick! On the way down, we somehow missed the turn to The Great Holy Relics Pagoda Temple and by the time we realized it, we were already 10 minutes away and still had to get dinner at Old Grandma’s Noodles Place and drive back to Chiang Mai.


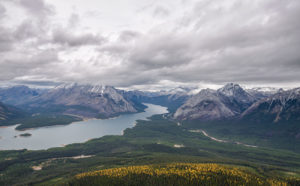
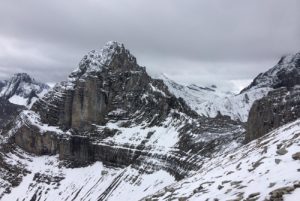
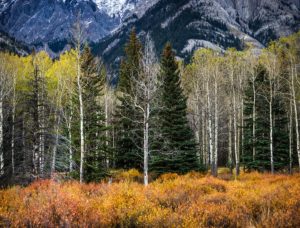
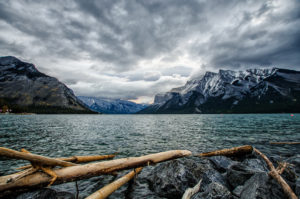
7-Day Itinerary Banff National Park

After visiting the Canadian Rockies in fall of 2012 for the first time, I felt so inspired that I just couldn’t wait to go back again!

It was already mid-September and snow in the mountains has arrived early this year. I started having doubts about this whole trip with friends & family discouraging me with thoughts of freezing to death and hungry grizzly bears. I guess it did mess with my head and I kept putting away purchasing these damn tickets…

It was a day before my birthday, Dasha set me down and gave me a handmade envelope, which had a path from Newark to Calgary. I immediately knew what it was. I was going to Canada… By far, it was one of the most thoughtful and important gifts I ever got in my life.

Detailed Itinerary:


❖ DAY 1: Arrival to Calgary Airport, Car Rental Pick Up and Hotel Check-in


I’ve arrived to Calgary early in the afternoon. After picking up my rental car I went straight to the nearest super market to stock up on groceries for the week. Soon after, I ended up driving for two hours toward the town of Banff. This night, I planned to stay at Banff International Hostel.


❖ DAY 2: Overnight Hike to Bow Hut in Banff National Park


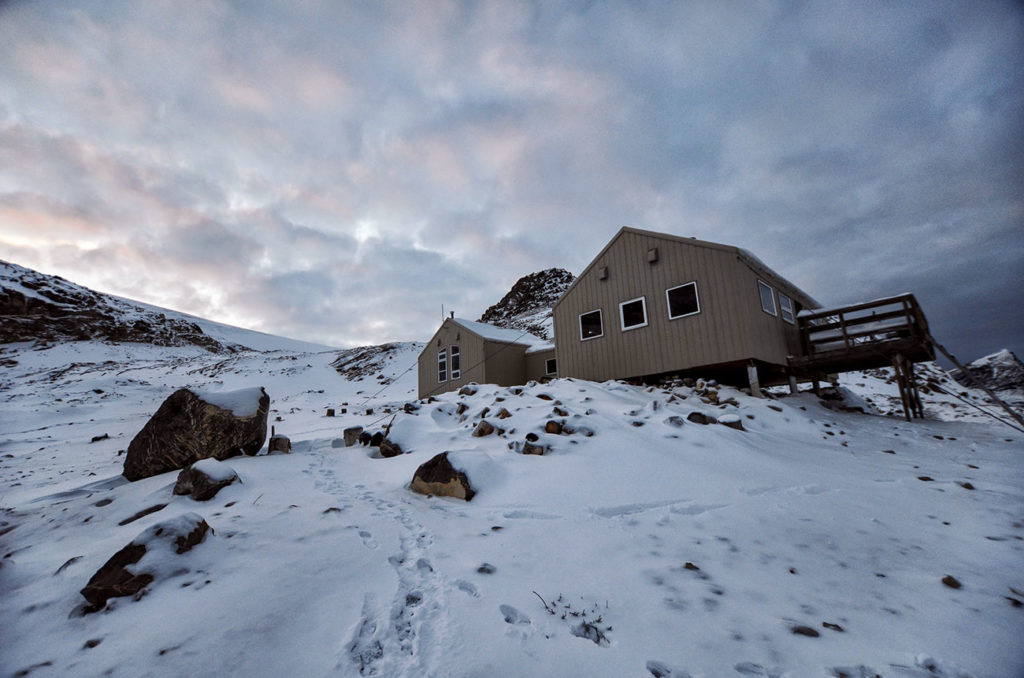
The next morning, I left town of Banff and drove 140km north on Icefields Parkway towards Bow Lake. For today’s itinerary I have planned to do an overnight hike to the Bow Hut, nicely tucked away in the mountains  at 2,350m (7,700ft). When I arrived at the lake, I started packing my gear and supplies, hoping to hitch a companion, because I never hiked alone before especially in the bear country. With occasional buses stuffed with tourists, rushed and eager to take photos of the lake, I soon realized that I will have to hike alone. A detailed blog for this overnight hike can be found here: Overnight Hike to Bow Hut in Banff National Park.


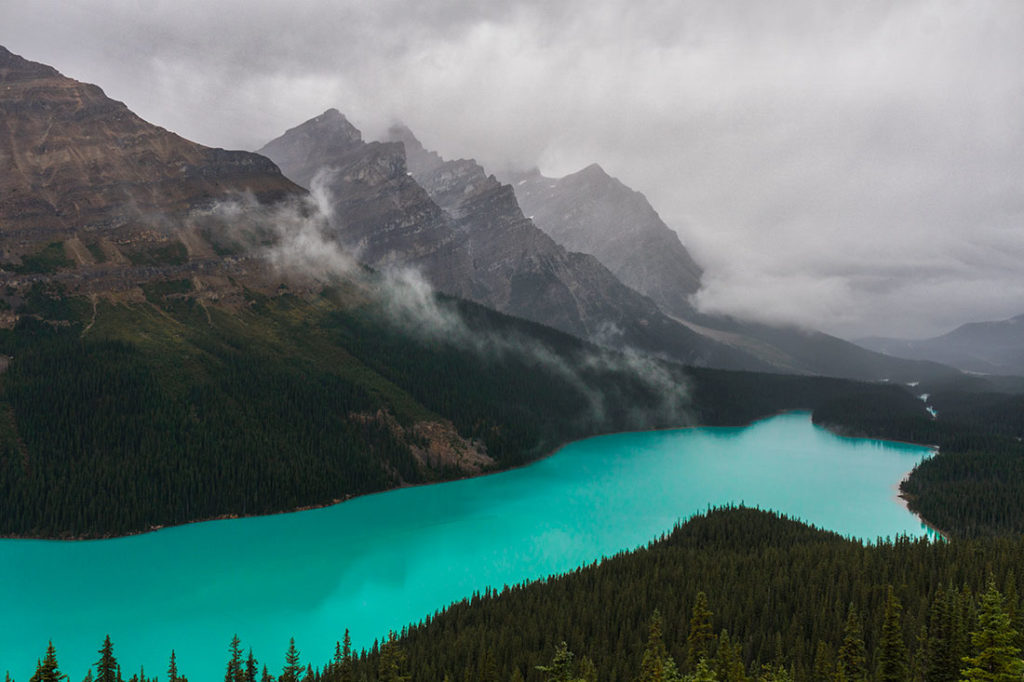
❖ DAY 3: Return to Bow Lake and visit Peyto Lake, Mistaya Canyon, Icefields Parkway Viewpoint, Athabasca Glacier.


Beautiful turquoise colors of Peyto Lake

I left the Bow Hut around 9AM and got back to the trailhead parking lot by 11AM. I got in the car and started heading north to visit Peyto Lake. After spending about 20-30 minutes here, I’ve moved on toward Mistaya Canyon. If you’re interested in additional hiking, there is a 10mi roundtrip Mount Sarbach Route trail that takes you up to a beautiful ridge with lots of panoramic opportunities. After Mistaya Canyon, I continued driving north towards a beautiful Icefields Parkway Scenic Overlook. I also visited Athabasca Glacier before weather turned for the worst. Later that day I drove back toward Banff, but decided to spend the night at a hotel in Canmore to catch some good night sleep.


❖ DAY 4: Day Hike to Burstall Pass in Kananaskis Region


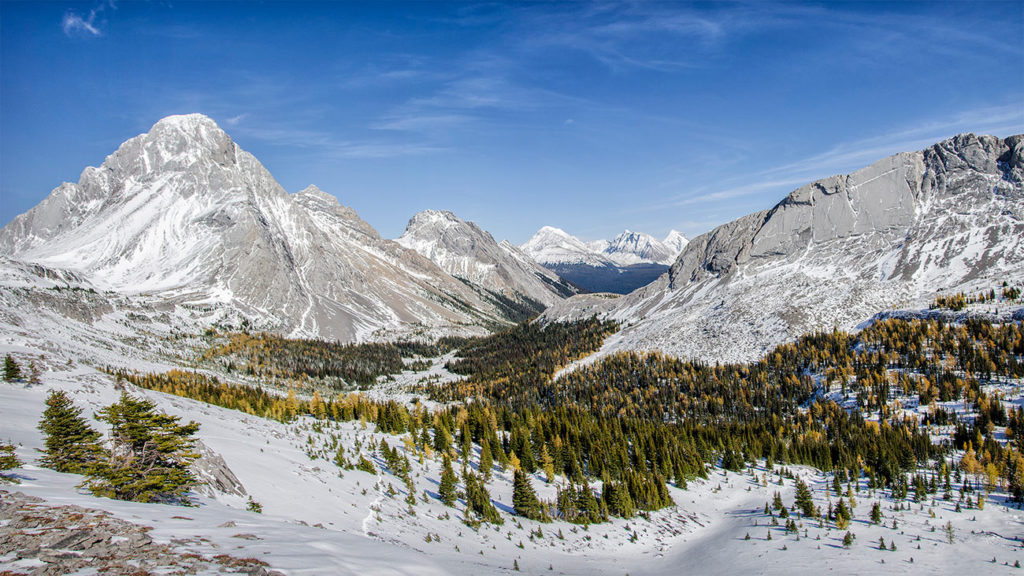
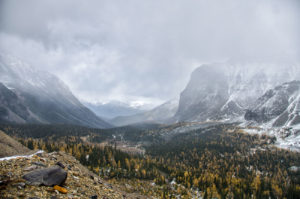
View looking east from Burstall Pass

After finally getting a good night sleep and a full size breakfast, I left Canmore and drove south on Smith Dorrien road for about 1.5hr until I reached Burstall Pass Trailhead. As usual, the trailhead was completely empty, so I was not expecting to bump into anyone else. A full detailed blog for hiking the Burstall Pass can be found here: Day Hike to Burstall Pass in Kananaskis Region.

Once back at the trailhead, before returning back to town, I decided to take it slow and drive around Kananaskis, photographing and exploring this region. I found that the hotel accommodations in Canmore were reasonably priced, so I decided to spend another night here instead of Banff International Hostel, where it was very difficult to get some sound sleep.


❖ DAY 5: Lake Annette & Horseshoe Lakes Day Hike in Banff National Park


Beautiful Lake Annette

On this day, I planned to do a day hike with Marko & Emily, a couple from Calgary, who I’ve met online through photography forums. Marko is an excellent trekker & photographer and was very kind to offer me to join them on this hike. All of the detailed information for our hike can be found here: Lake Annette & Horseshoe Lakes Day Hike in Banff National Park. It’s a spectacular hike, conveniently located between Lake Louise and Lake Moraine, but doesn’t get nearly as much traffic as the surrounding popular iconic locations.


❖ DAY 6: Hiking Tent Ridge Track in Kananaskis Region


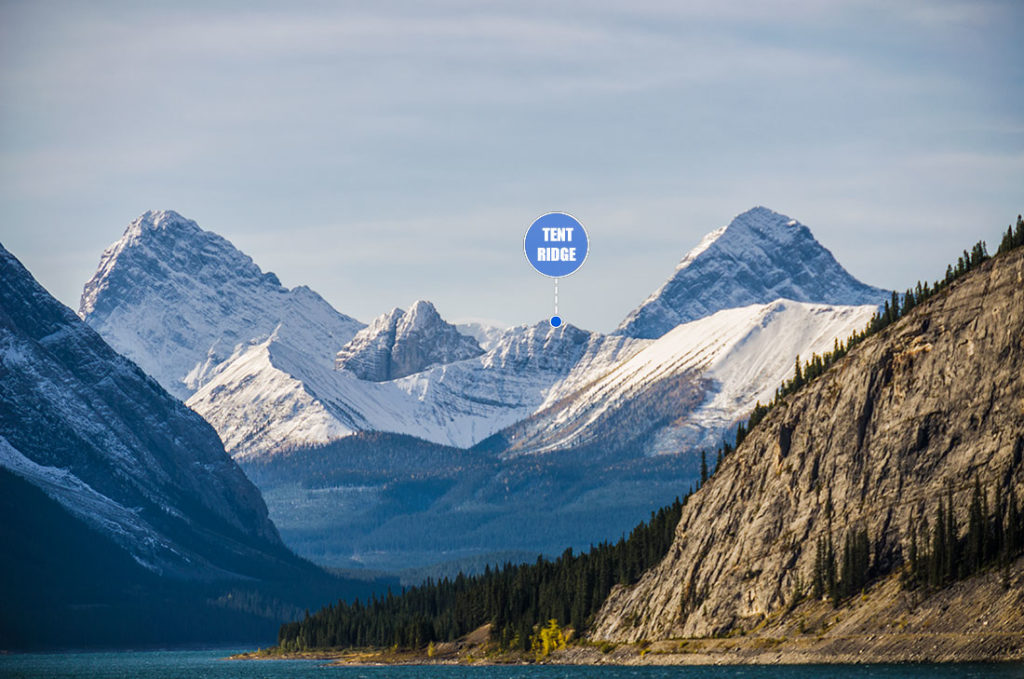
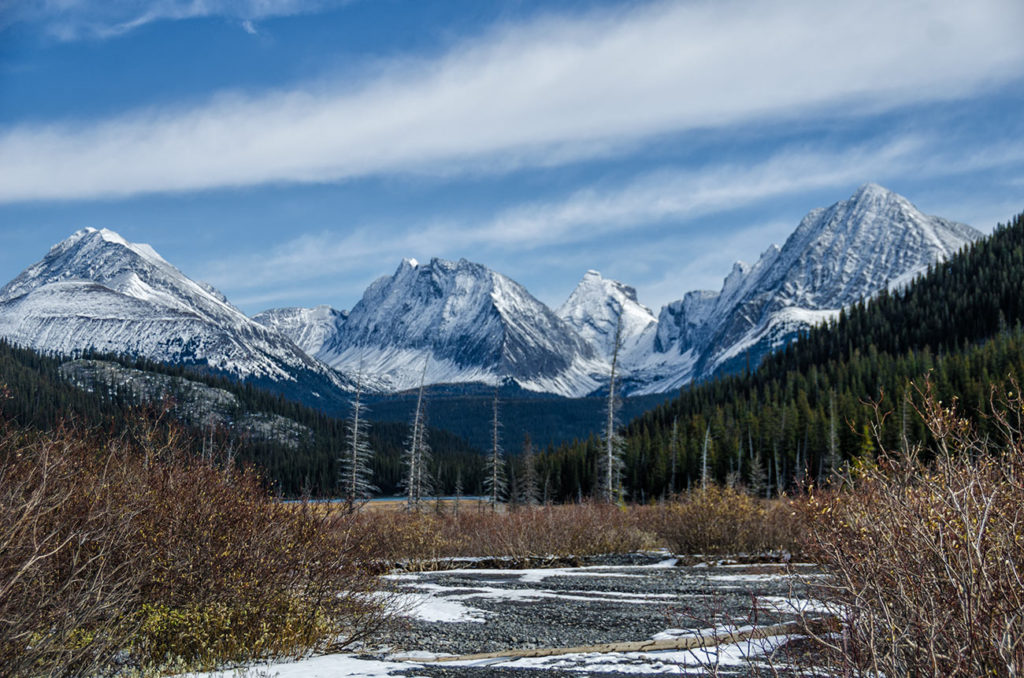
Tent Ridge Trail visible from Spray Lakes Road

Tent Ridge Track was an unplanned hike that I noticed while driving by on Smith Dorrien Road. I spotted this ridge from the far and thought to my self that it would be so awesome to hike it. Ten minutes later I found out that there is even a road that takes you to the side road parking and that there is actually a trail! A detailed information on hiking this track can be found here: Hiking Tent Ridge Track In Kananaskis Region. After completing this hike, if you feel like you still have energy, I encourage you to check out another short but very cool hike called: Ha Ling Trail. It is just a little over 3mi in round-trip distance with great views. Unfortunately, I have only learned about this hike after I returned back to US.


❖ DAY 7: Exploring Banff National Park and later catching a flight back home.


Today I mostly drove around Bow Valley Parkway enjoying the scenery and taking photographs of beautiful places. Toward the second half of the day I started slowly moving toward Calgary to catch my evening flight back to Philly.


Hiking Tent Ridge Track In Kananaskis Region

Tent Ridge Trail visible from Spray Lakes Road

A strenuous back-country loop through the top of the ridge with incredible panoramic views of the entire Spray Valley Provincial Park in Kananaskis Region.

Trip Information:


    • Distance10.5 km (6.5 mi) roundtrip
    • Elevation Gain640 meters (2,100 ft)
    • Estimated Duration5-6hrs roundtrip
    • Driving Directions1hr 10min drive on the unpaved road from Canmore (Google Maps)

Tent Ridge trail loop is a challenging day hike involving some slightly steep and rocky terrain with few short scrambling sections. Some may find this track a bit intimidating, but to me it felt the challenge was worth the reward. I did this hike during my very early years of hiking, without much experience, in cold weather and with half of the trail covered in snow. Use your common sense, have proper gear, know your limits and always turn away if you don’t feel comfortable pushing on.

The trailhead is located along Mount Shark gravel Road. If you choose to hike this trail counterclockwise (like I did) you will have to park your car and hike for 0.1 miles further down the road to start on an old logging road which will merge into Tent Ridge Track.

Beautiful Larch Trees

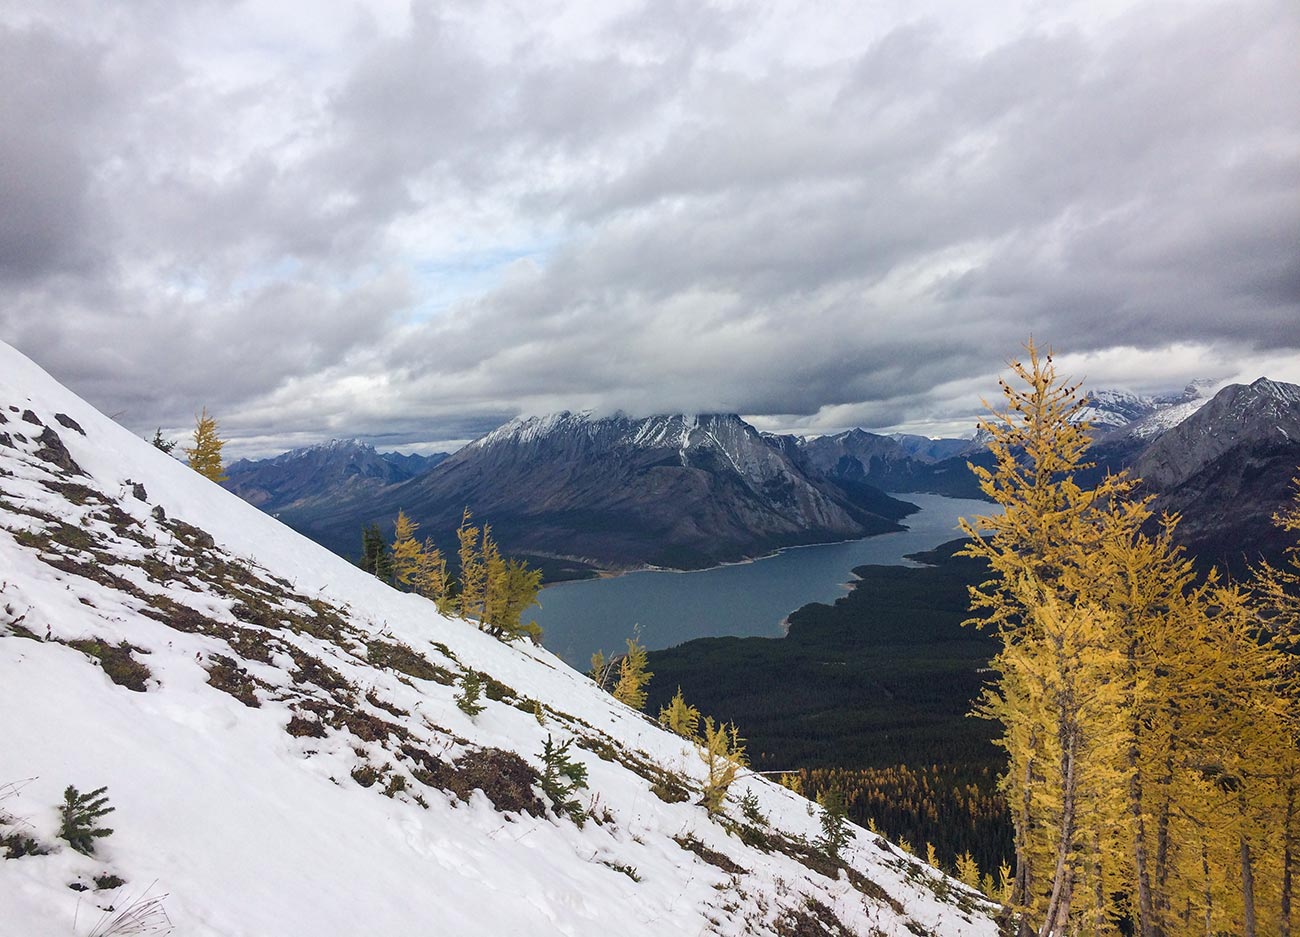
After 0.4 miles from the trailhead, you will reach a trail junction where you will make a sharp left turn and will begin gradually gaining elevation. You should be able to see the right side of the ridge through the top of the trees for most of the time. I was there in early October and it was a larch trees paradise.

Spray Lakes Reservoir

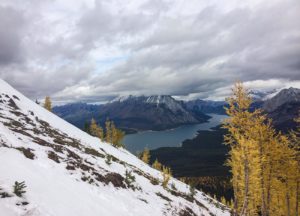
Once above the treeline, on your right side, you will see a clear view of Spray Lakes Reservoir. The area on top of the ridge can be very windy. If you’re hiking during the time of the year when it is cold, it’s a good idea to have your snacks and warmer clothing layers easily accessible (like wind jacket, hat or gloves) before getting above the treeline.

The view of Mount Fist

Once on top of the ridge, it’s a straightforward hike and is nearly impossible to get lost. Just follow the ridge until you reach the other side and slowly descend below the treeline. Make sure not to miss a sharp left turn before you hit the treeline in order to stay on the trail (I ended up walking straight and missed the trail). You will come out to Mount Shark Road, make a left and continue all the way down to the parking lot where you’ve left your car.

Spray Valley Provincial Park 

As a rule of thumb and a good practice, always carry paper maps, compass and a pre-loaded GPS track on your fully charged phone. Always keep extra layer of warm clothing in your backpack as weather can be unpredictable in the mountains.

Lake Annette & Horseshoe Lakes Day Hike in Banff National Park

Beautiful Lake Annette

A classic hike through dense forest, with a stop over at Lake Annette, Horseshoes meadows and up to Horseshoe lakes that offer breathtaking views of the entire valley.

Trip Information:


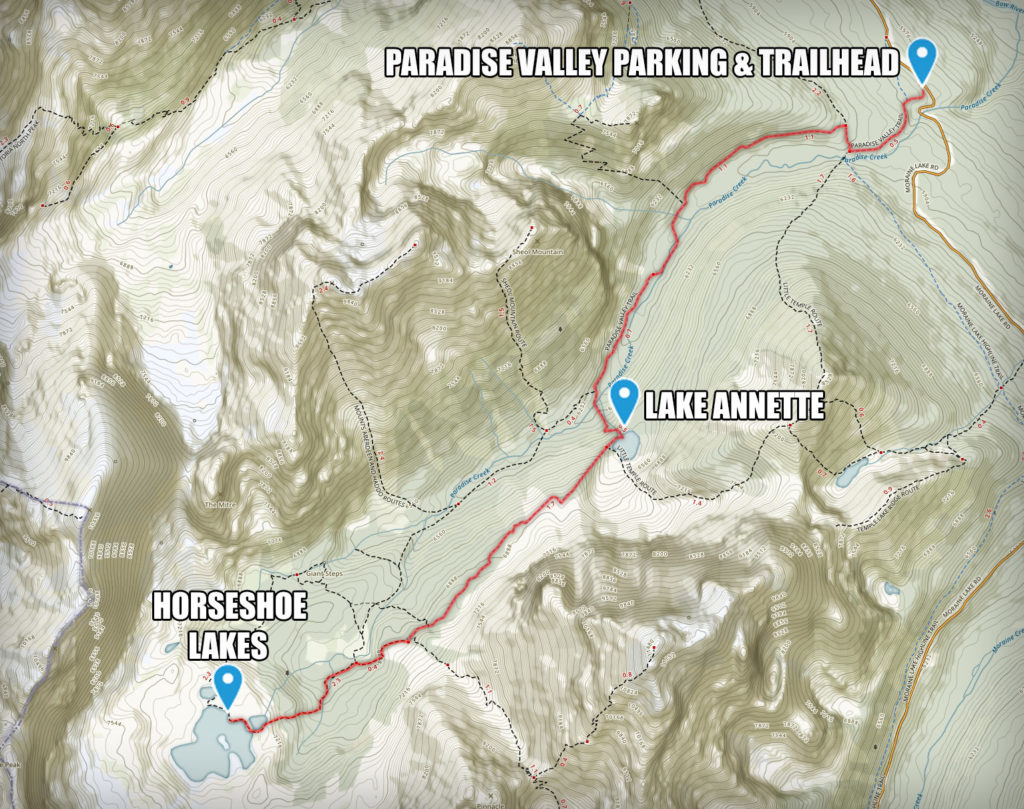
  • Distance to Lake Annette: 5.6km (3.6mi) one way (moderate difficulty)
  • Distance from Lake Annette to Horseshoe Lake: 4.6km (2.9mi) one way (difficult and may require basic navigation skills in early spring/late fall when trail is covered in snow)
  • Total Distance (including Horseshoe Lake): 21km (13mi) Roundtrip
  • Estimated Duration: 8-10hrs Roundtrip

Due to Grizzly bears in the area, when hiking through Paradise Valley from months of July to the end of August, make sure to hike in larger groups and carry a bear spray at all times. For this hike, I’ve met up with some of my friends from Calgary and we did this route together.

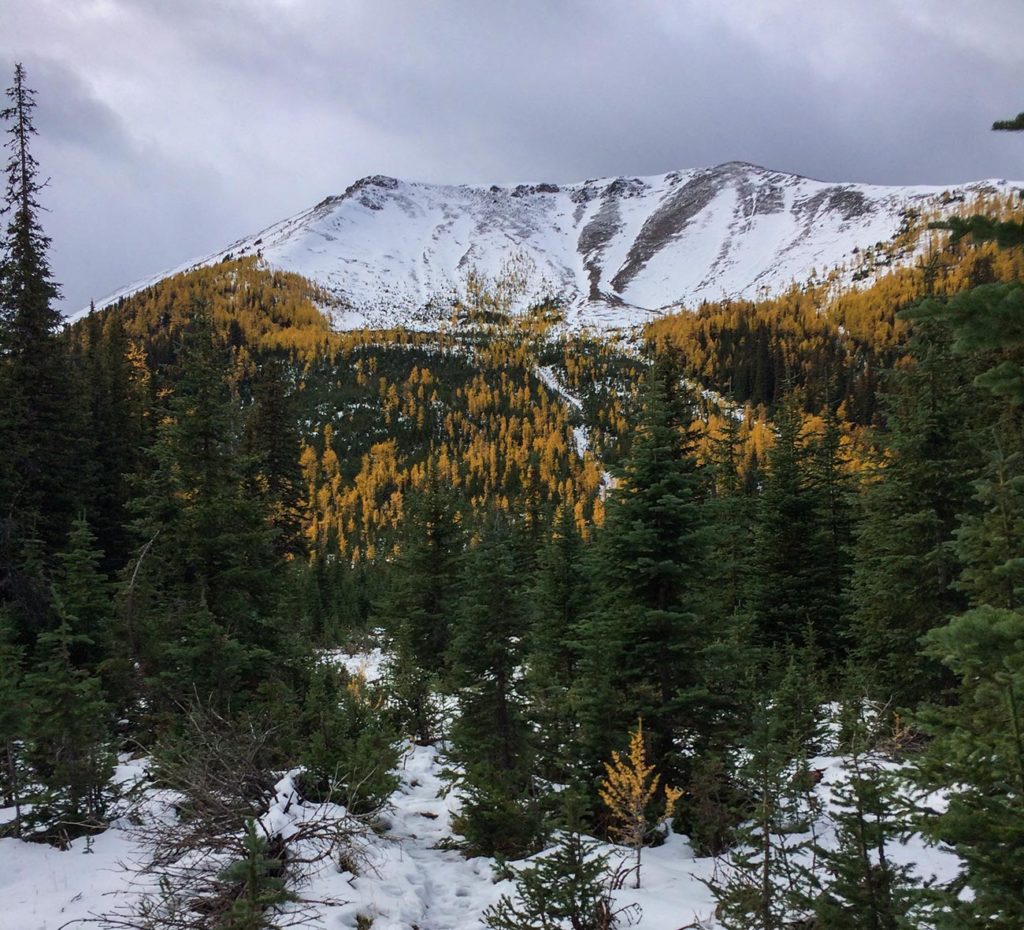
The first section of the trail will take you through green, lush forest along Paradise Creek. It’s a beautiful & wild terrain, the smell of fir trees will fill your lungs with freshness and aroma of pine needles.

The trail to Lake Annette is pretty straightforward and well maintained. It took us a little less then two hours to get to the lake.

Emelie in front of Lake Annette

Once up and over the lake, the trail will get above the treeline and will provide an opportunity for breathtaking views of the valley and the surrounding peaks.

The Mighty Mount Temple

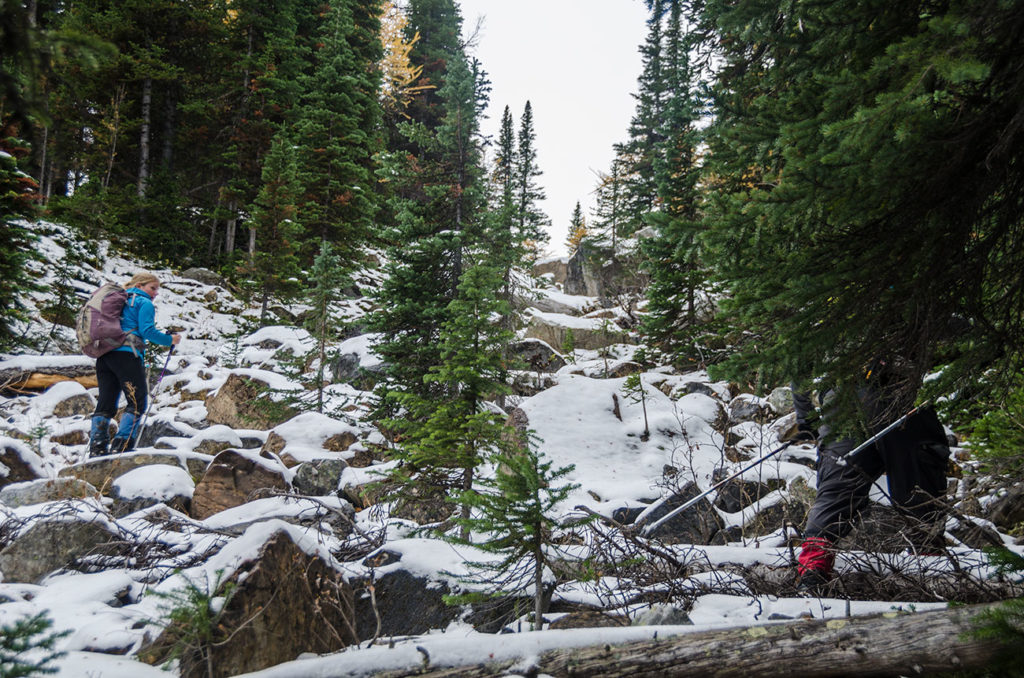
Once above the treeline, the trail will pass through some rock debris until you reach the junction of Horseshoe Lake Trail. I can’t quiet recall if there is a definite sign for the trail junction, as the trail was covered in snow. Due to snow, we had to use our navigation skills through the forest in order to get to the Horseshoe Lakes.
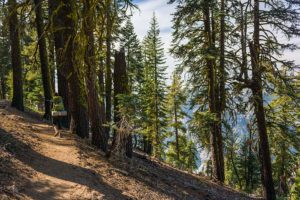
Using our navigation skills through spots where there were no signs of trail

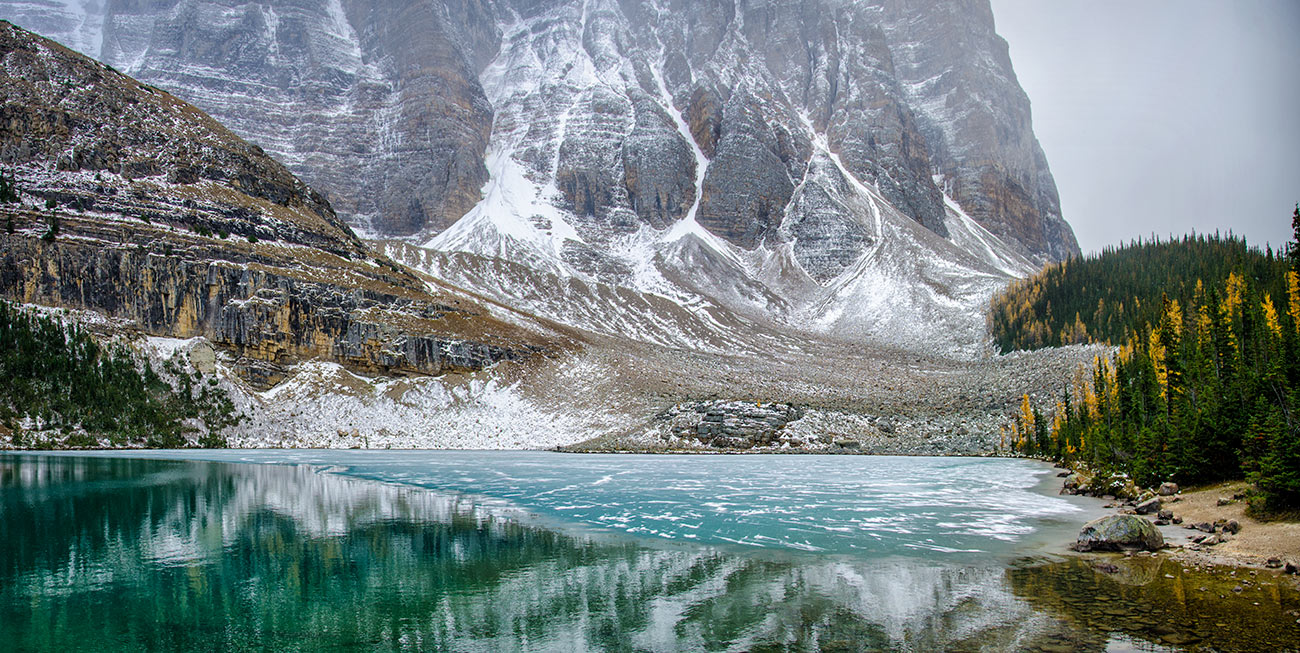
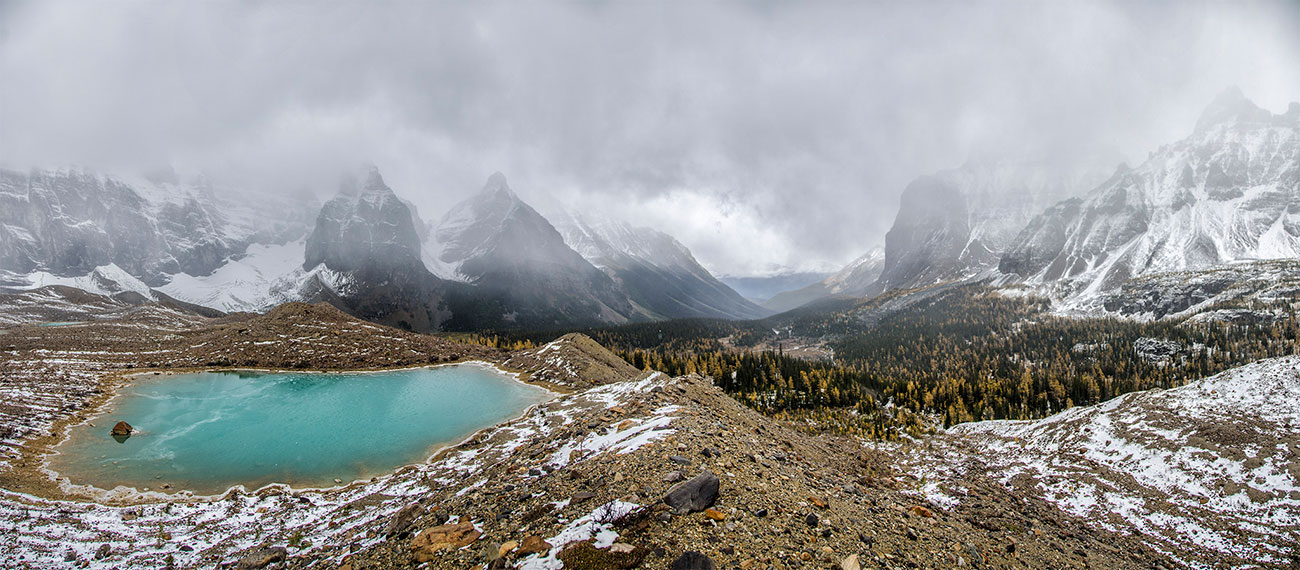
Once out of the woods again, you will reach the Horseshoe Lakes. There is plenty of opportunity to walk around and explore the area. The views over the lakes and down into the valley are simply breathtaking.

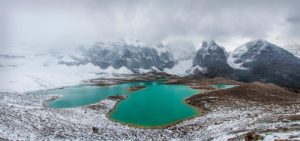
The view of the valley overlooking the Horseshoe Lakes

Day Hike to Burstall Pass in Kananaskis Region

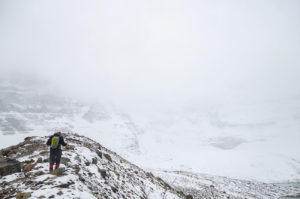
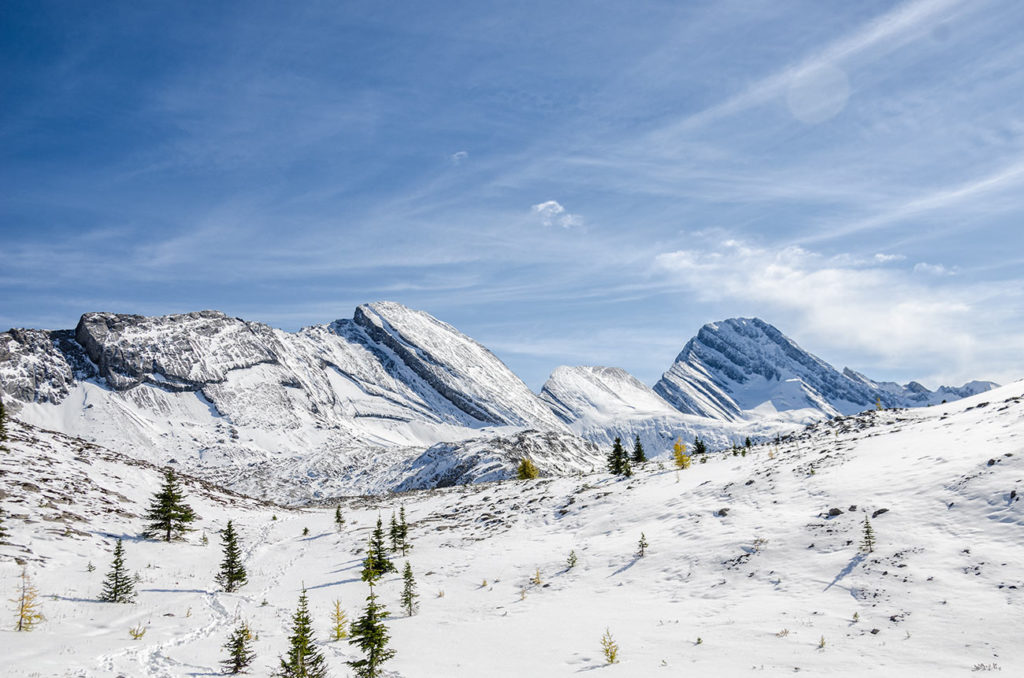
View looking East from Burstall Pass

Burstall Pass offers amazing views of the surrounding peaks and provides plenty of opportunity to further explore other trails or scramble to the top of some of the nearby peaks.

Trip Information:


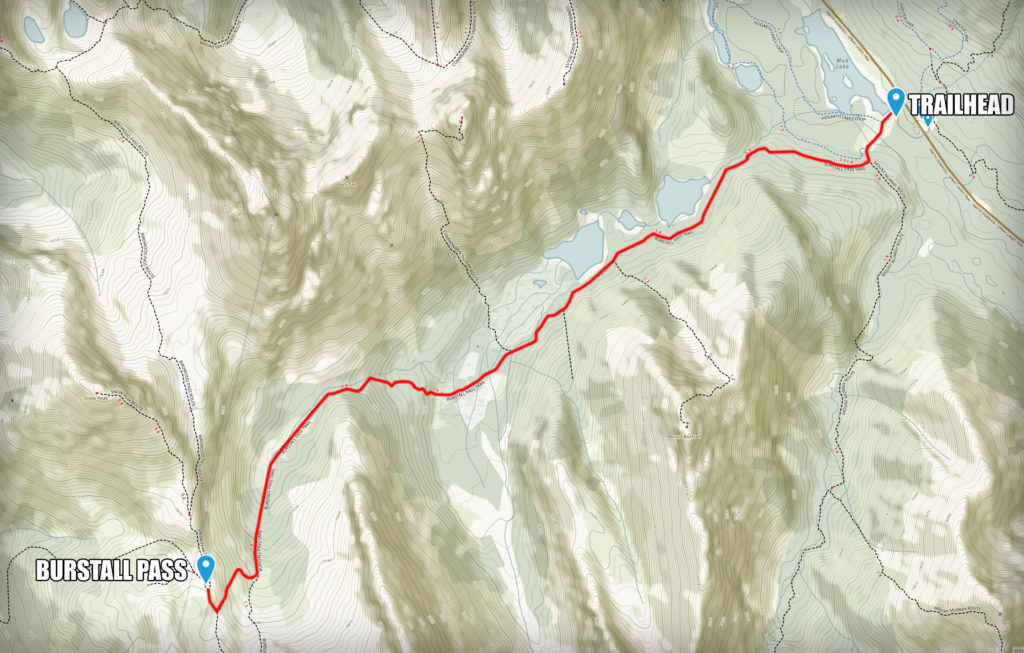
  • Distance: 16 km (10mi) roundtrip
  • Elevation Gain: 450 meters (1,500 ft)
  • Estimated Duration: 5-7hrs roundtrip
  • Alltrails Map Burstall Pass Hike


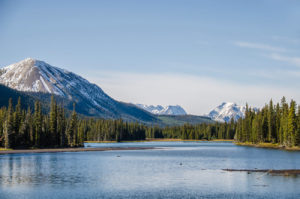
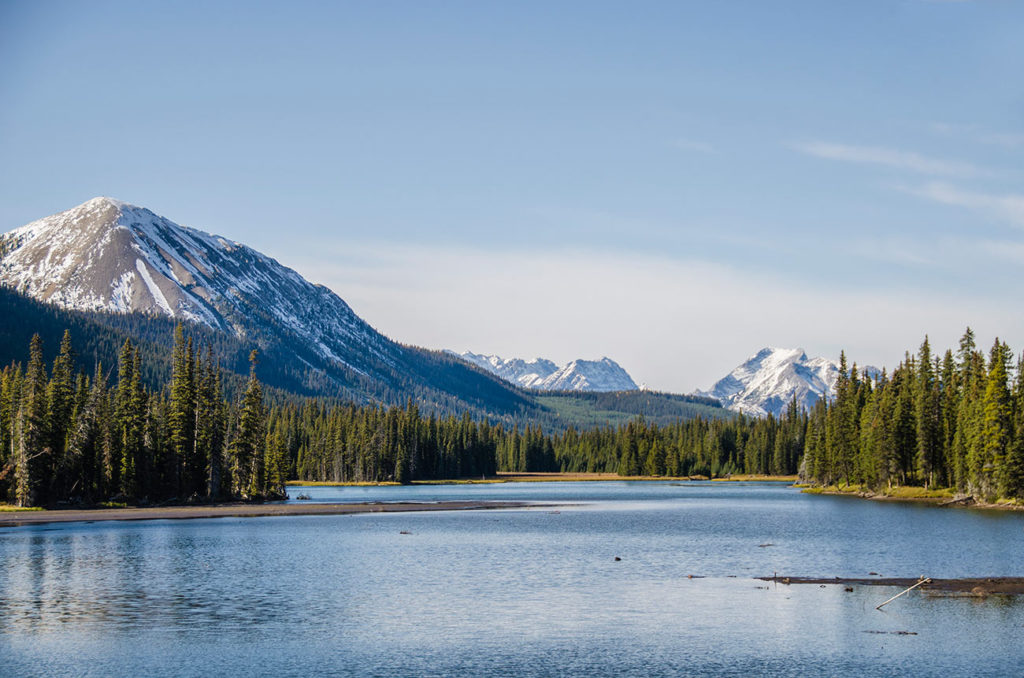
Mud Lake near the trailhead

A fairly easy hike, that starts off in a beautiful dense forest and stretches for about 4km. Later, the trail enters a wet and mucky meadow and then back to the forest where you’re going to have about 500-600 feet of elevation gain. ]

Once above the treeline, you’ll have another mile and approximately additional 300 feet of elevation gain to get to the top of the pass. In my case, on the leeward side of the slopes, there was a lot of wind blown snow that was 1-2 feet deep at times, which made hiking experience a bit more difficult and slow. Depending on the time of the year, bring proper gear (fall/spring = gaiters; winter = microspikes, crampons, snowshoes)
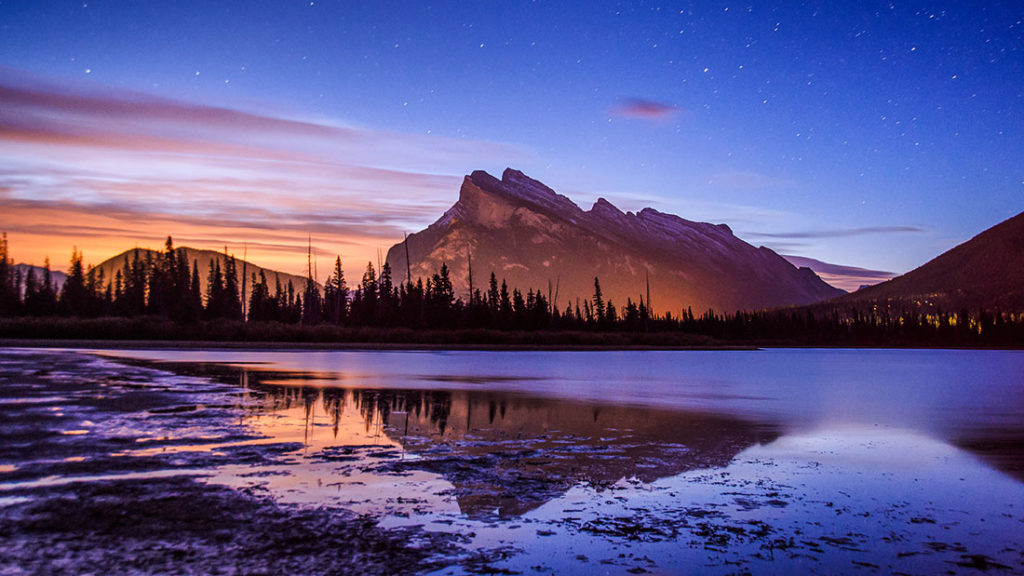
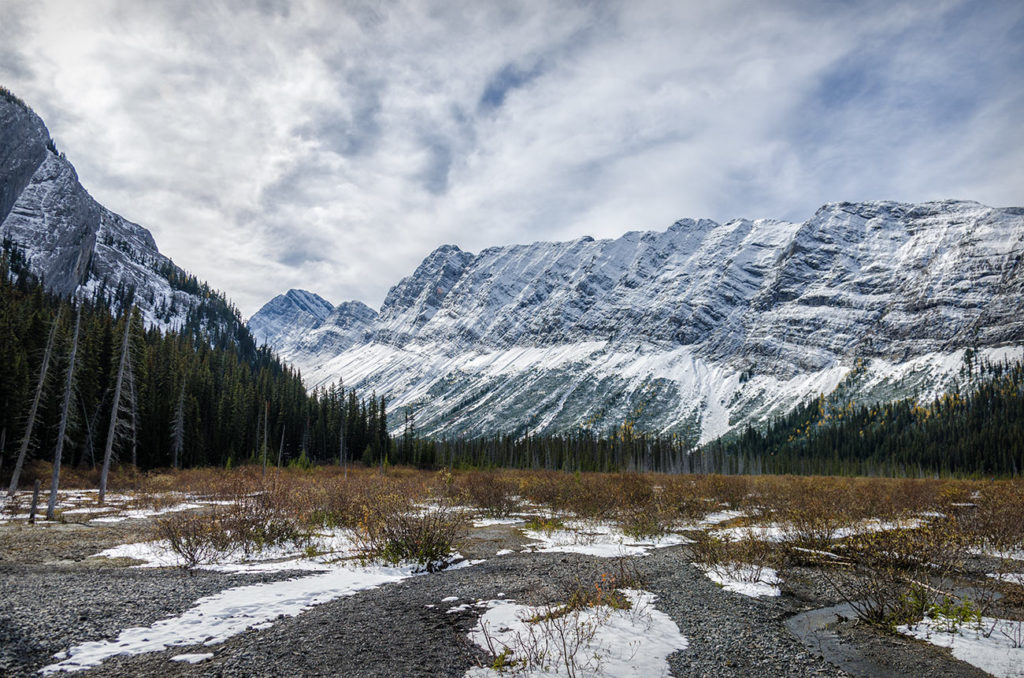
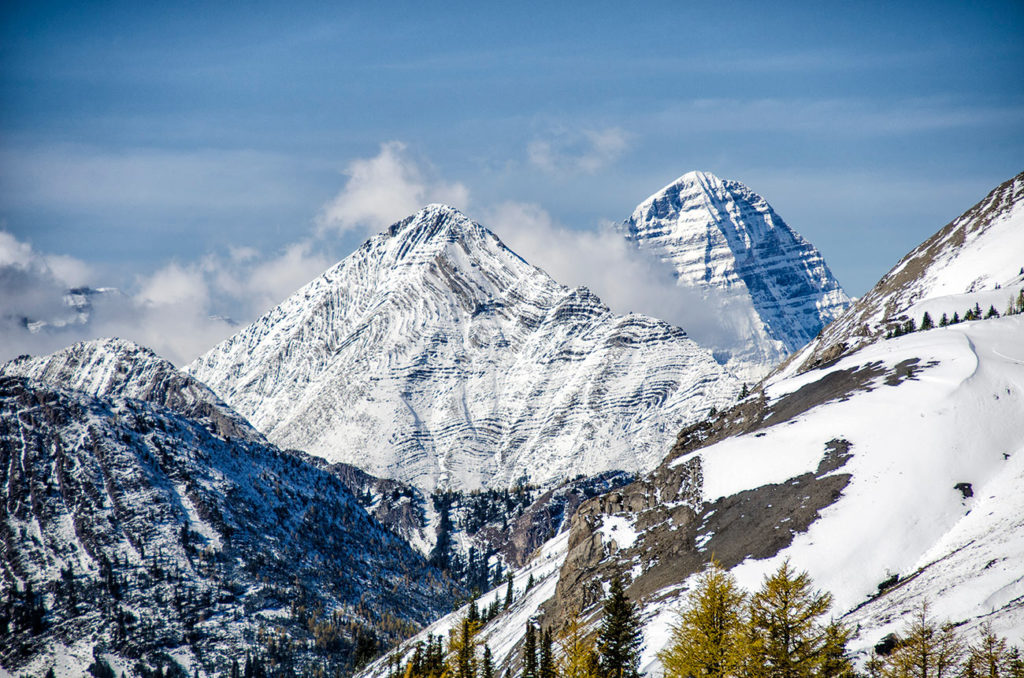
The views of Mt. Leval, Mt. Vavasour & Mt. White Man

Once you reach the top of the pass, there are many opportunities for further hiking, but it was mid-afternoon and I still had to get back! It was an outstanding hike that I highly recommend.
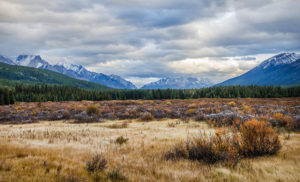
The views near the top of the Burstall Pass